Storage Configuration Veritas Backup Exec to backups
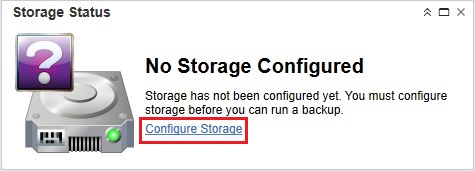
1- From Home windows under Storage Status, so click Configure Storage.
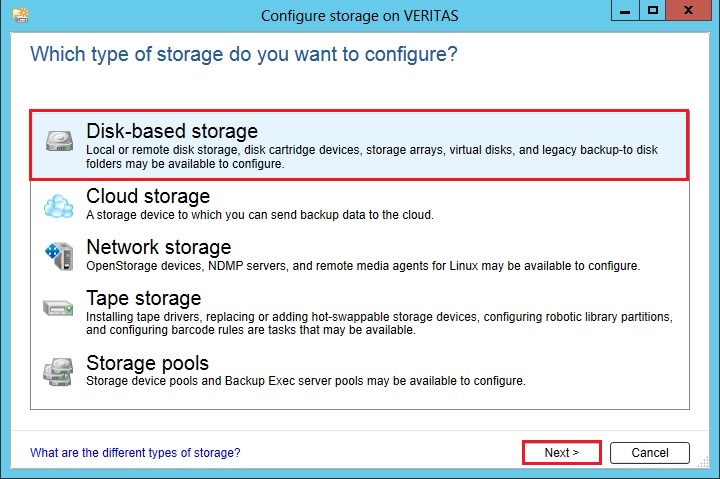
2- Select the Disk-based storage configuration Veritas and then click Next.
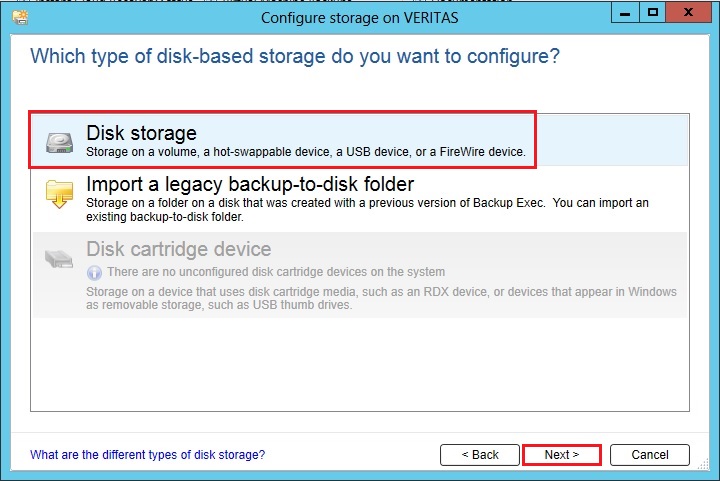
3- Select Disk Storage and then click Next.
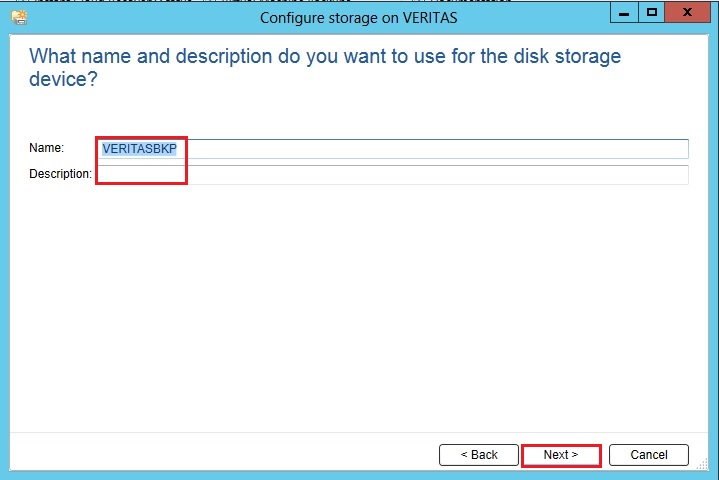
4- Type Storage Name and Description and click Next.
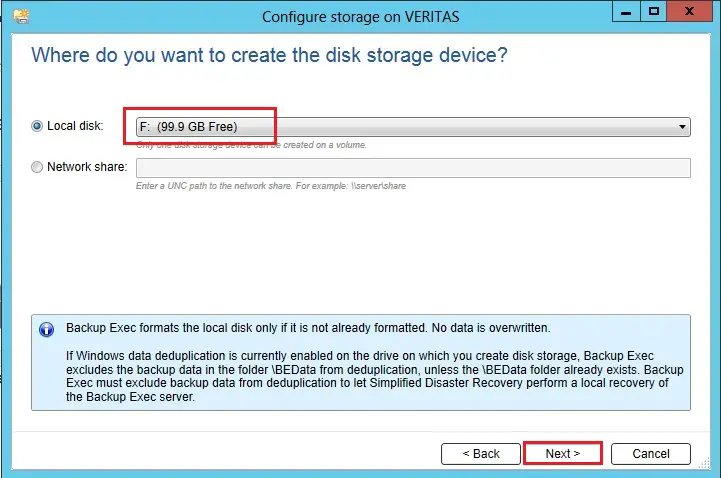
5- Select Local Disk. Where you want to create the disk storage device and click next.
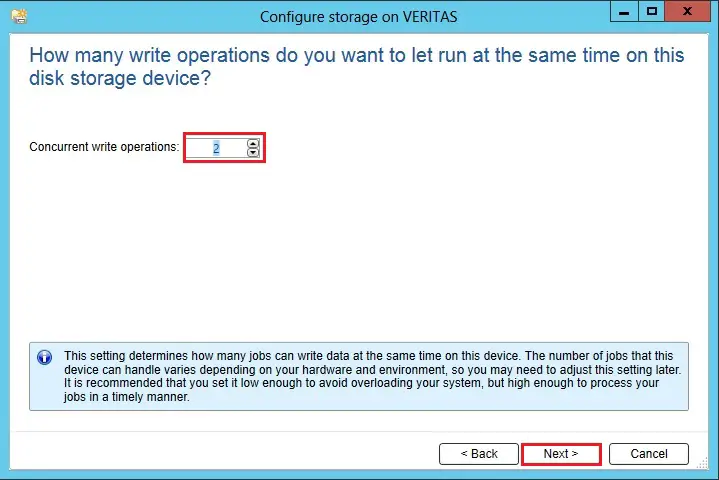
6- How many write operation do you want to let run at the same time on this disk storage device and click next.
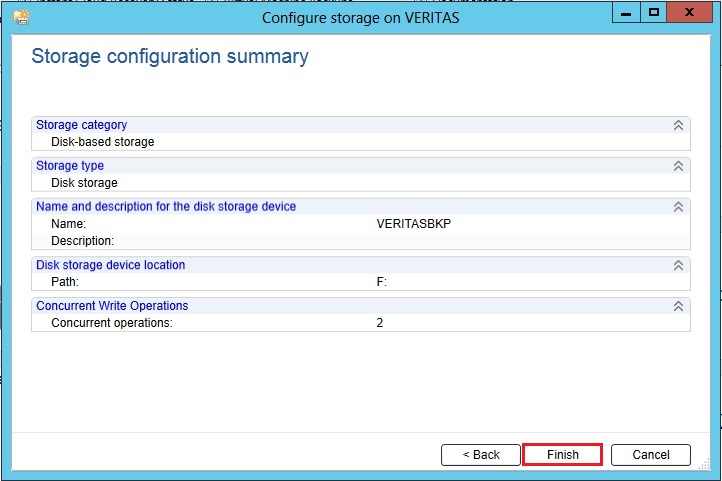
7- Review the details and click Finish.
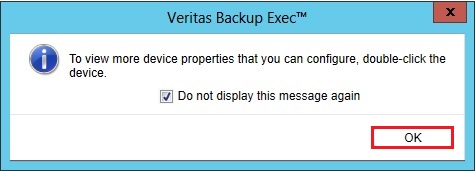
8- Click ok.
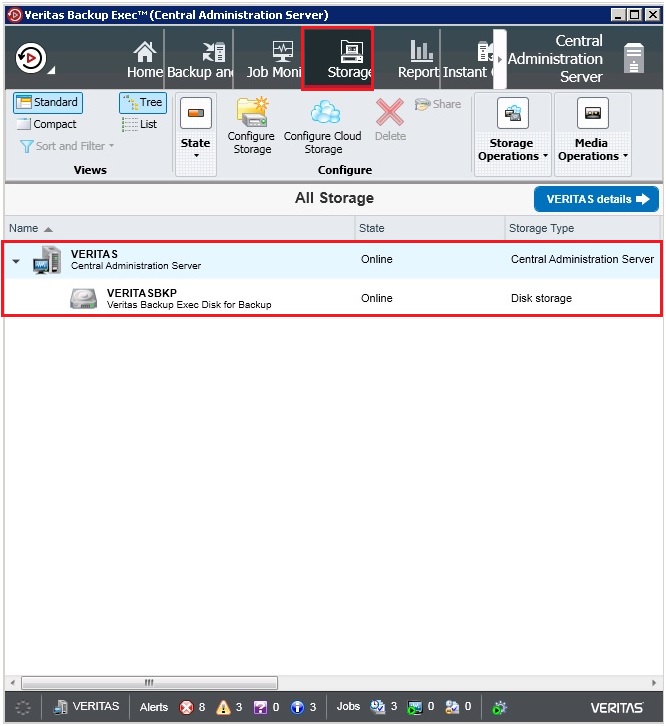
9- Under Storage, you can find your backup Storage.
For more details click here

