In this blog, I will be able to migrate our existing Active Directory Domain Controller which is Windows Server 2012 (Server2012) to Windows Server 2016 (Server2016).
My active directory domain controller Server (xpertstec.local).
Additional Domain Controller Windows Server 2016.
How to Create an Additional Domain Controller (ADC) In Windows Server 2016 so, click here
1- After Restarting the Server2016. So, login as Domain Administrator.
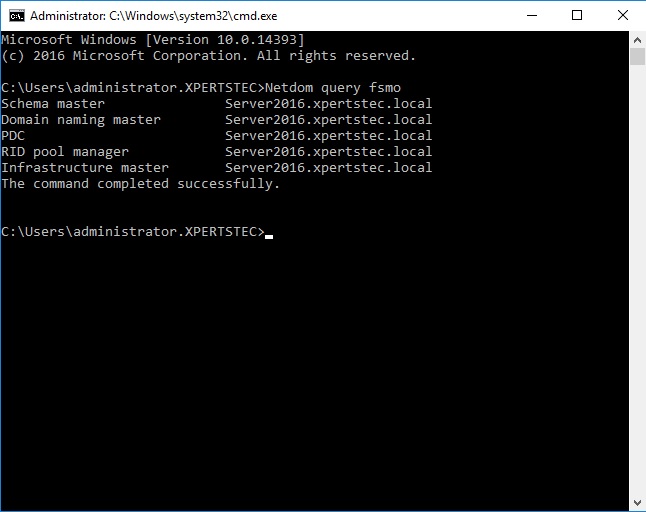
2- Type the Netdom query fsmo command, to see which server has installed FSMO roles.
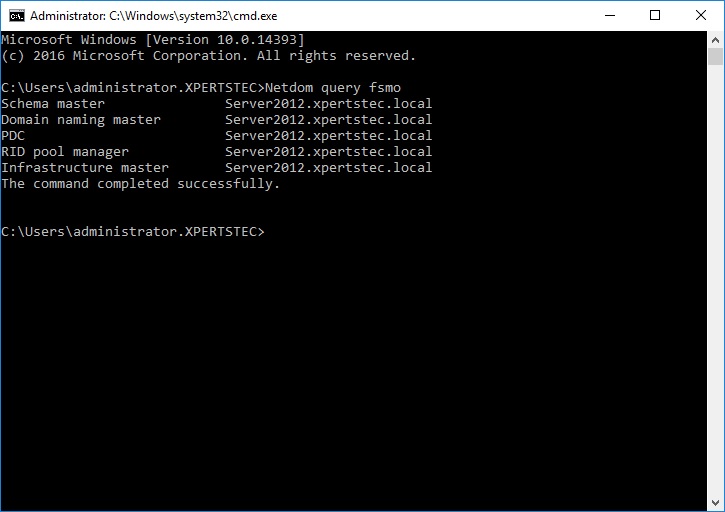
Now we’d like to Migrating FSMO (Flexible Single Master Operation) roles to Windows Server 2016 (Server2016).
Migrate Active Directory Server 2012 to Server 2016
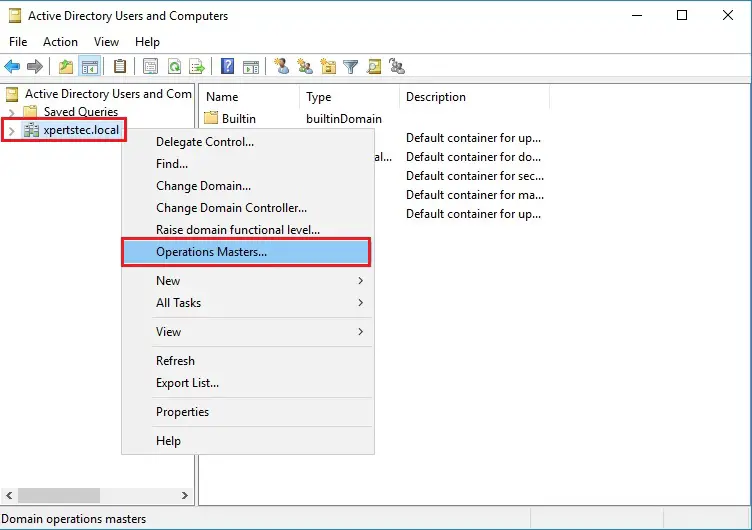
3- On the Server2016, open Active Directory Users and Computers and right click domain xpertstec.local and then click on Operations Masters.
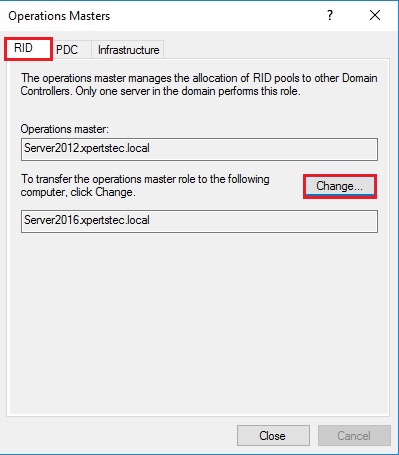
4- On the Operations Masters and select the RID tab and then choose the Change button.
5- Now click Yes.
6- The operations master role was successfully transferred so, click on ok.

7- Now you can verify that Operation master role now transferred to our new Server SRV2016.xpertstec.local

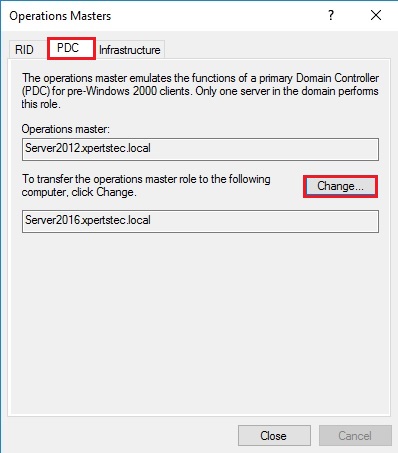
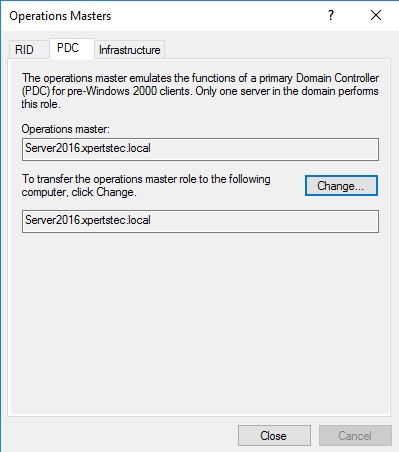
8- On the Operations Masters and select the PDC tab and then choose the change button.
9- Then click Yes.
10- The operations master role was successfully transferred and then click on ok.
11- Now you verify that the Operation master role now transferred to our new Server SRV2016.xpertstec.local
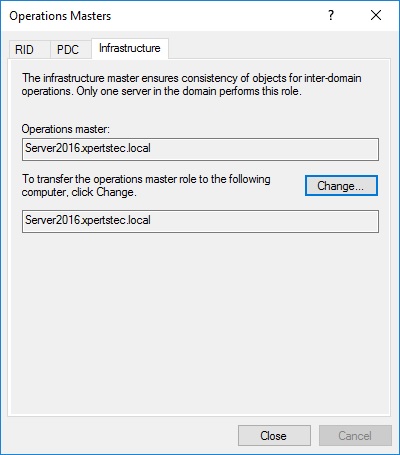
12- On the Operations Masters and select the Infrastructure tab and then choose the change button.
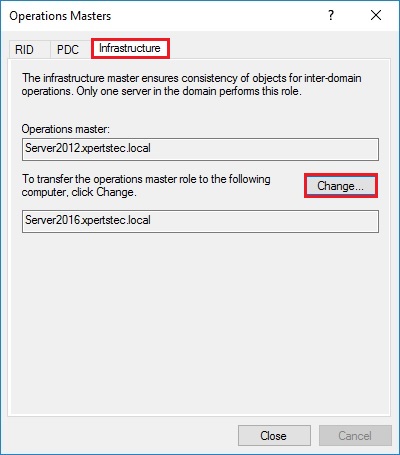
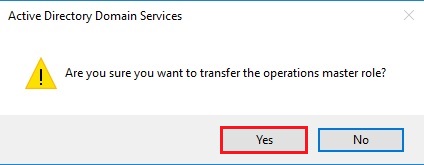
13- Then click Yes.
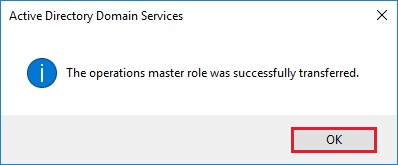
14- The operations master role was successfully transferred so, click on ok.
15- Verify that Operation master role now transferred to our new Server SRV2016.xpertstec.local
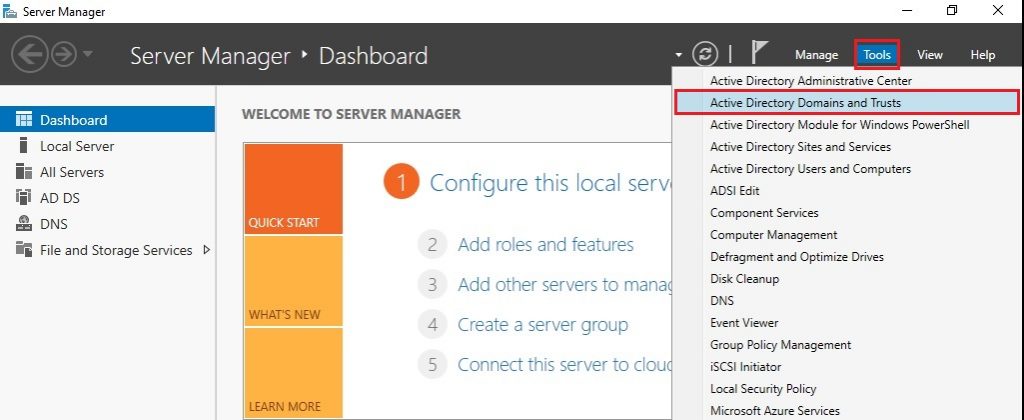
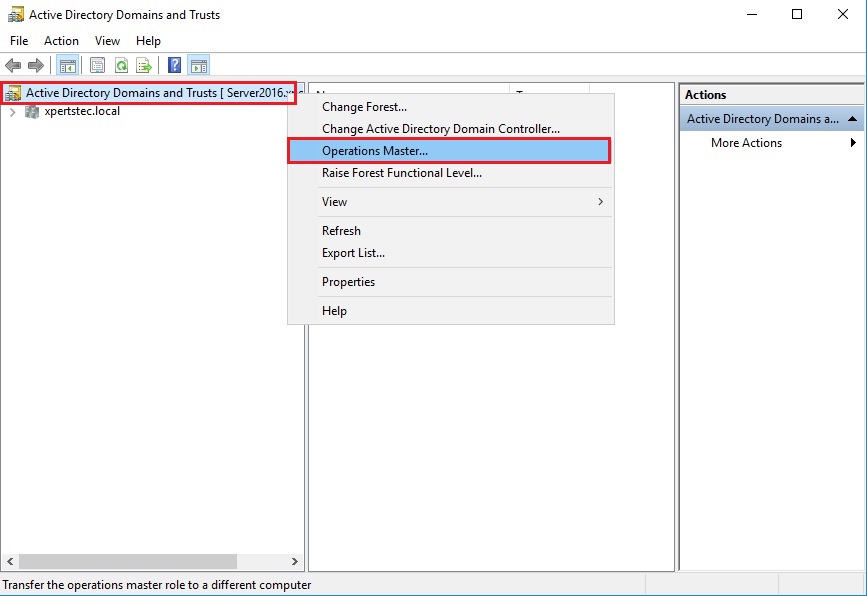
16- Open Server Manager and select the Tools tab and then click on Active Directory Domains and Trusts.
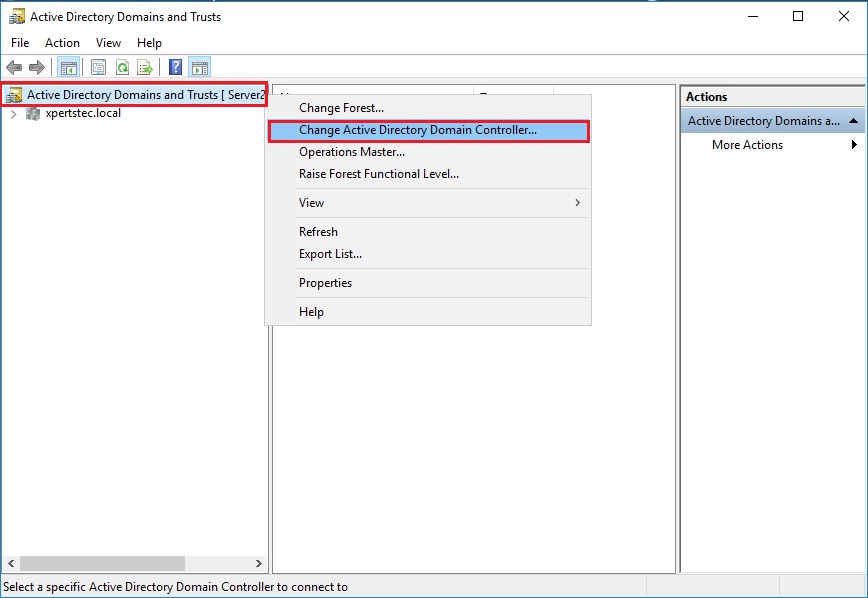
Change Active Directory Domain Controller
17- Right click Active Directory Domains and Trusts and then choose to change the active directory domain controller.
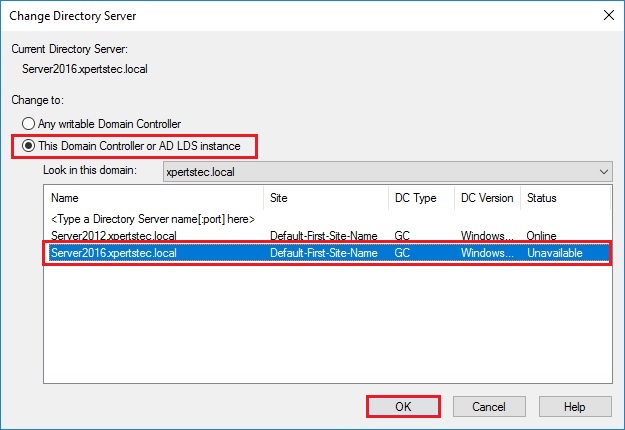
18- Select this Domain Controller or AD LDS Instance and click on the domain controller that you simply want to be the schema master role and then click on ok.
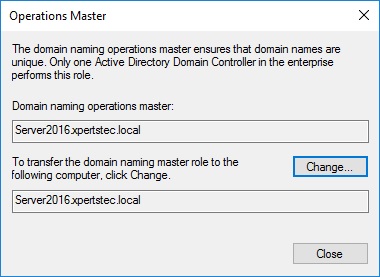
19- Right click Active Directory Domains and Trusts and then choose Operations Master.
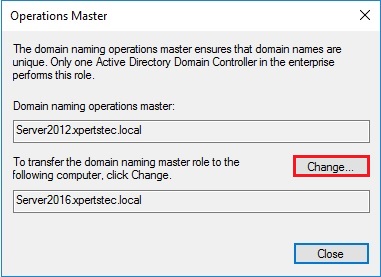
20- Now select Change.
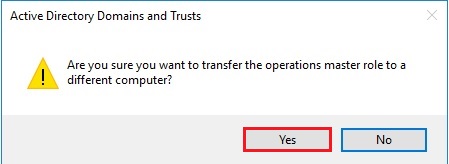
21- Click on YES.
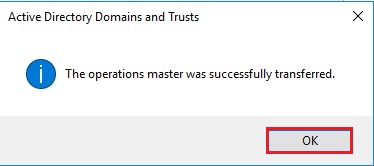
22- The operations master was successfully transferred so click on ok.
23- Confirmed the domain naming operation master role and then click on Close.
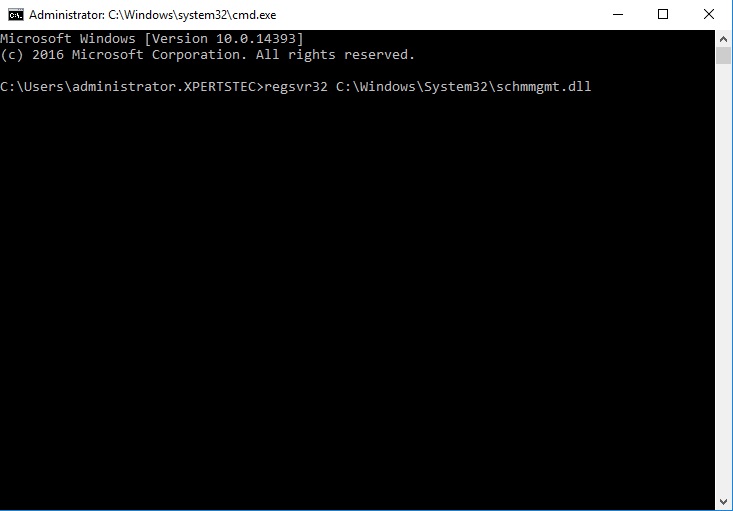
24- Now we’d like to move our Schema Master role, so we’d like to register the schmmgmt.dll open prompt and then run the command below.
regsvr32 C:WindowsSystem32schmmgmt.dll
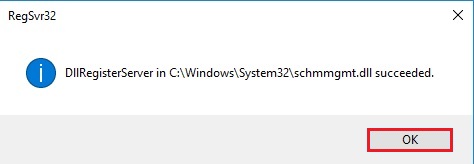
25- the method was completed successfully and then click on ok.
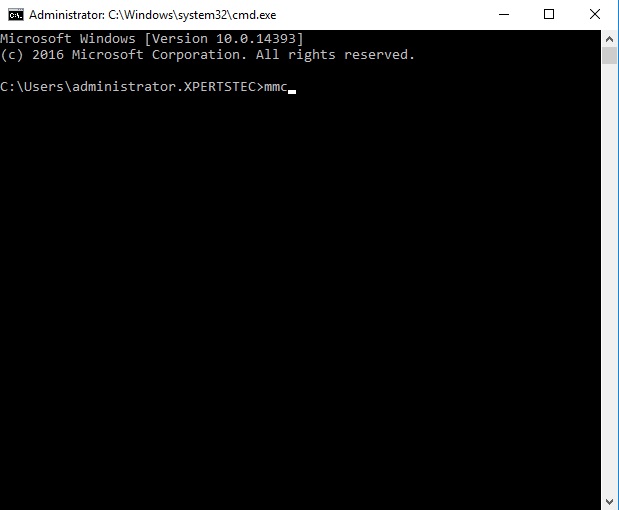
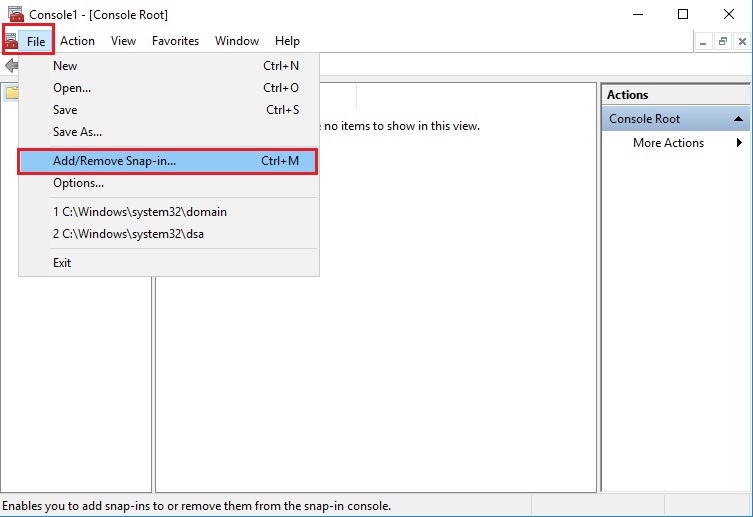
26- Open Microsoft Management Console and open prompt and type mmc and then hit enter.
27- Now click on File tab and then choose Add/Remove Snap-in
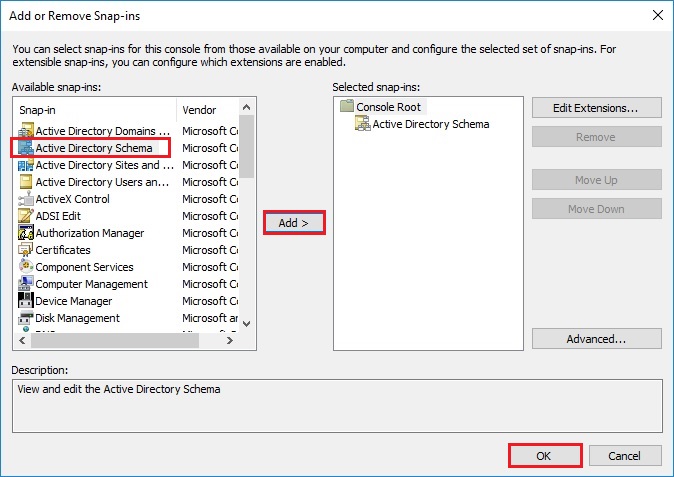
28- From the left side and under Available Snap-ins and select Active Directory Schema and then click Add and click on ok.
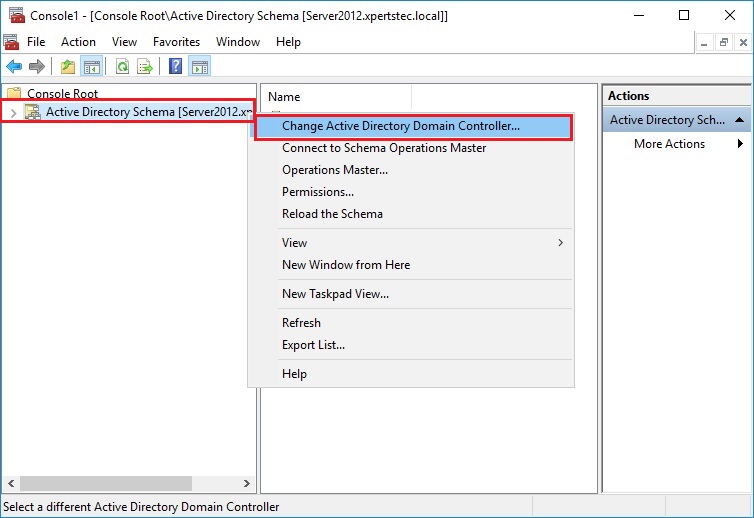
29- Right click Active Directory Schema and then choose Change Active Directory Domain Controller to migrate active directory
30- Select this Domain Controller or AD LDS Instance and click on the domain controller that you simply want to be the schema master role and then click on ok.
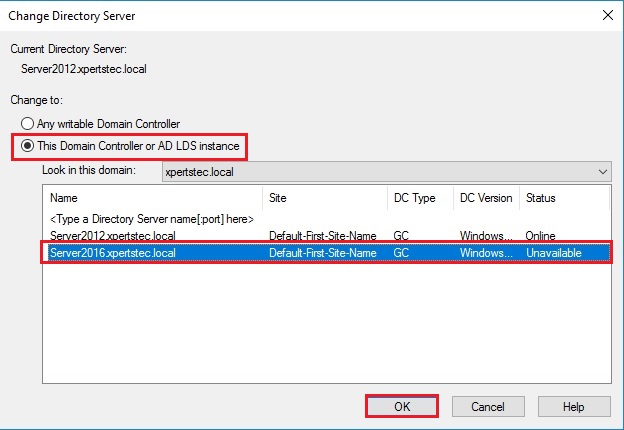
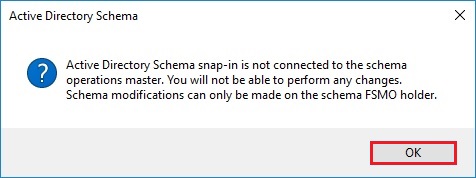
31- Click OK.
Change Schema Master Role
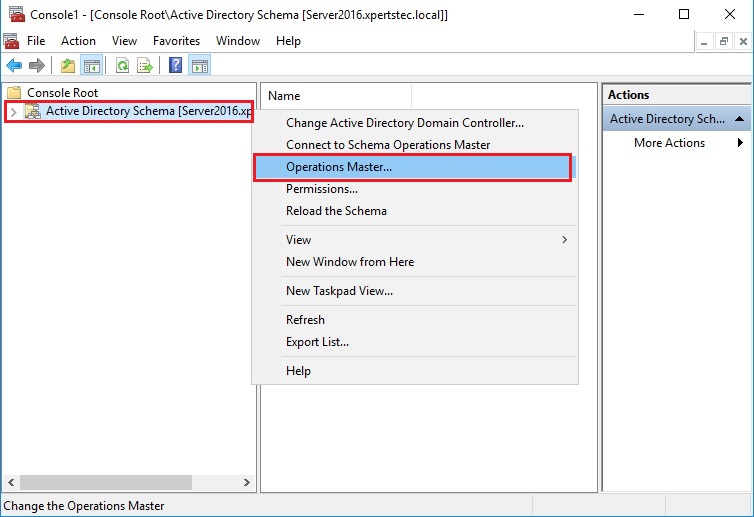
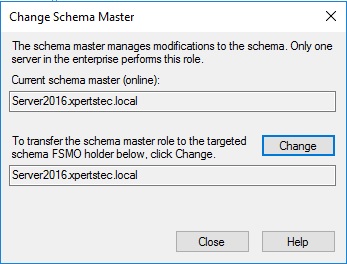
32- Within the console1 and right click Active Directory Schema (SRV2016.xpertstec.local) and then choose Operations Master.
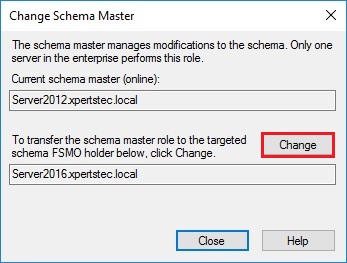
33- Click Change.
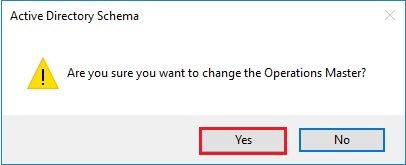
34- Click on Yes.
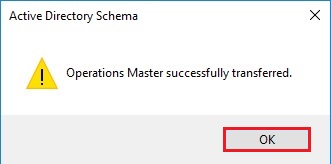
35- Operations Master successfully transferred and then click on ok.
36- Now you can confirm your current schema master which is Server2016.
37- Now run the Netdom query fsmo command so, we will now see that our roles are transferred to our Windows Server 2016 Additional Domain Controller.
Remove the Server2012 from Global Catalog.
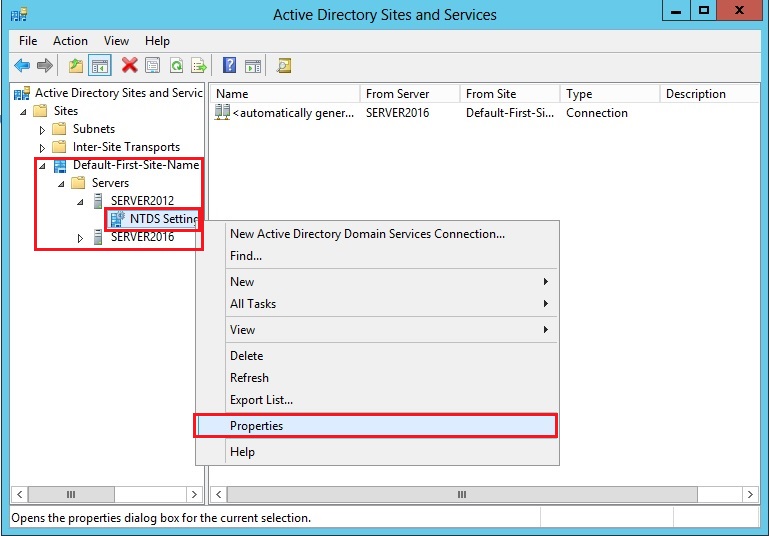
On Server2016 open Active Directory Sites and Services.
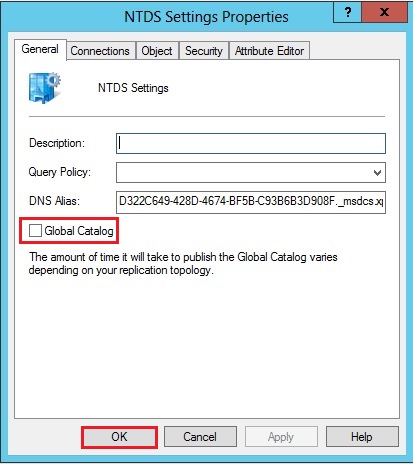
38- Expand your Sites and expand the Default-first-site-name and expand the Servers and then expand local domain Server2012 and right click NTDS Settings and then choose Properties.
39- Under the general tab uncheck Global Catalog and then click on ok.
Demote Active Directory Domain Controller using the instruction or step by step demote active directory domain in window server 2012.
Follow the below steps (40 to 49).
Uninstalling Active Directory Domain Services from Server2012.
Log in to Server2012 machine with domain administrator credentials.
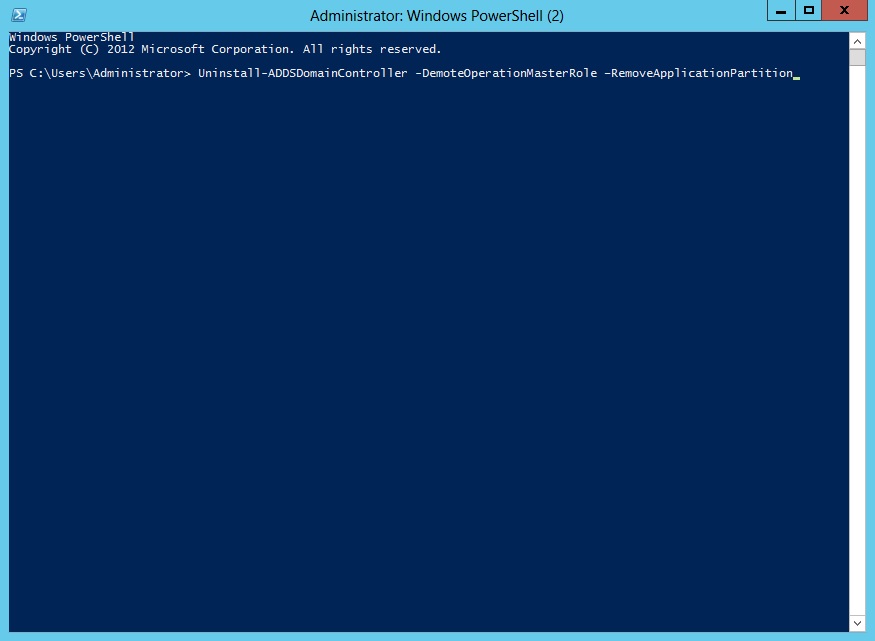
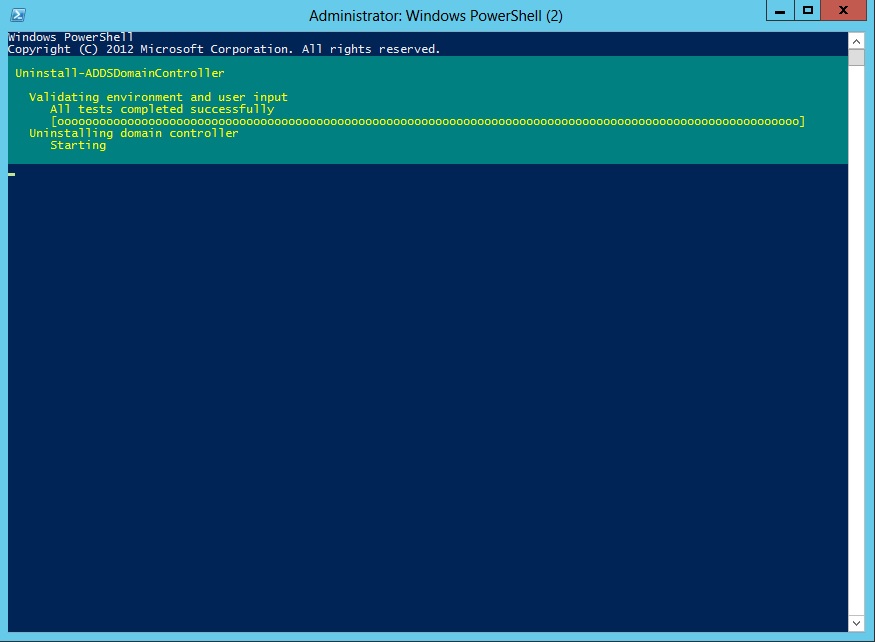
40- Open Windows PowerShell with elevated privileges and then type the command.
Uninstall-ADDSDomainController -DemoteOperationMasterRole –RemoveApplicationPartition
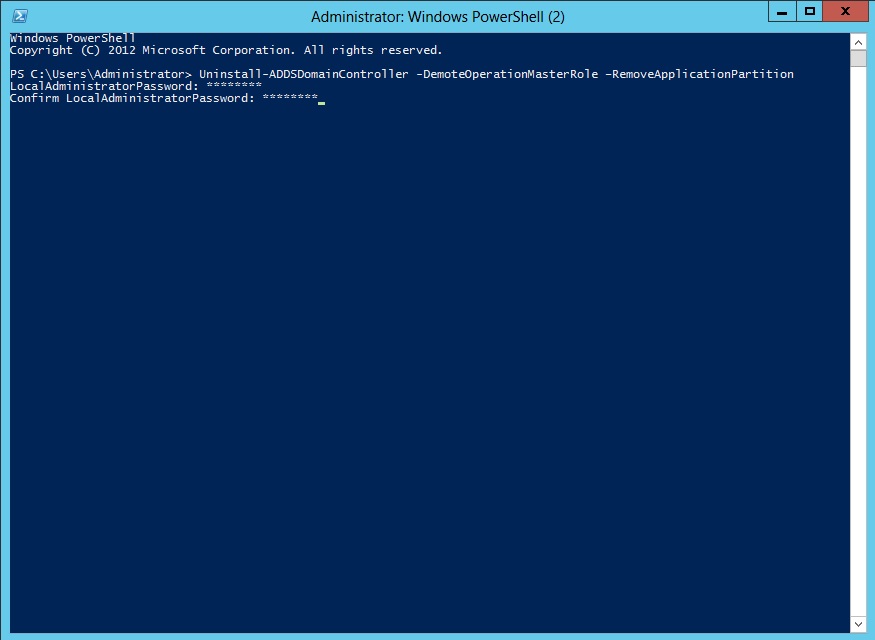
41- Type your local administrator password and then press enter.
42- Type Y and then hit Enter.
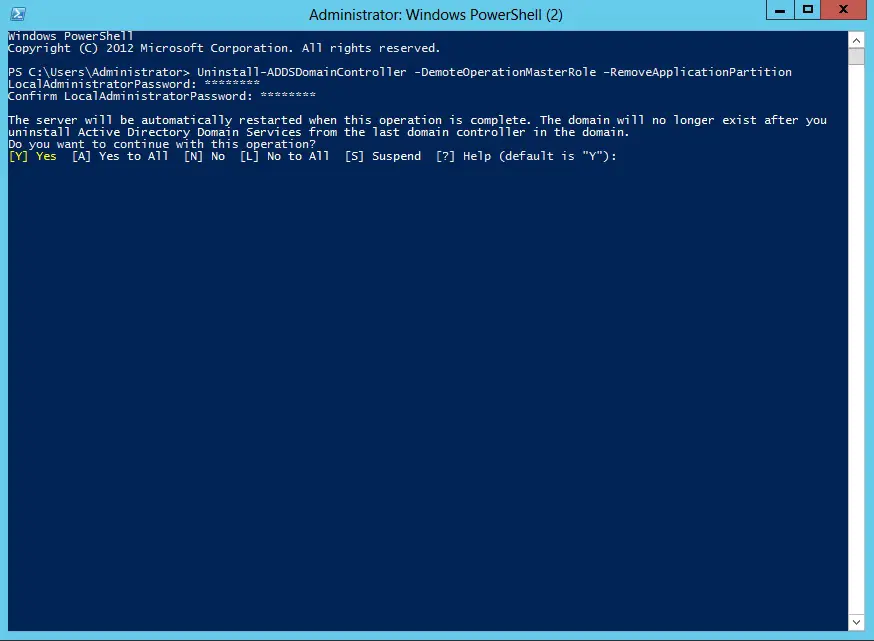
43- The operation is going to be completed during a jiffy and therefore the server is going to be rebooted automatically
Upgrading Forest Functional Levels and Domain Functional Levels to Windows Server 2016.
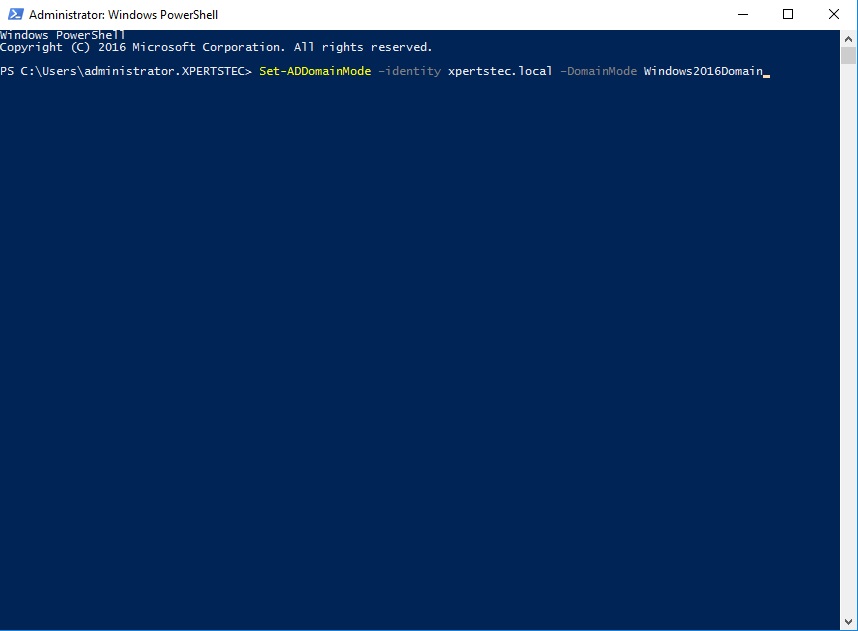
44- Login to Windows Server 2016 domain controller and Open PowerShell type below command to vary domain functional level.
Set-ADDomainMode –identity yourdomain.com –DomainMode Windows2016Domain
The domain name is xpertstec.local
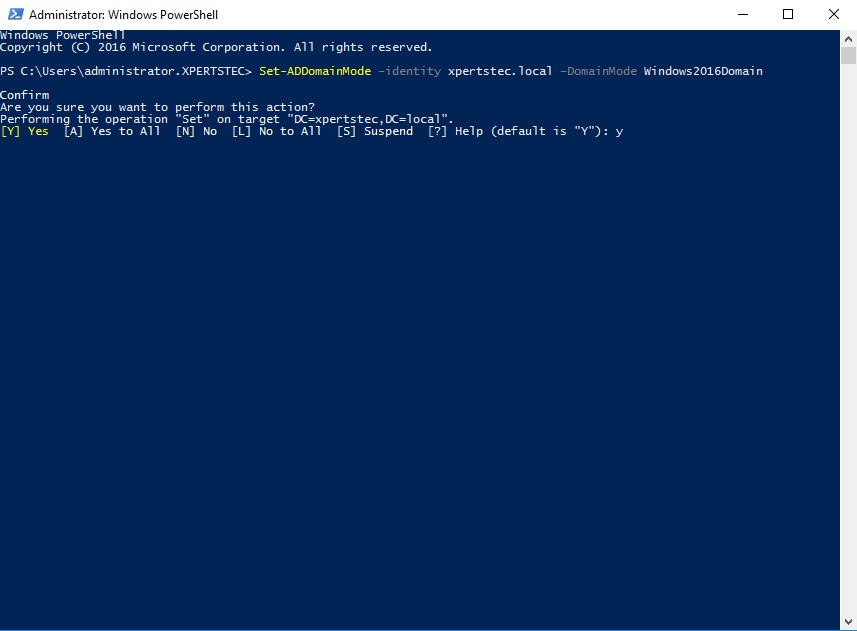
Set-ADDomainMode –identity xpertstec.local –DomainMode Windows2016Domain
Press Enter
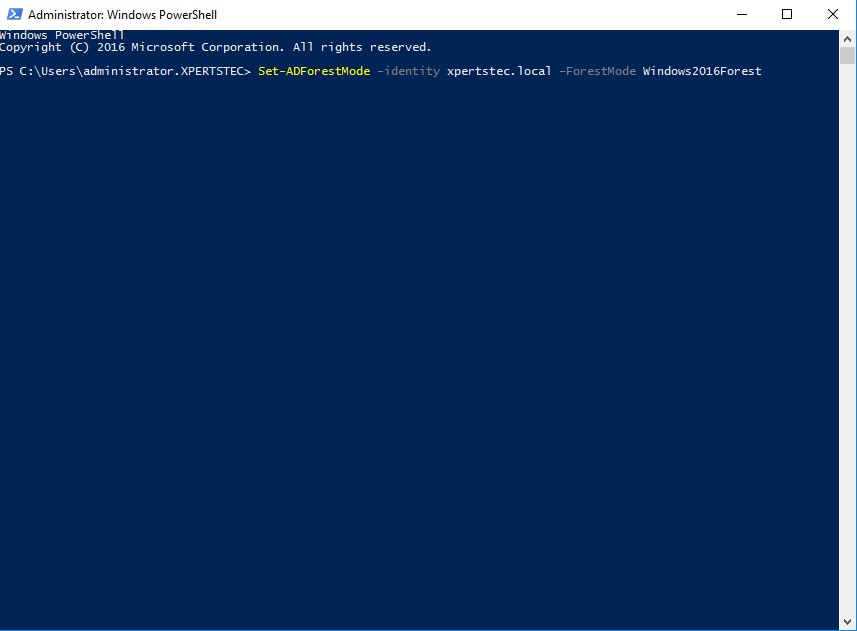
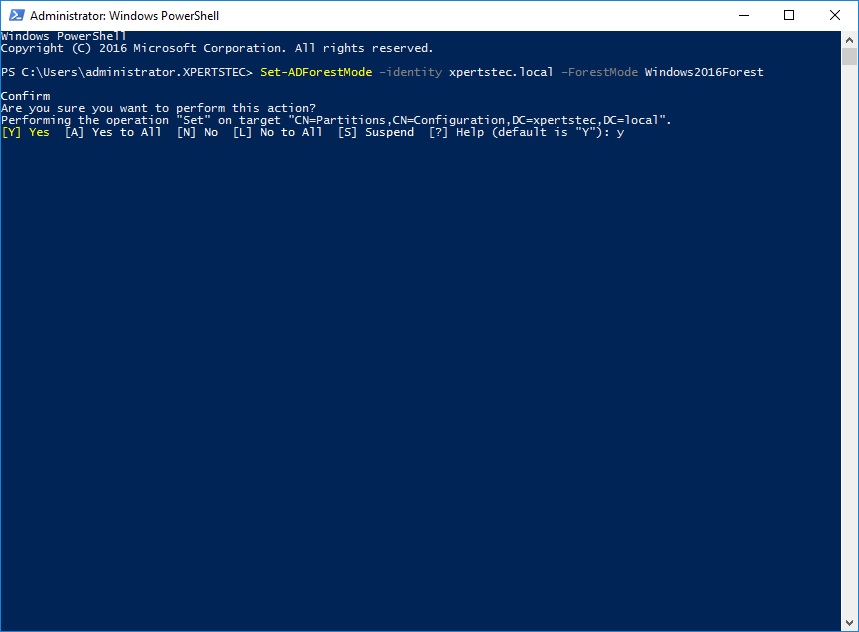
46- Login to Windows Server 2016 domain controller and then Open PowerShell type below command to vary forest functional local.
Set-ADForestMode –identity yourdomain.com –ForestMode Windows2016Forest
The domain name is xpertstec.local
Set-ADForestMode –identity xpertstec.local –ForestMode Windows2016Forest
Press Enter.
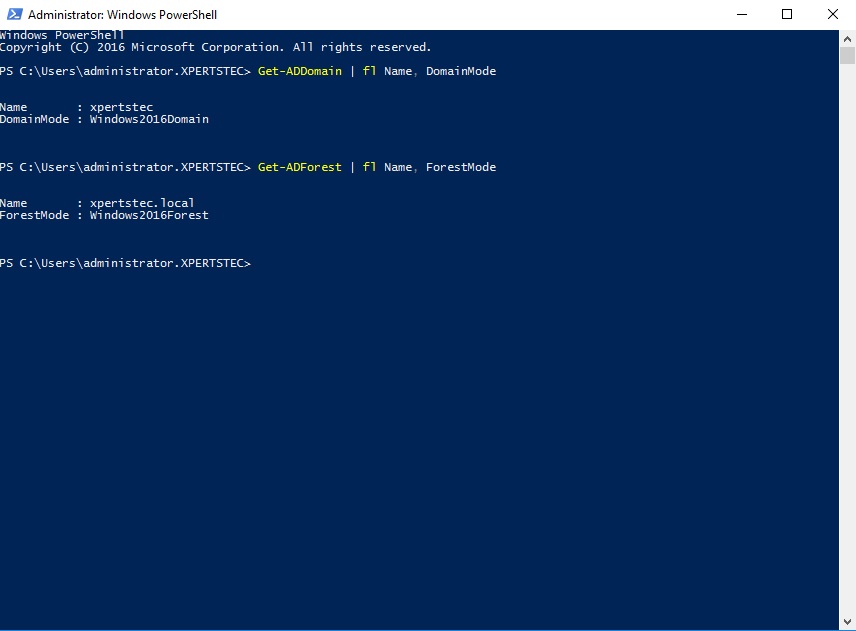
48- Now the final step is to confirm if domain and forest functional levels have really been changed. Execute command,
Get-ADDomain | fl Name, DomainMode
Get-ADForest | fl Name, ForestMode
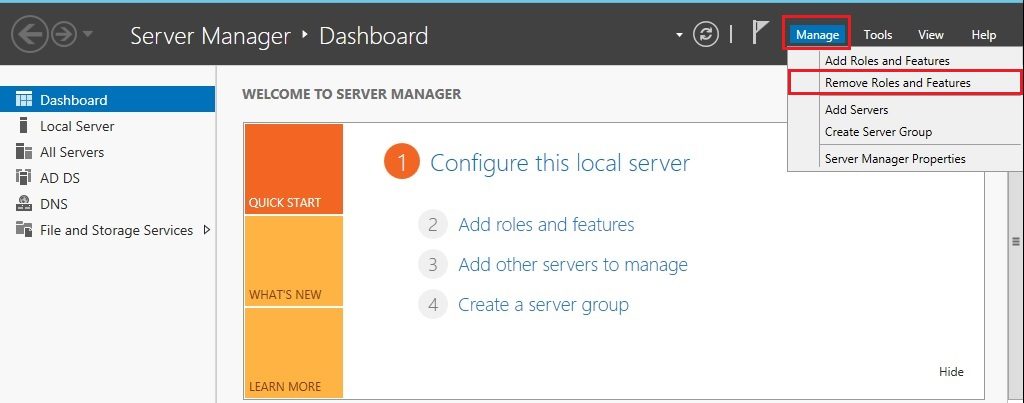
49- Step by step remove the active directory domain in window server 2012. Open Server Manager and select Dashboard and select Manage and then select to Remove Roles and features.
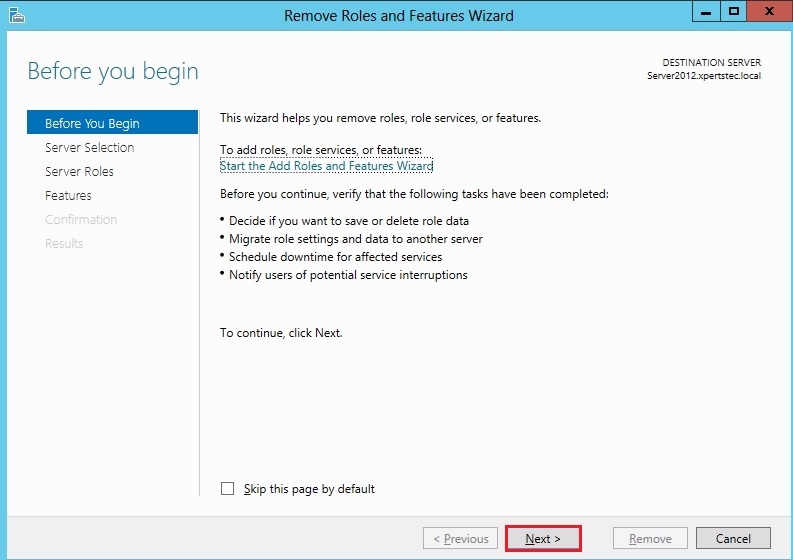
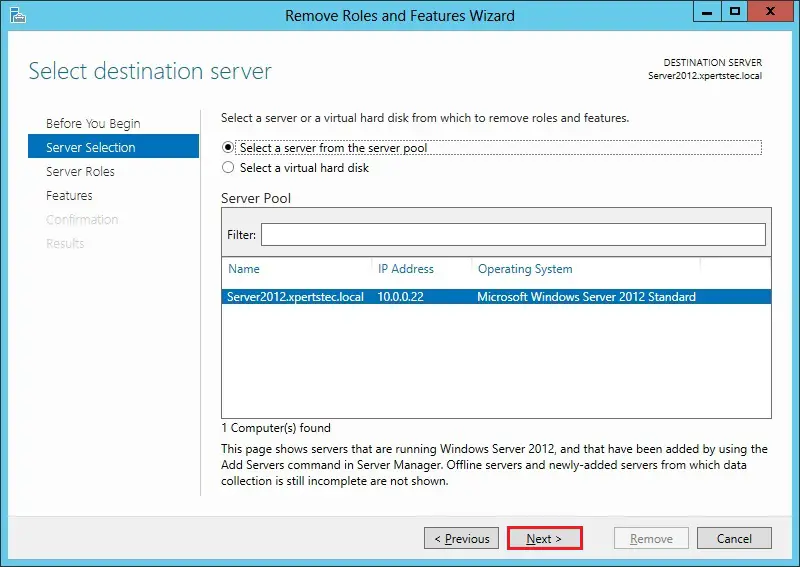
50- Click Next.
51- Select a Server from the server pole and then click on next.
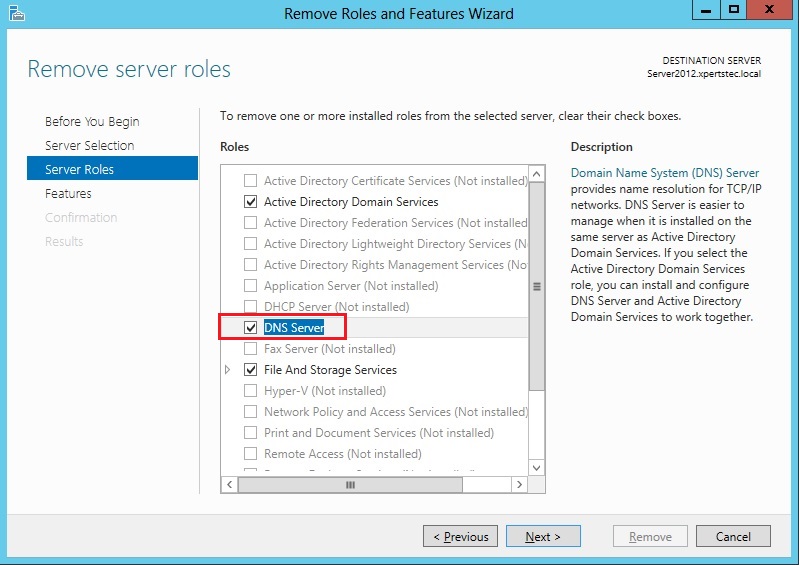
52- Now Uncheck DNS Server role.
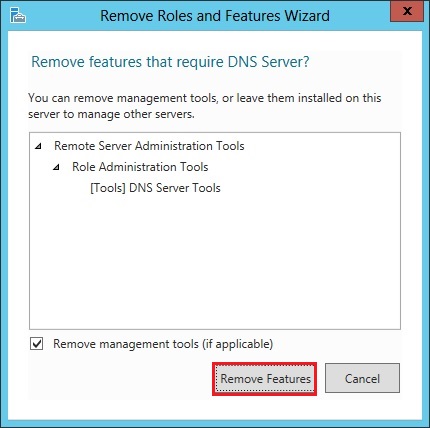
53- Remove features that need the DNS server, select Remove Features.
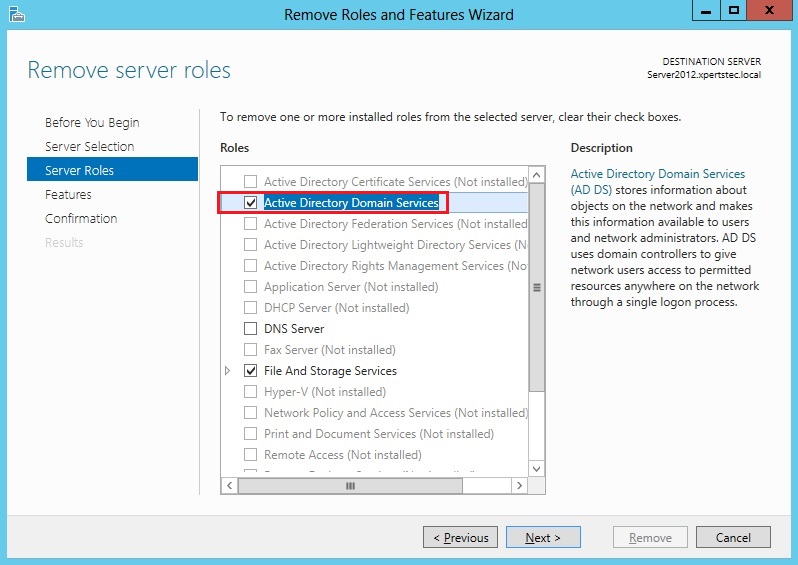
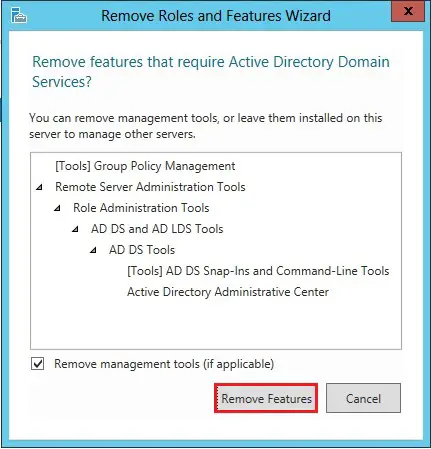
54- Uncheck Active Directory Domain Services box.
55- Remove features that need Active Directory Domain Services, select Remove Features.
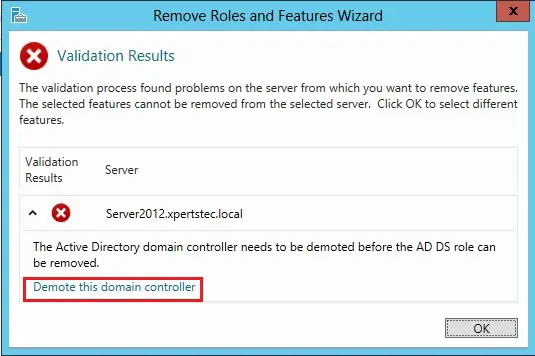
56- Select Demote this domain controller.
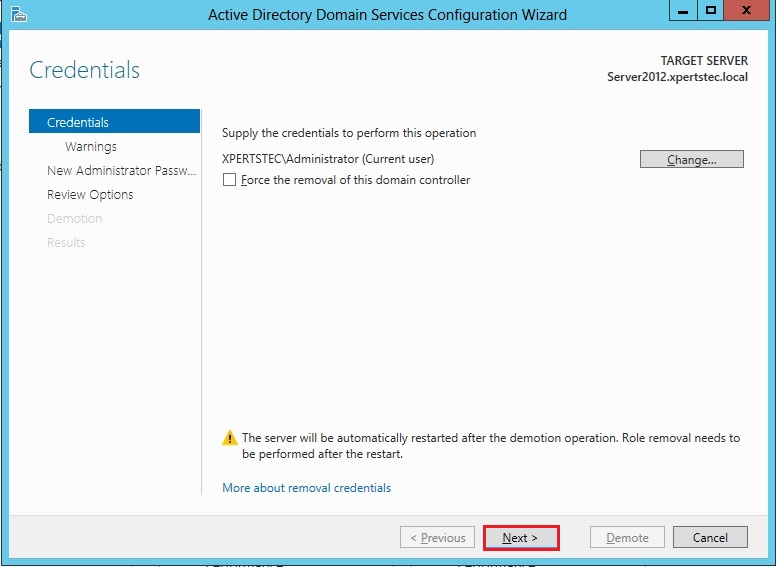
57- Active Directory Domain Services Configuration Wizard, click Next.
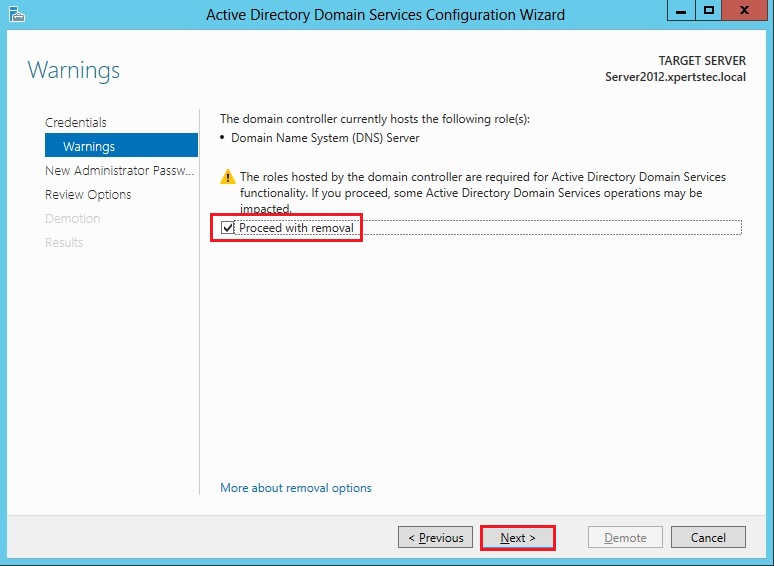
58- Check Proceed with removal and click on next.
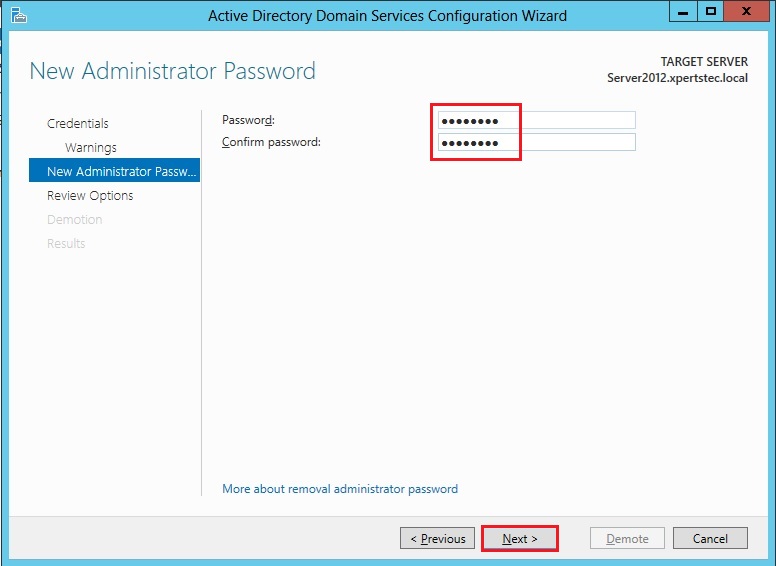
59- Type the Active Directory domain controller password and click on next.
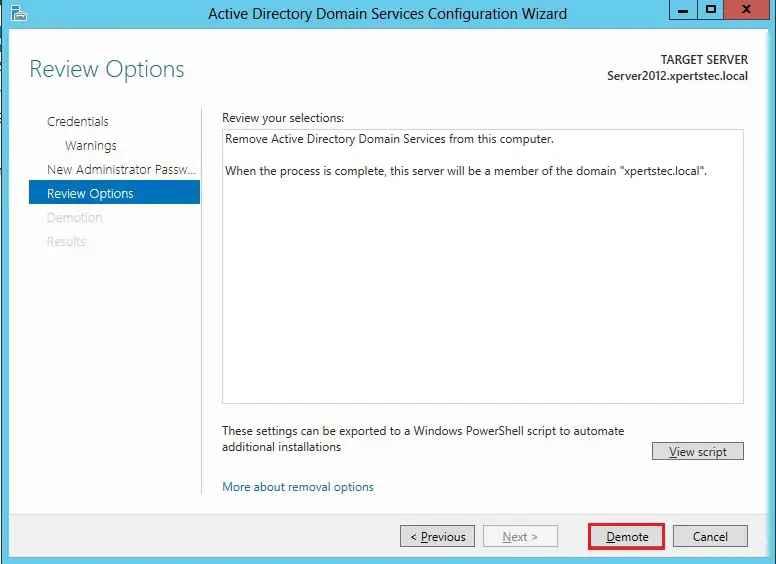
60- Remove Active Directory Domain Services from this computer. Select the Demote button.
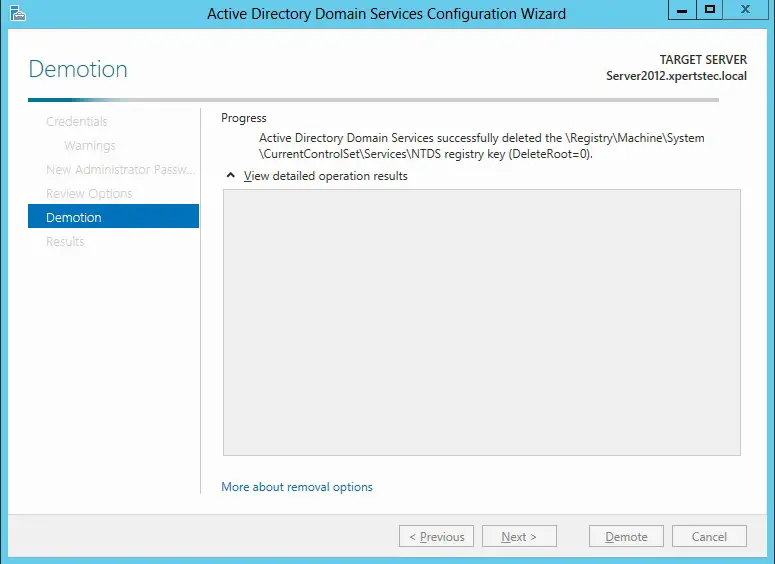
61- Demoting Active Directory Domain Controller server 2012 ongoing.
62- After restarting server2012 please join it to the workgroup.
For more information click here
