In this blog, we’ll configure Network Load Balancing (NLB), where we’ve two servers (Server-1 and Server-2) running Windows Server 2012 and a Windows Server 2012 Domain controller (Server2012-DC). It also assumes that Server-1 and Server-2 will communicate with one another over two network connections I even have labeled Ethernet and NLB.
Servers IP Address.
Server2012-DC – 10.0.0.20
Server-1
Ethernet0 – 10.0.0.30
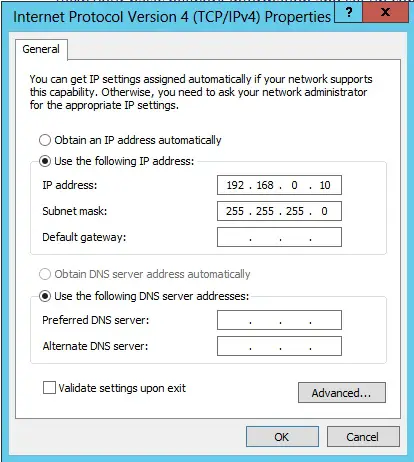
NLB – 192.168.0.10
Server-2
Ethernet0 – 10.0.0.40
NLB – 192.168.0.20
Cluster IP – 192.168.0.30
192.168.0.40
Network Load Balancing Process
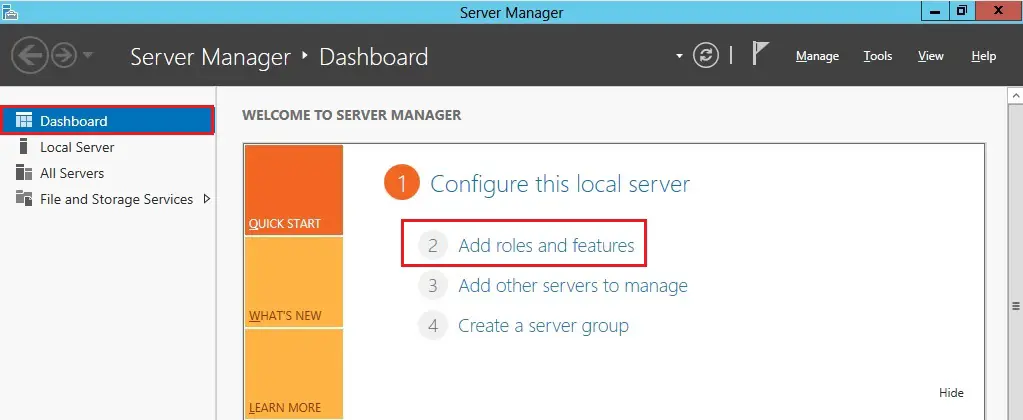
1- On Server-1 open server manager and choose Add roles and features.
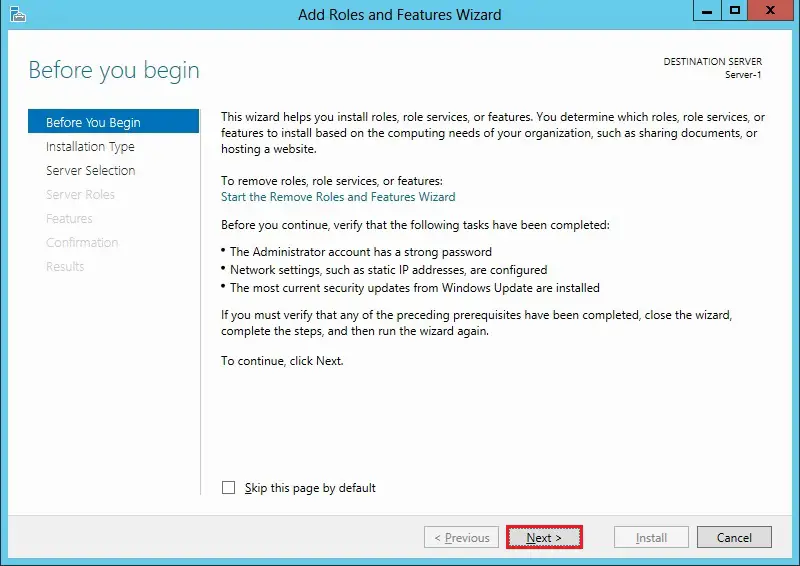
2- Click Next.
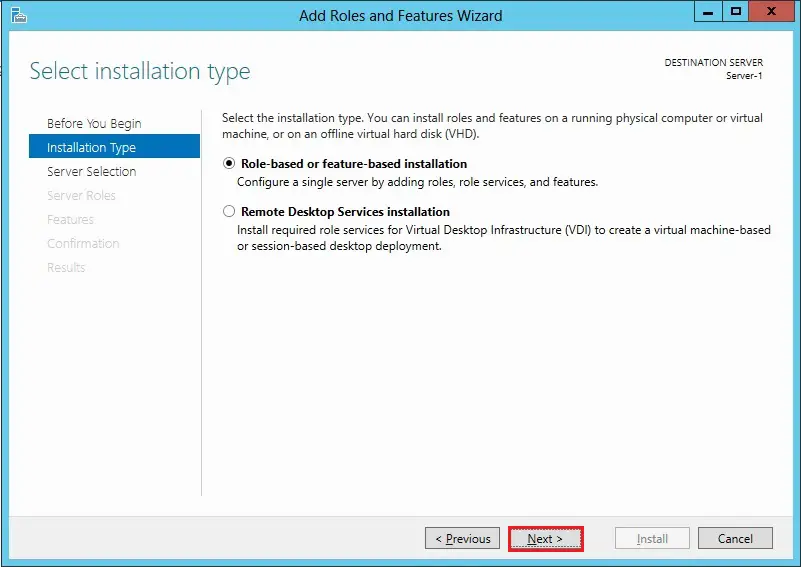
3- Select the role-based or feature-based installation and click on next.
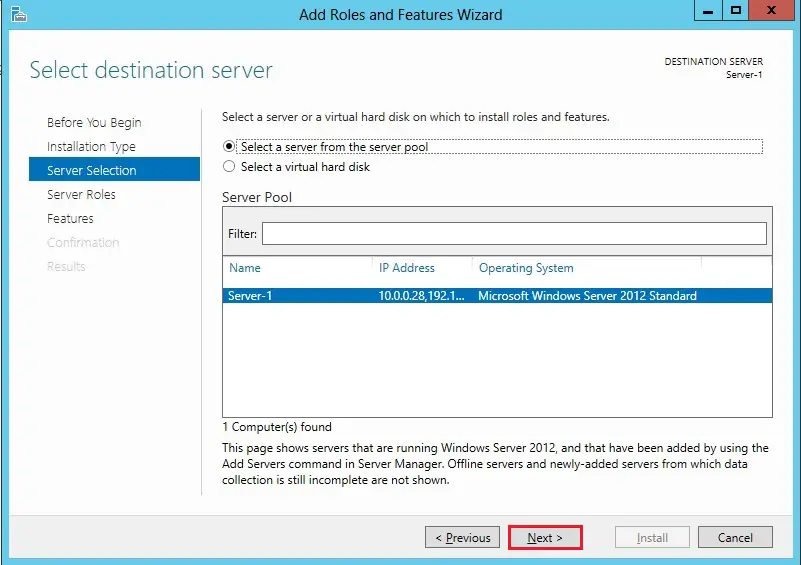
4- Select a server from the server pool and click on next.
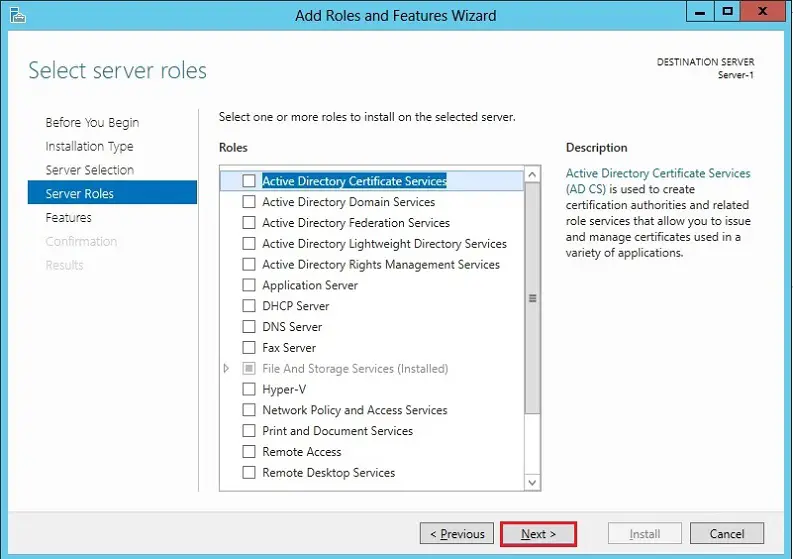
5- Server Roles, click next.
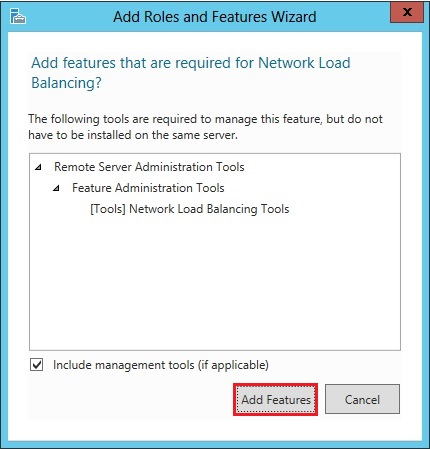
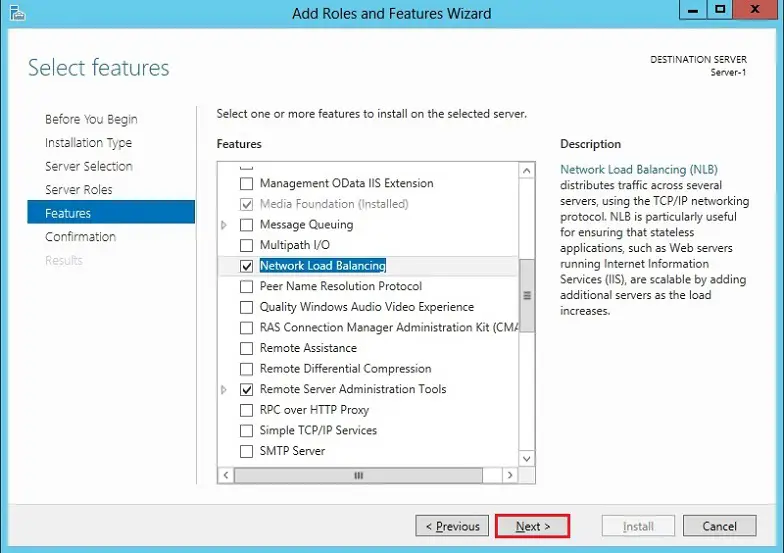
6- Select the Features Network Load Balancing.

7- Select Add feature.
8- After selecting Network Load Balancing, click next.
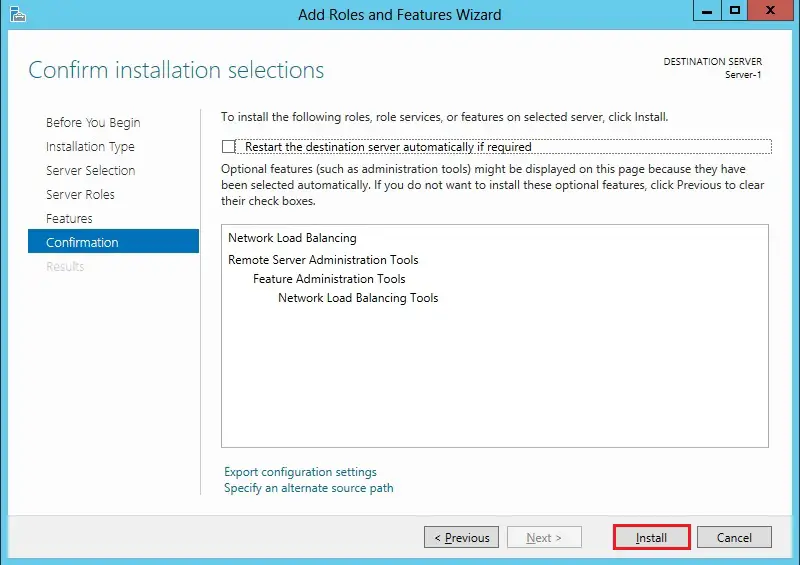
9- Confirm installation selections and click on Install.
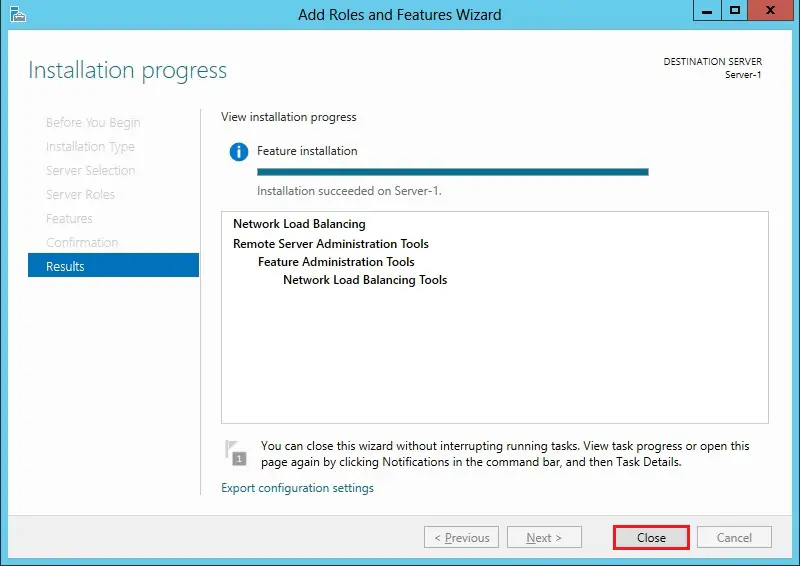
10- Select the close button after completing the network load balancing installation.
Repeat an equivalent steps 1 to 10 for server-2 to enable feature network load balancing
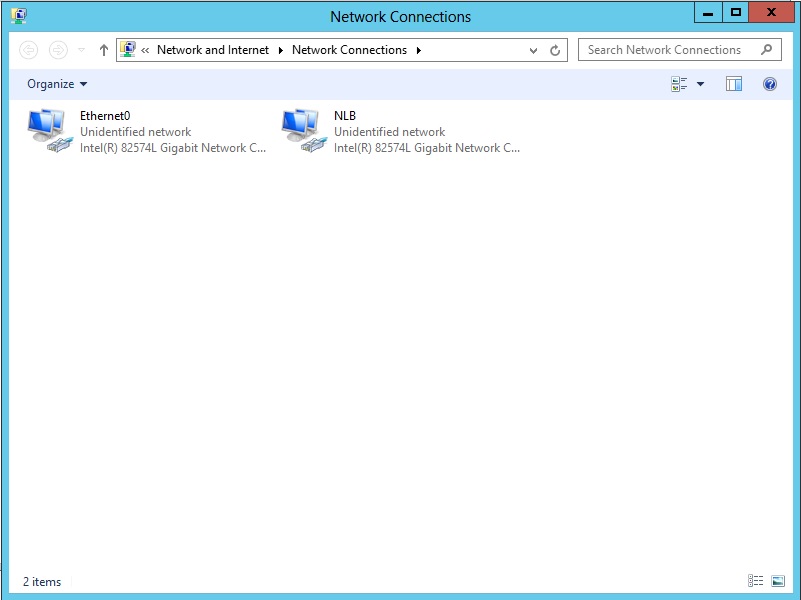
11- After this, I check out my NIC’s most vital that we use two NIC’s in Servers.
I gave Nic’s an IP that’s not within the same subnet because of the production LAN, and also you’ll use a special VLAN for the NLB tropic.
NLB Server-1
12- I rename them one is Ethernet and therefore the other is NLB.
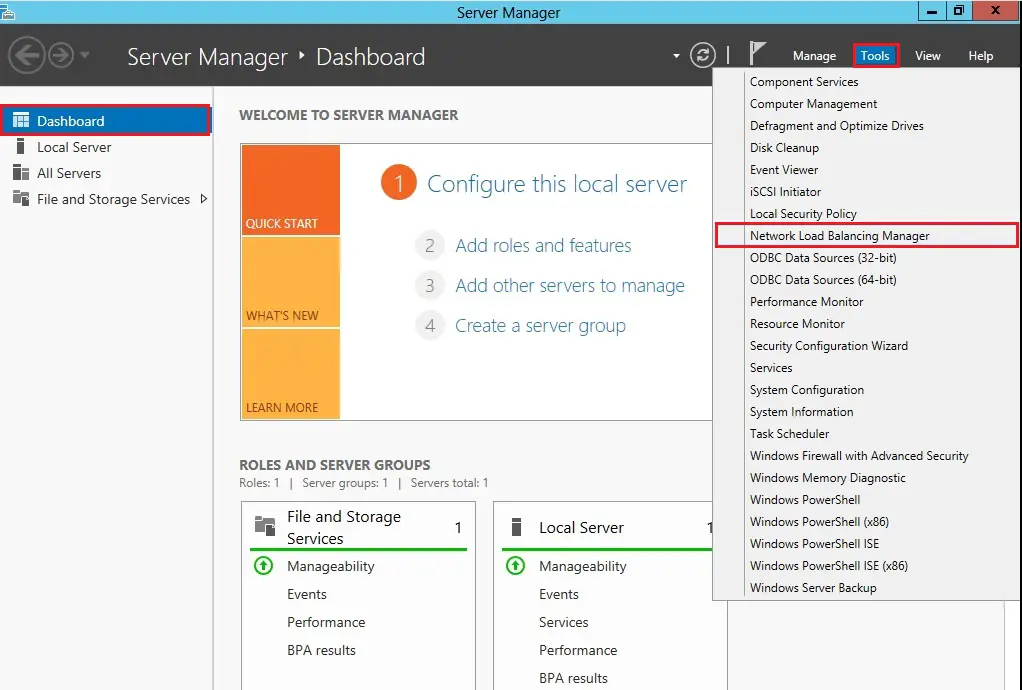
13- In server-1 open server manager, click tools and choose the Network Load Balancing Manager.
New Cluster Setup
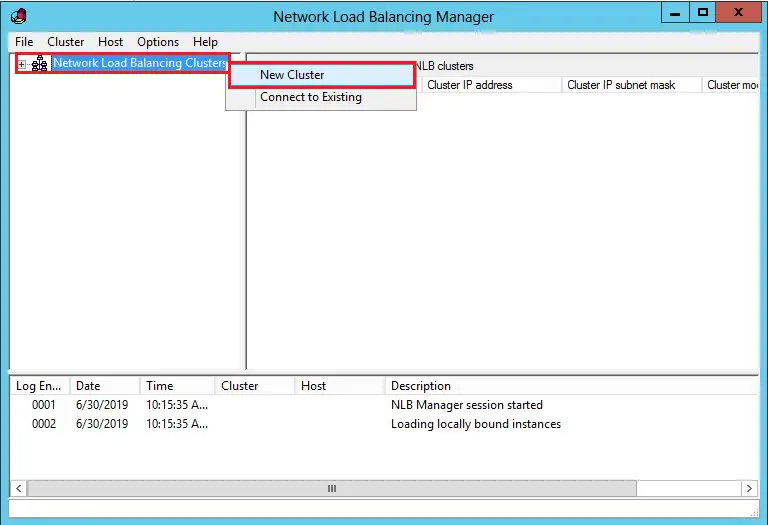
14- After opening the Network Load Balancing Manager, right-click on network load balancing cluster and choose the new cluster
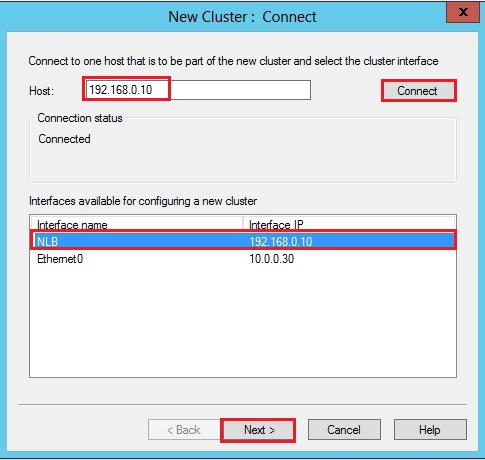
15- In host Type, the IP address of the primary NLB Server-1 (192.168.0.10) click connect.
There are two IP Addresses, one is for Ethernet0 IP and One is for NLB IP Address, click next.
16- Click Next.

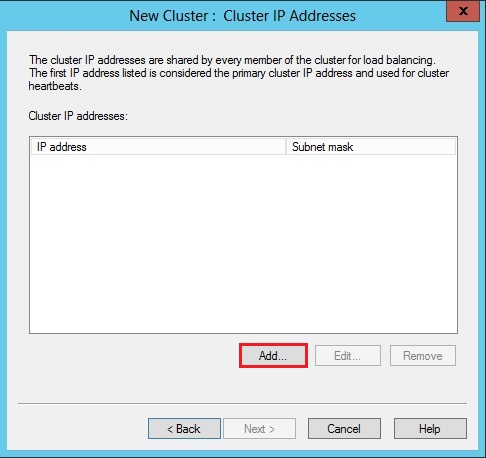
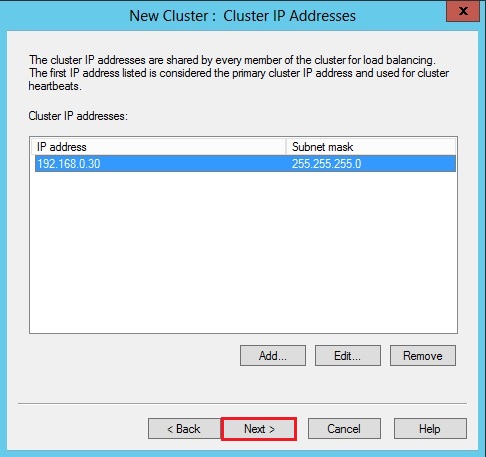
17- Now we will create the cluster IP select Add button.
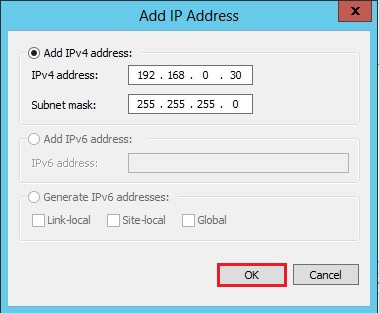
18- Type the IP address which will be used for the Cluster NLB and click on ok.
19- Click Next.
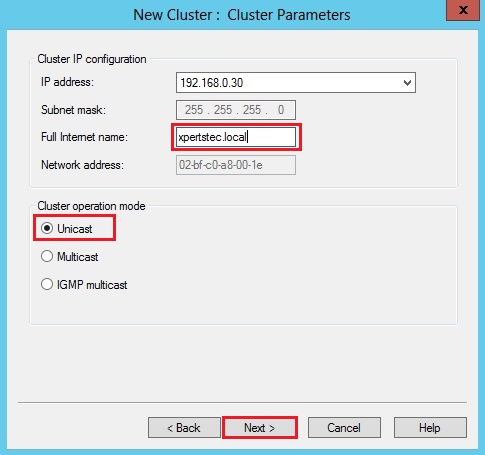
20- you’ll use multiple IP Addresses the add the NLB, that way you’ll run multi-sites on one NLB management but all on different IP Addresses / FQDN names / DNS. And on different ports. Or settings.
Now I select an FQDN for the NLB cluster name (xpertstec.local) and under cluster operation mode select Unicast and click on next.
21- Click Finish.
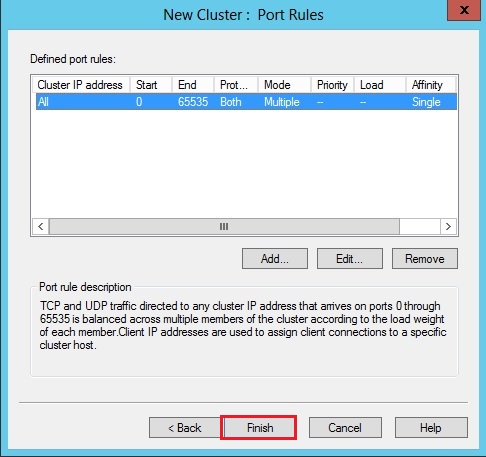
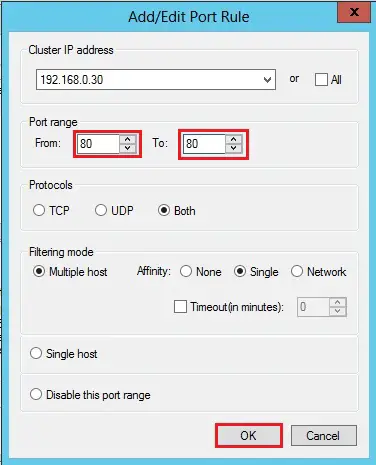
22- Uncheck All box.
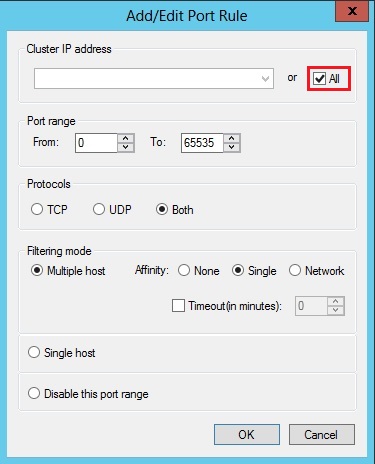
23- After selecting cluster IP Address under port range select from 80 to 80 just the ports that we’d like and click on ok.
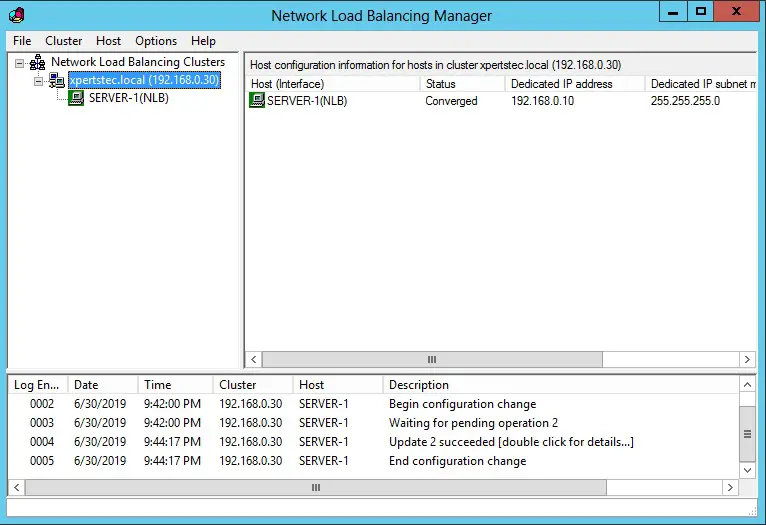
24- Now the cluster is prepared (one node).
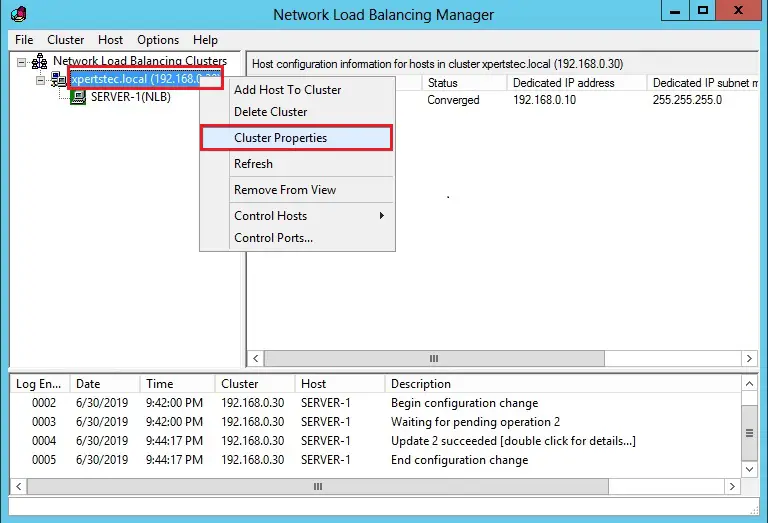
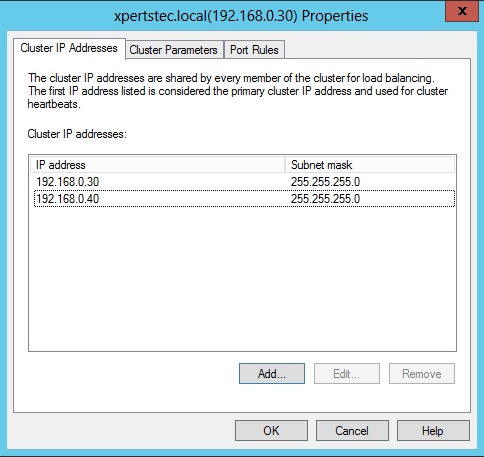
25- Right-click your cluster (xpertstec.local) and choose Cluster Properties.
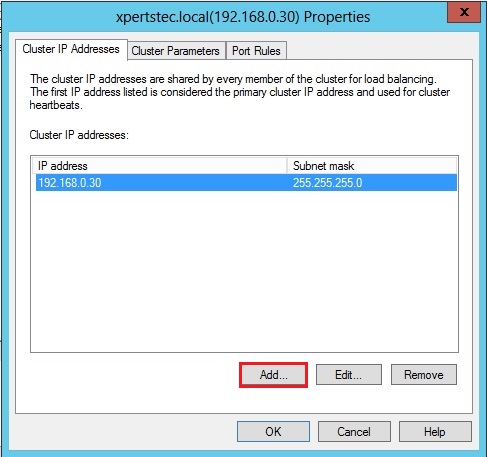
26- Select the cluster IP Address option and click on Add.
27- I added a second IP to the cluster and click on ok.

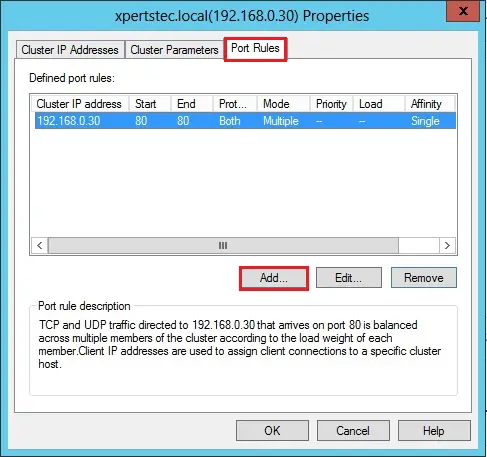
29- Select Port Rules and click on the Add button.
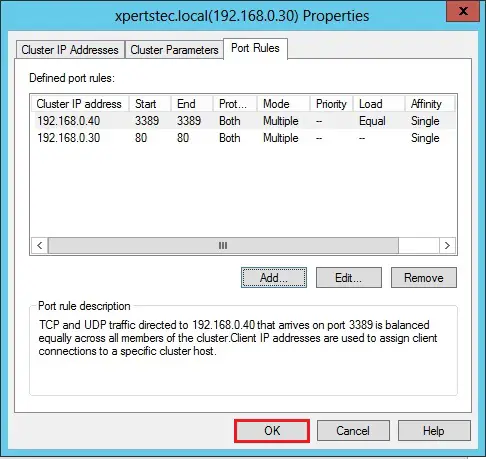
30- Uncheck All and sort the second IP Address of the cluster Select Port range and click on ok.

31- After adding second IP Address, click ok.
Now we’ve two IP addresses and different ports.
Add Host To Cluster
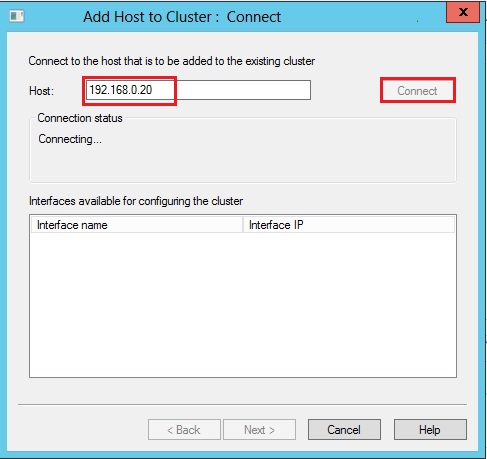
32- Right-click your cluster and choose Add Host To Cluster.
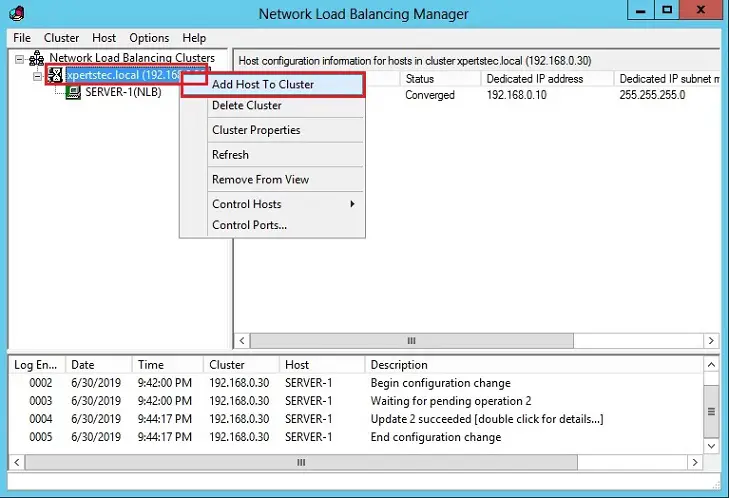
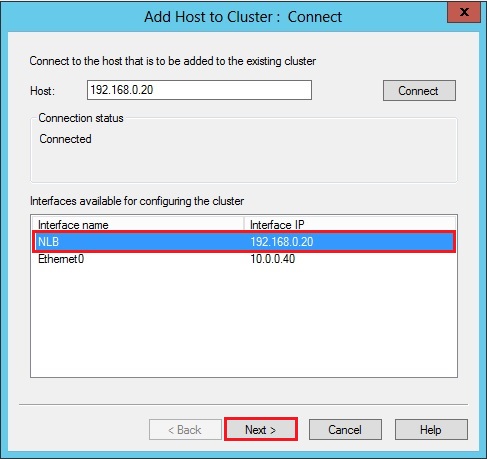
33- Type second node IP address (Server2012-2 – 192.168.0.20) and click on connect.
34- Select the Interface name NLB and click on next.
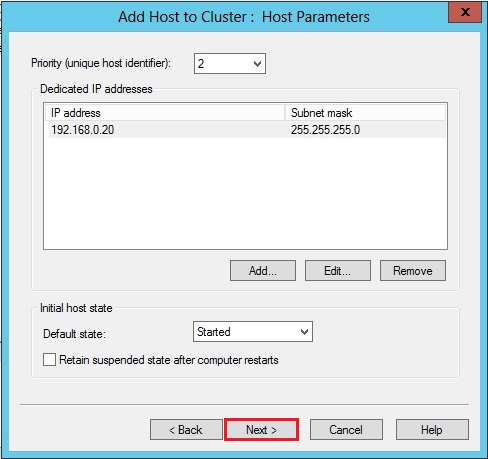
35- Priority (Unique host identifier) select 2 and click on next.
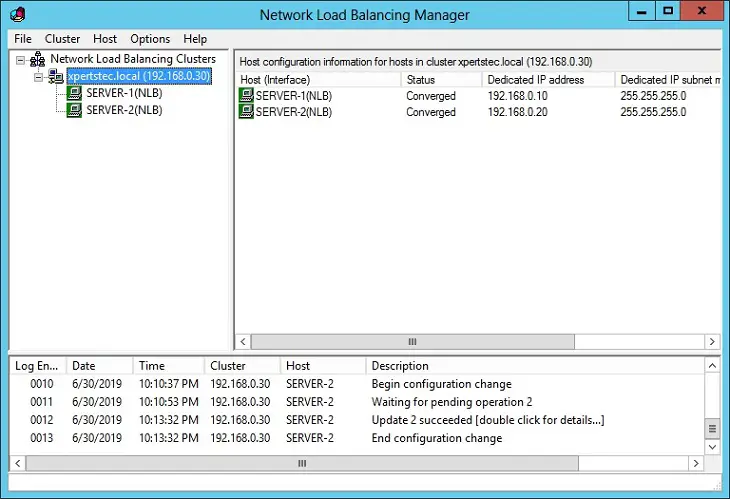
36- Click Finish.
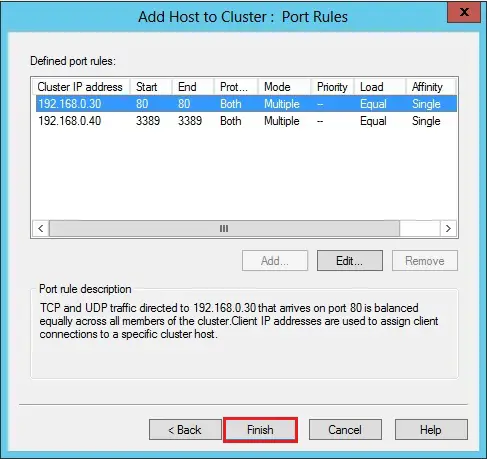
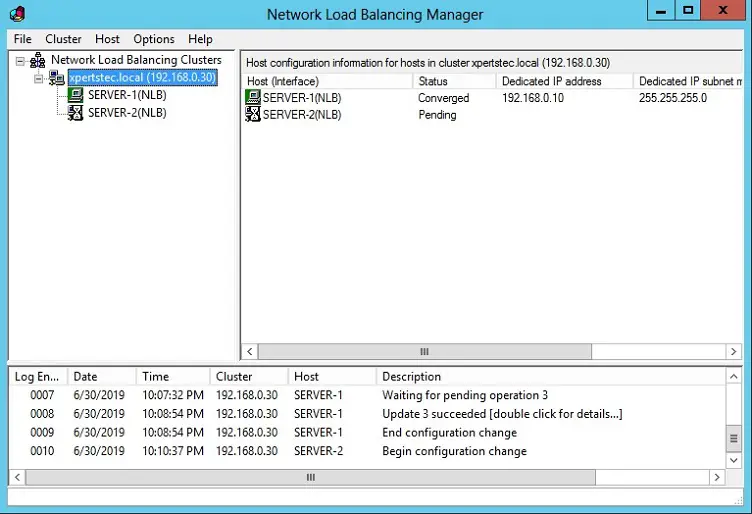
37- Both nodes are now joined to the NLB cluster and that we can build an NLB website.
For more details click Here
Create a Failover Cluster in Windows Server 2012
