Installing and Configuring target iSCSI server in Windows Server 2012
Installing and Configuring Target iSCSI Server 2012
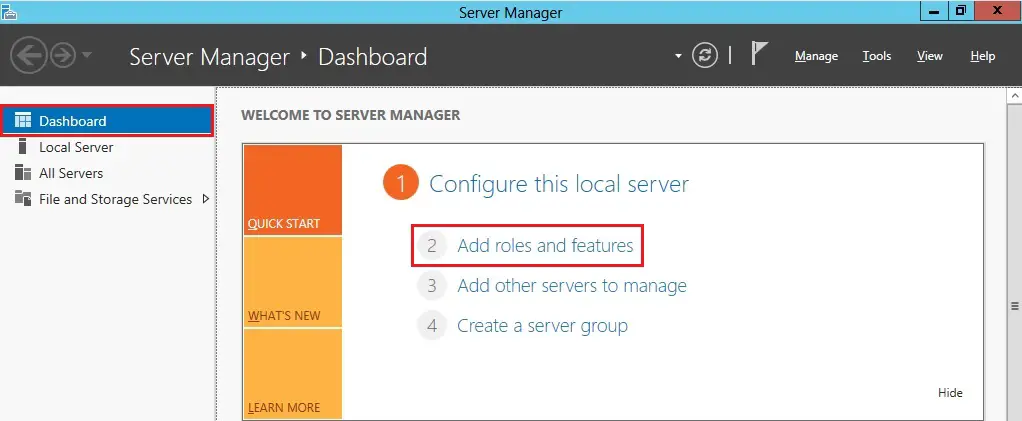
1- Open Server Manager, click Dashboard and then select Add Roles and features.
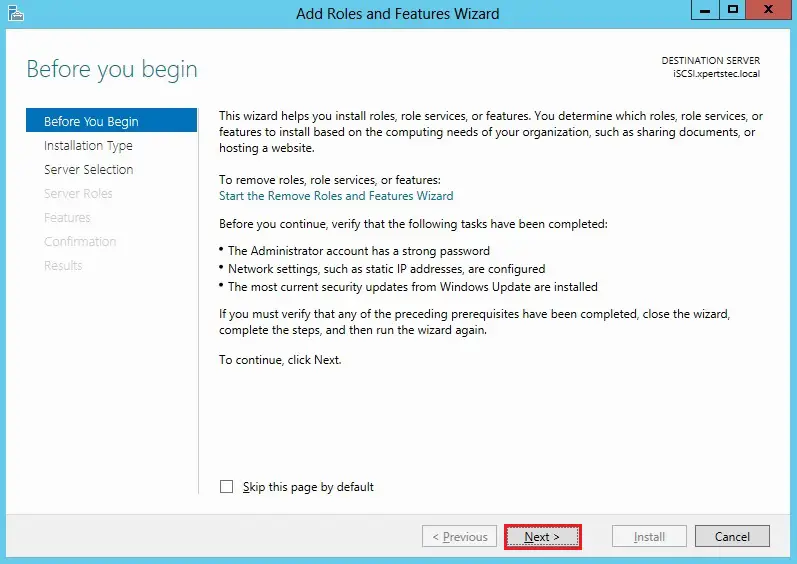
2- Click Next.
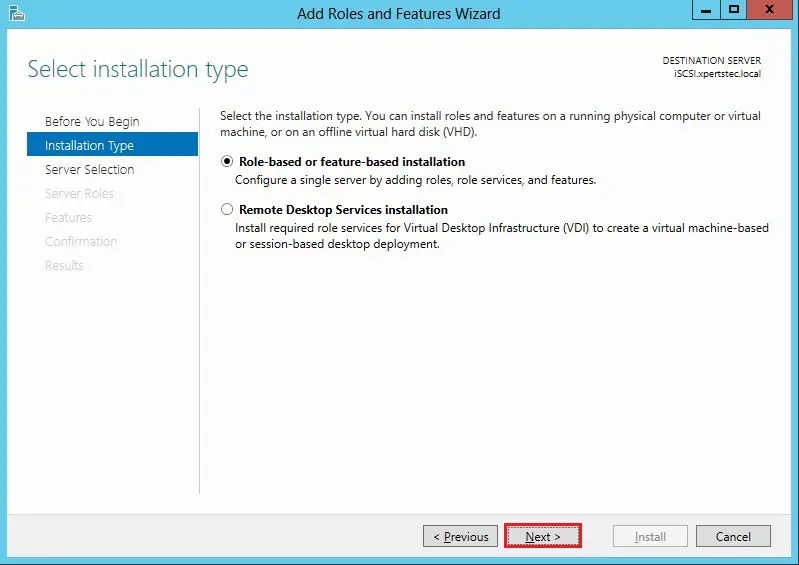
3- Select the Role-based or feature-based installation and then click on the Next button.
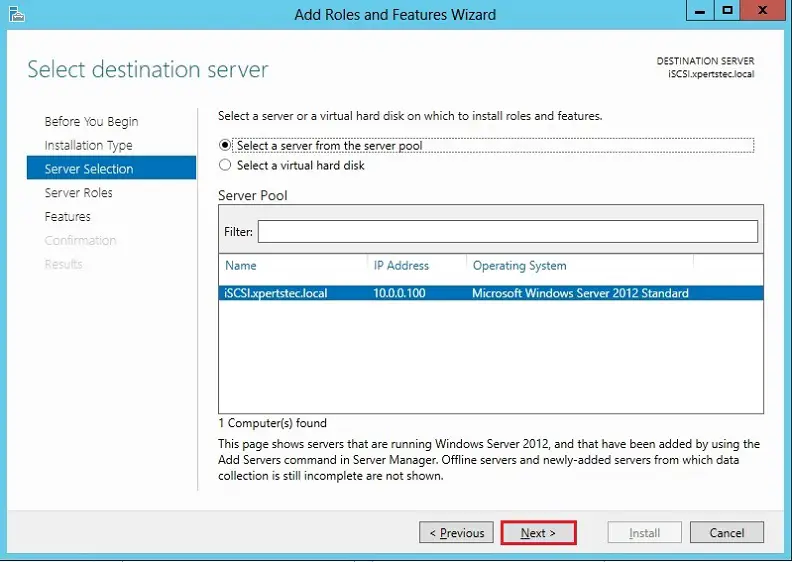
4- Select a server from the server pool and then click on next.
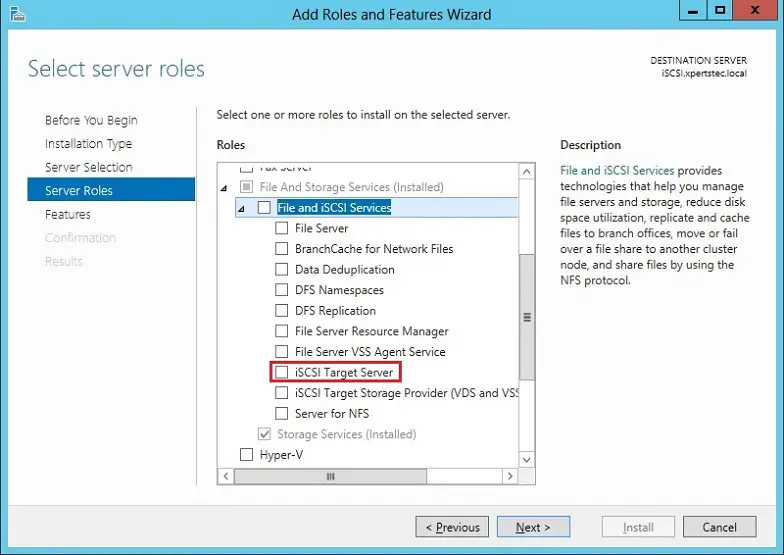
5- Select the iSCSI Target Server box.
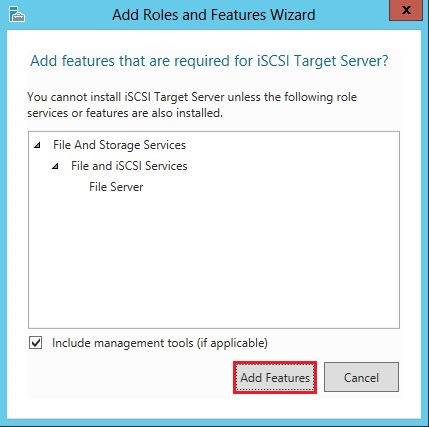
6- Click Add Features.
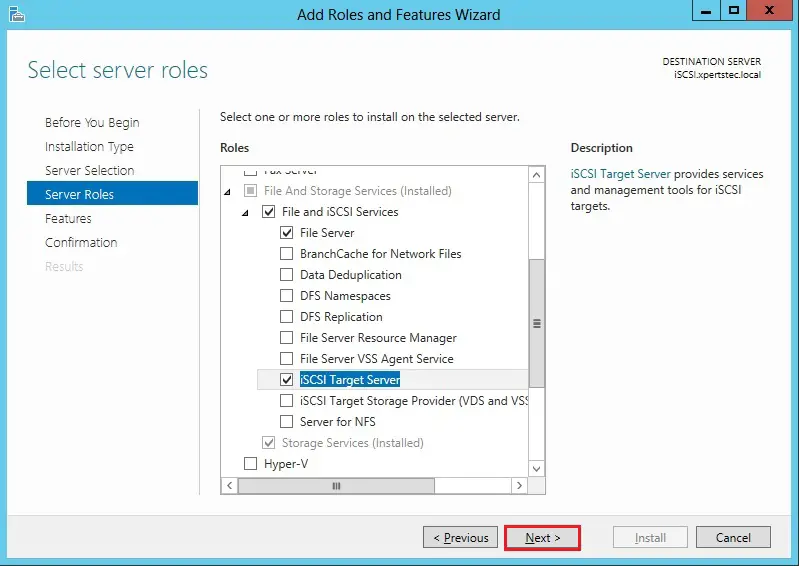
7- After Selecting the iSCSI target server feature and then click next.
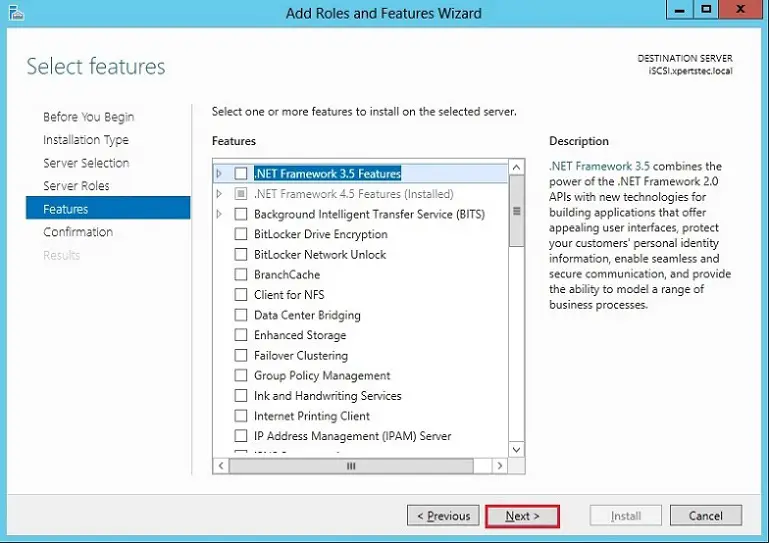
8- Click Next.
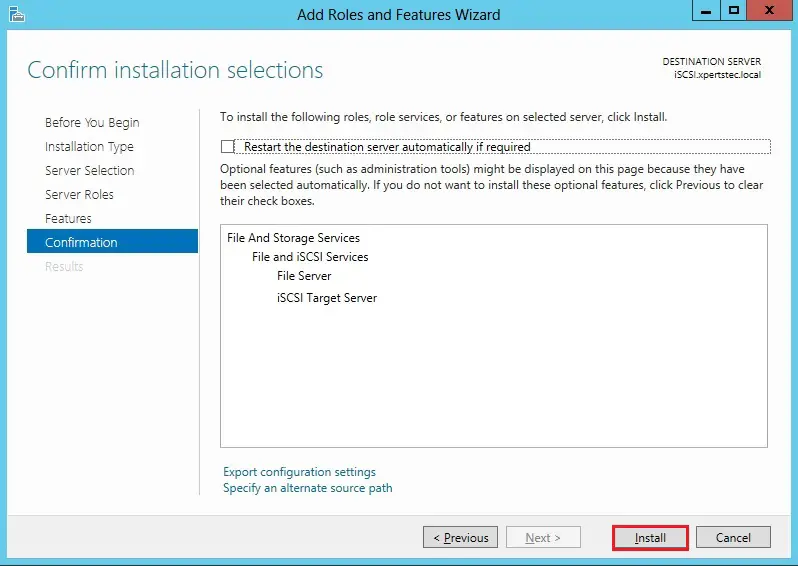
9- Click Install.
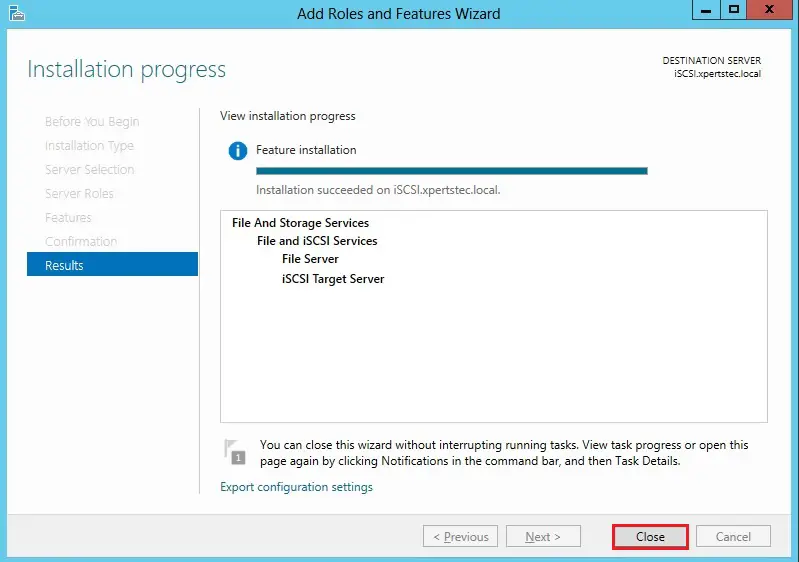
10- iSCSI services successfully installed, so click Close.
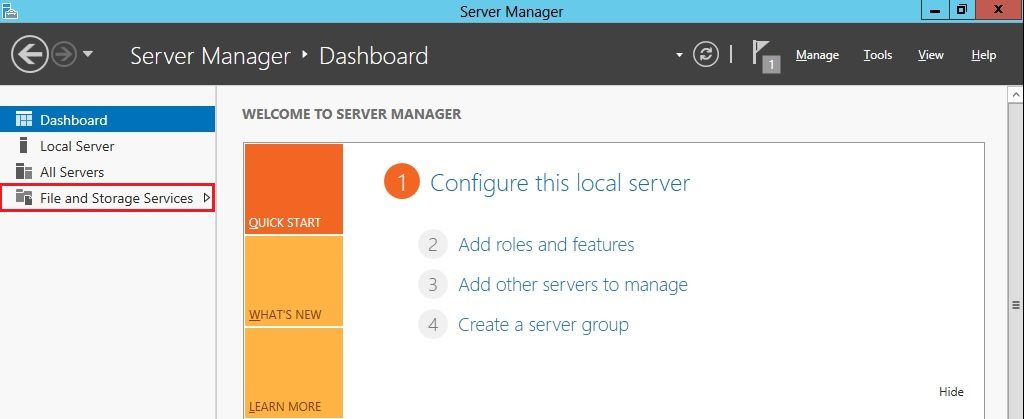
11- Open Server Manager and then click File and Storage Services.
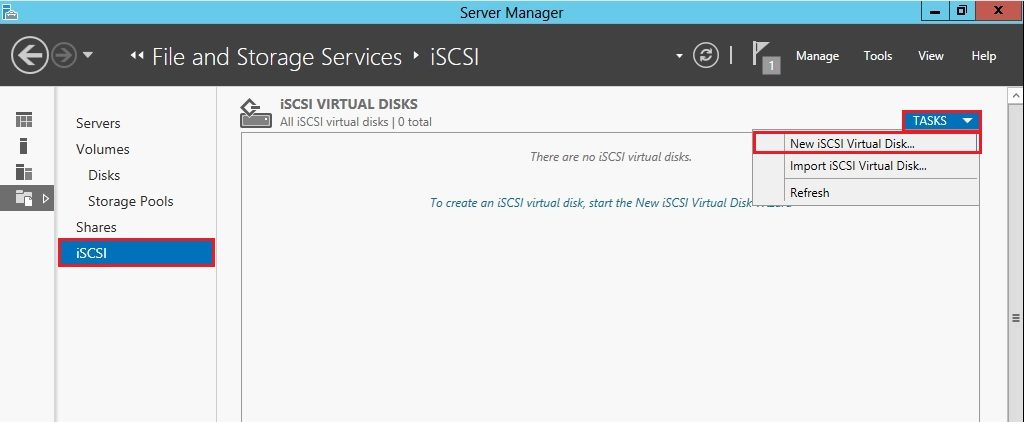
12- Click iSCSI and under iSCSI Virtual Disks click Tasks and then click New iSCSI Virtual Disk.
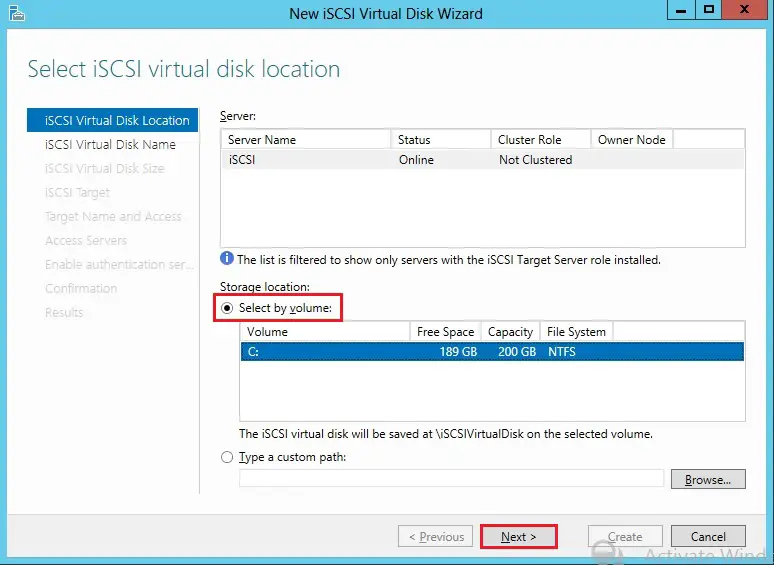
13- Select a volume and click next.
14- Type an iSCSI virtual disk name and click next.

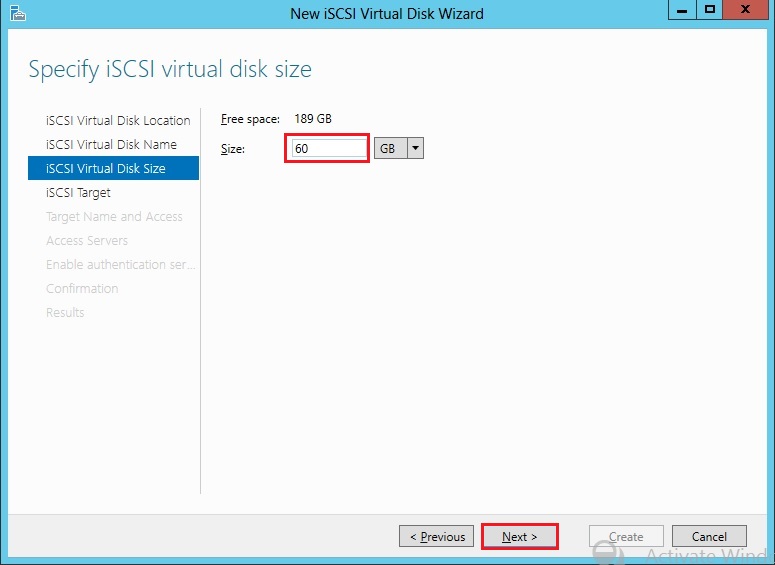
15- Select a Size for the disk in GB and click next.
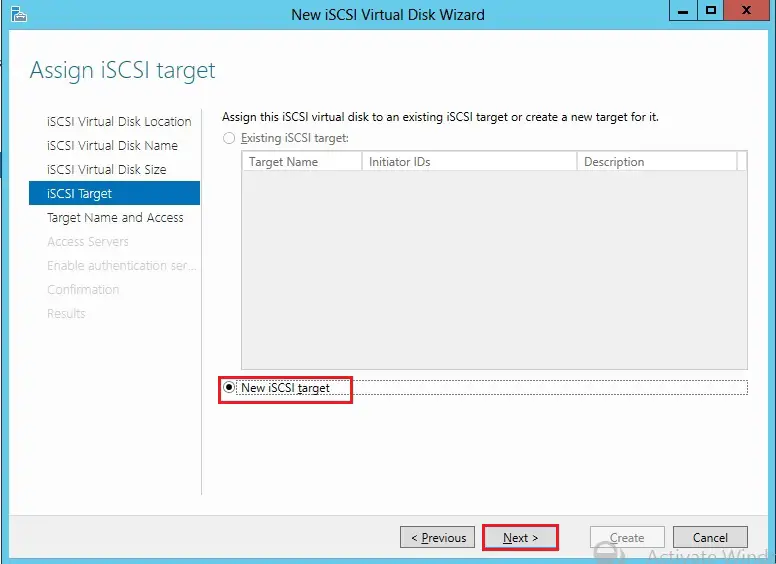
16- Select New iSCSI target and click next.
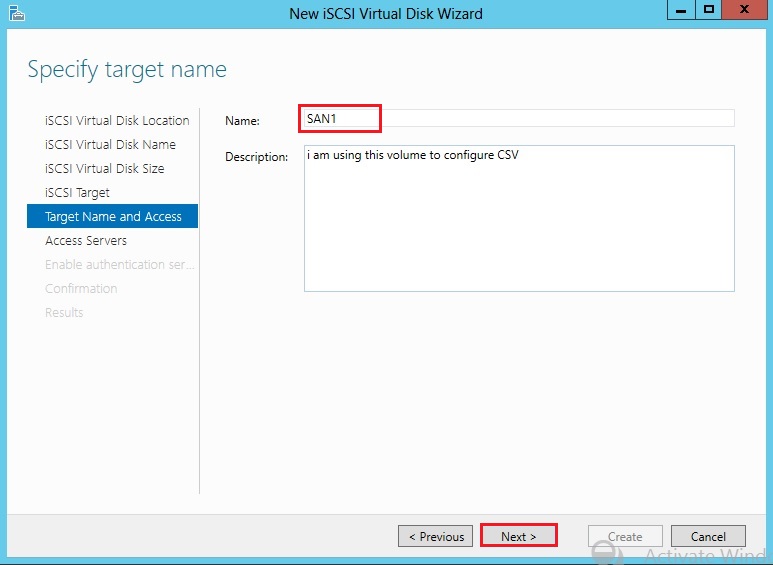
17- Target servers will identify the disk with this Name, so Type a Name, description and click next.
18- Click Add we need to Add all the Servers which will be accessing this disk.
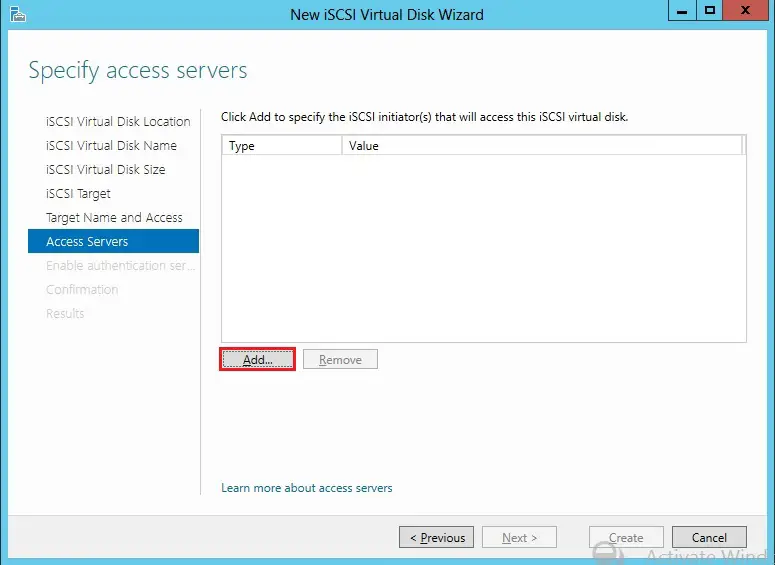
Note: Make sure on the target server you have enabled the iSCSI initiator service.
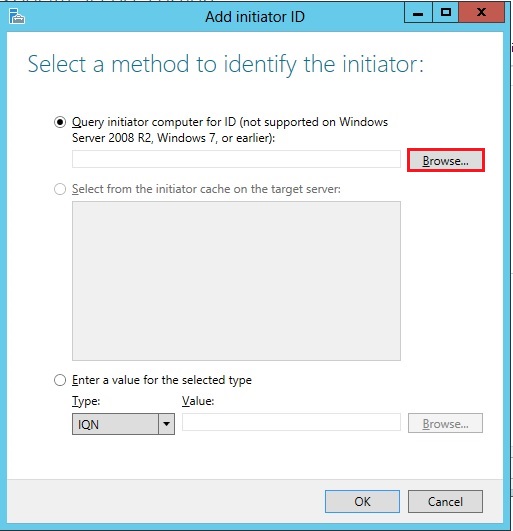
19- Click the Browse button.
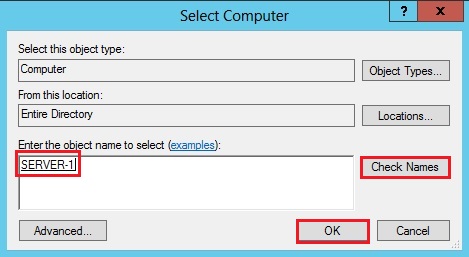
20- Type a node server name, select check names and click ok.
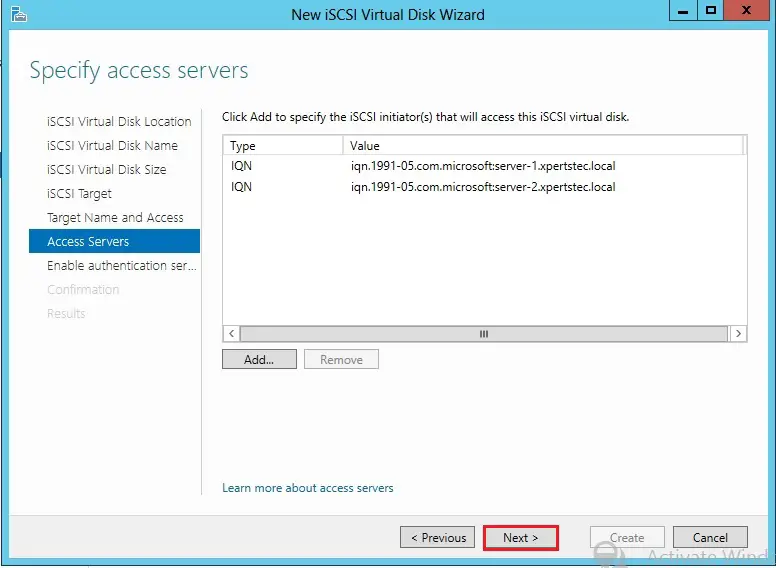
21- Add all the server you want the disk to have access, I have added both the servers (Server-1 and Server-2) and click next.
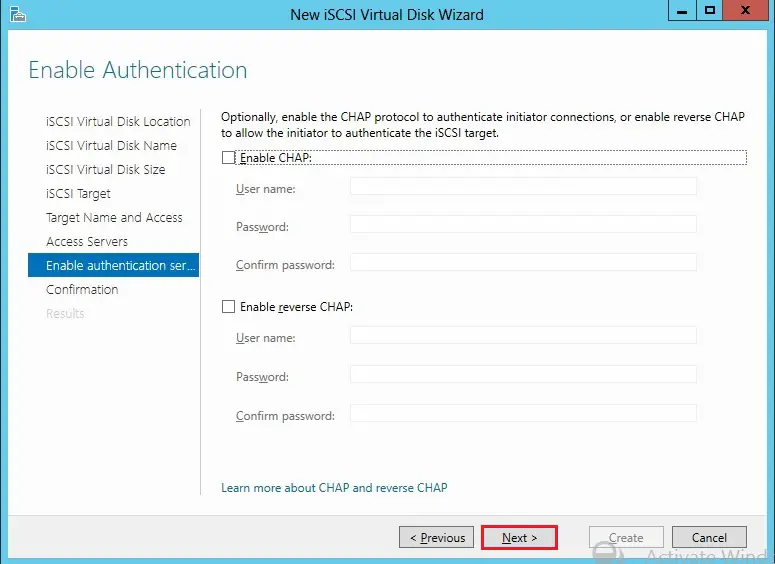
22- Enable any authentication if you need and click next.
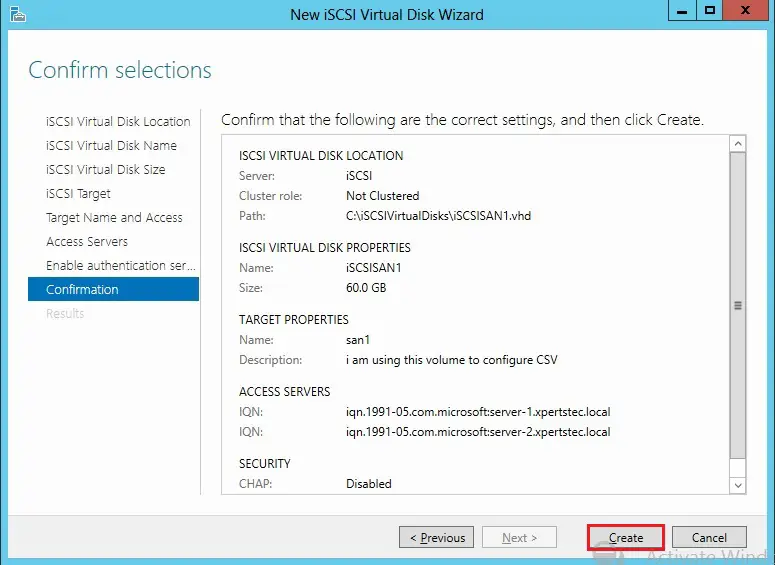
23- Confirm the iSCSI virtual disk settings and click Create.
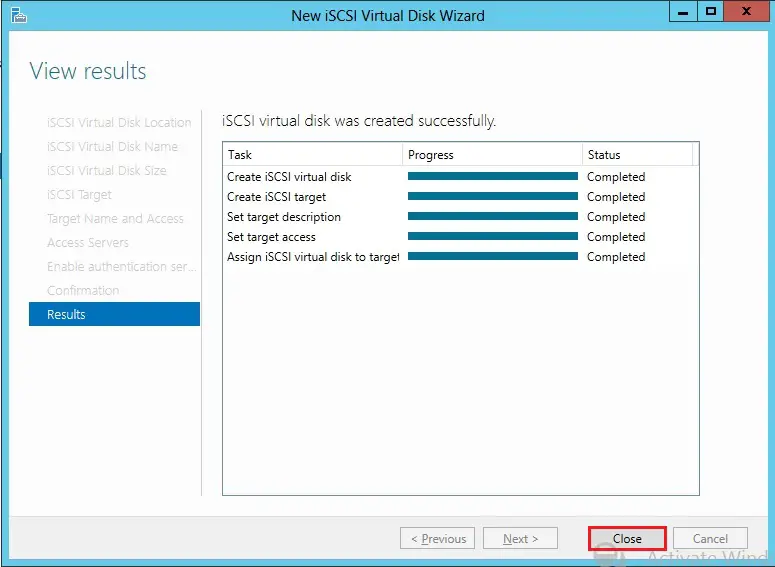
24- Virtual Disk created successfully, click Close.
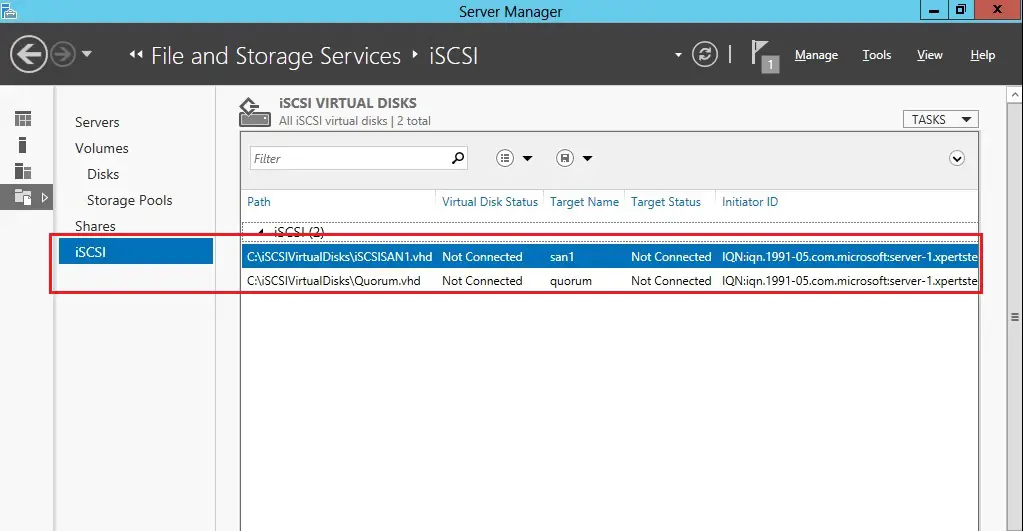
25- Please follow the above steps from (1 to 24) to add one more disk name Quorum.
For more details click here
