In this blog, I will go through the steps installation Windows Server 2019 on a physical PC, Windows Server 2019 was released date October 2, 2018.
You can download Windows Server 2019 in ISO format from Microsoft Website, from Here
System requirements
Processor – 1.4 GHz 64-bit processor
RAM – 512 MB
Disk Space – 32 GB
Network – Gigabit (10/100/1000baseT) Ethernet adapter
Optical Storage – DVD drive (if you want to install the OS from DVD media)
Video – Super VGA (1024 x 768) or higher (optional)
Input Devices, Keyboard & mouse (optional) Internet – Broadband access (optional)
How to Install Windows Server 2019.
1- Insert the DVD or USB installation media, restart your PC and set boot option from computer bios to a DVD drive or USB.
Press any key else from CD or DVD……..

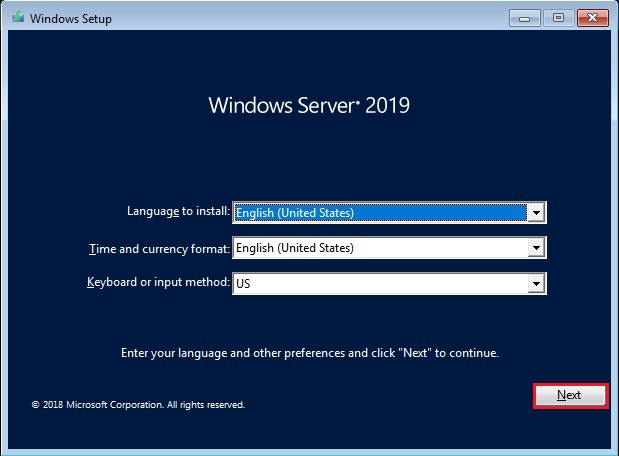
2- Windows Server 2019 setup > select language to put in > Time and currency format > keyboard or input method and click on next.
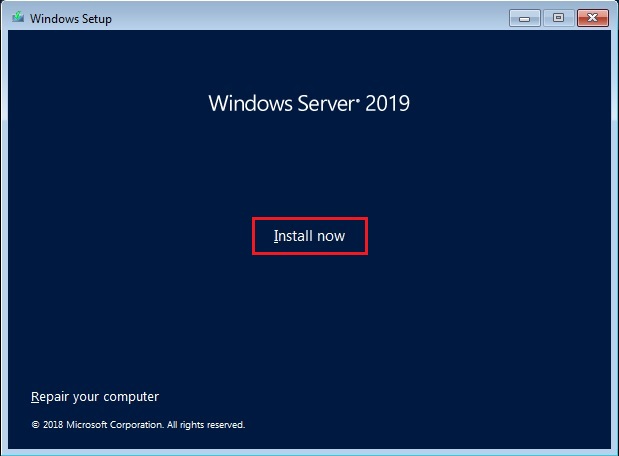
3- Click Install Now to start out the windows server 2019 installation.
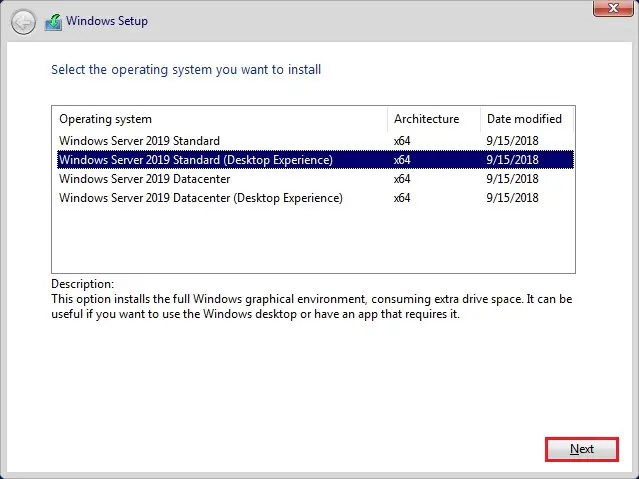
4- Only two versions of the windows server 2019 are available, Standard and Datacenter
Select the server version you would like to put in and click on next.
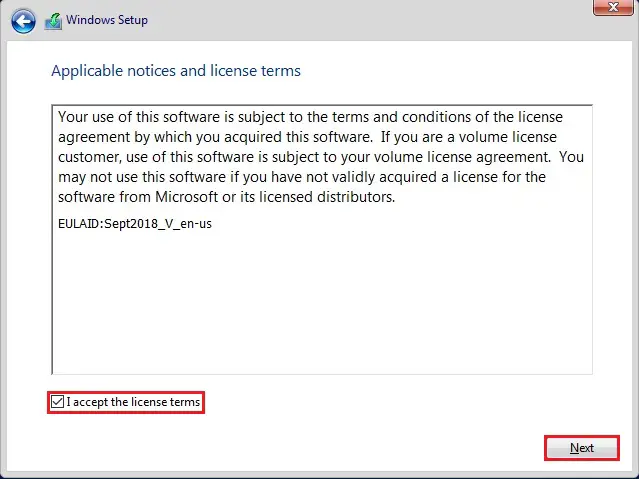
5- Select I accept the license terms and click on next.
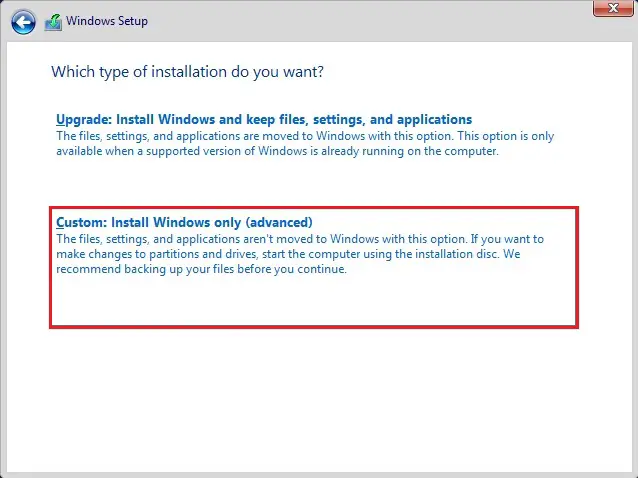
6- Upgrade option: > the previous version of windows server 2012 or 2016 to 2019. Select Custom option: Install Windows only (advanced)
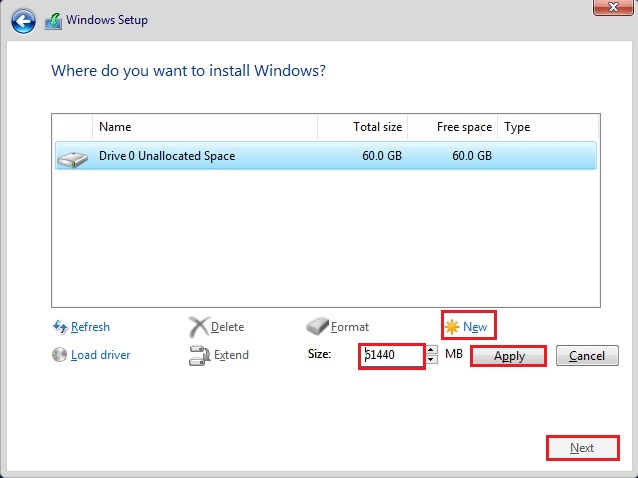
7- Select partition where you would like to put in Windows or Create partition click new select size click apply and click on next.
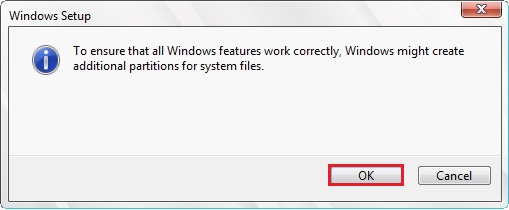
8- Click OK.
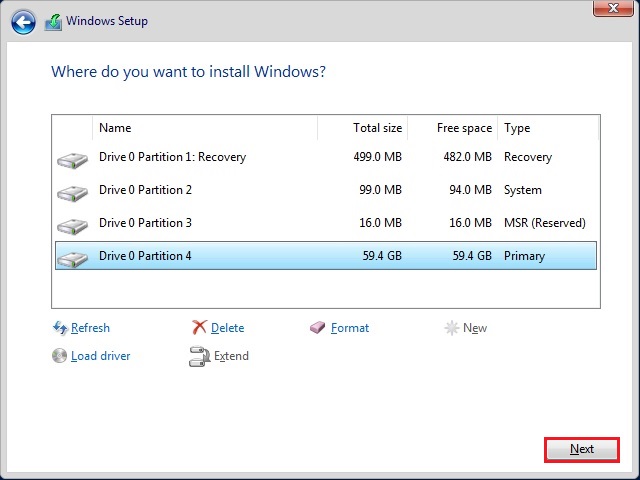
9- Select the partition where you would like to put in Windows server 2019 and click on next.
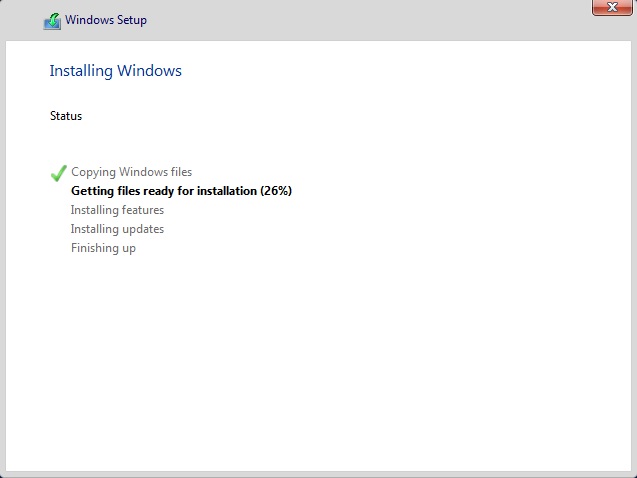
10- The windows setup takes some minutes to repeat all the specified files then installs the Windows Server 2019.
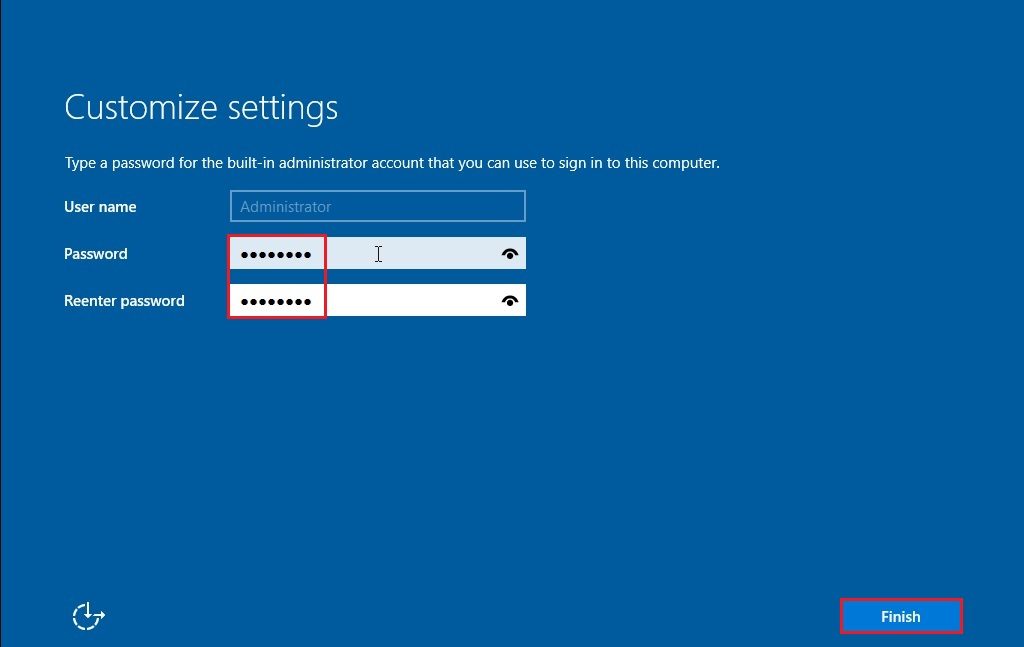
11- After restarting several times create a password for the administrator and click on Finish.
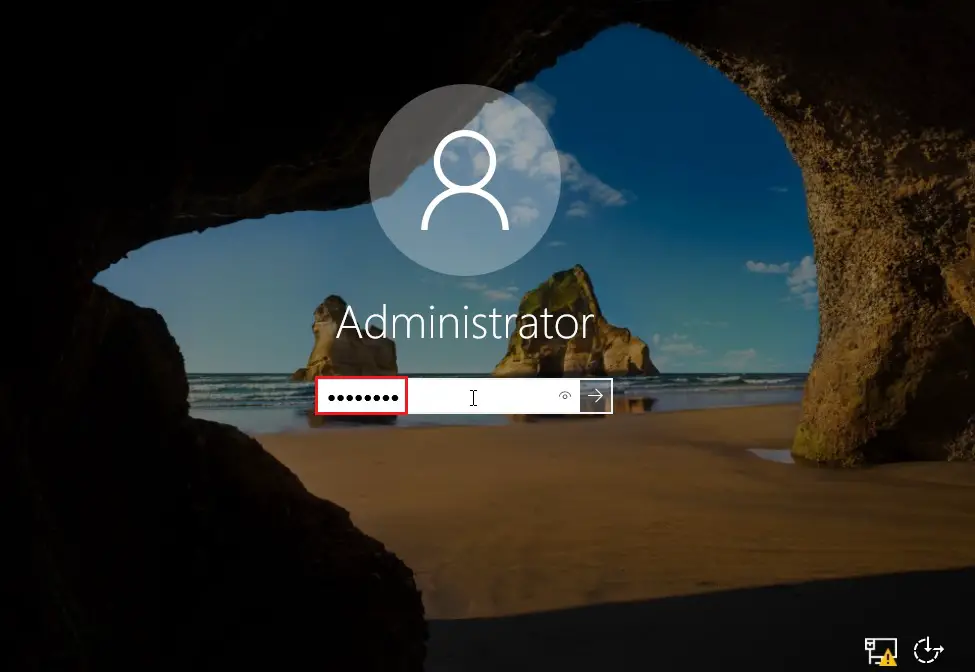
12- Finally server is prepared to type your administrator password and press enter to login.
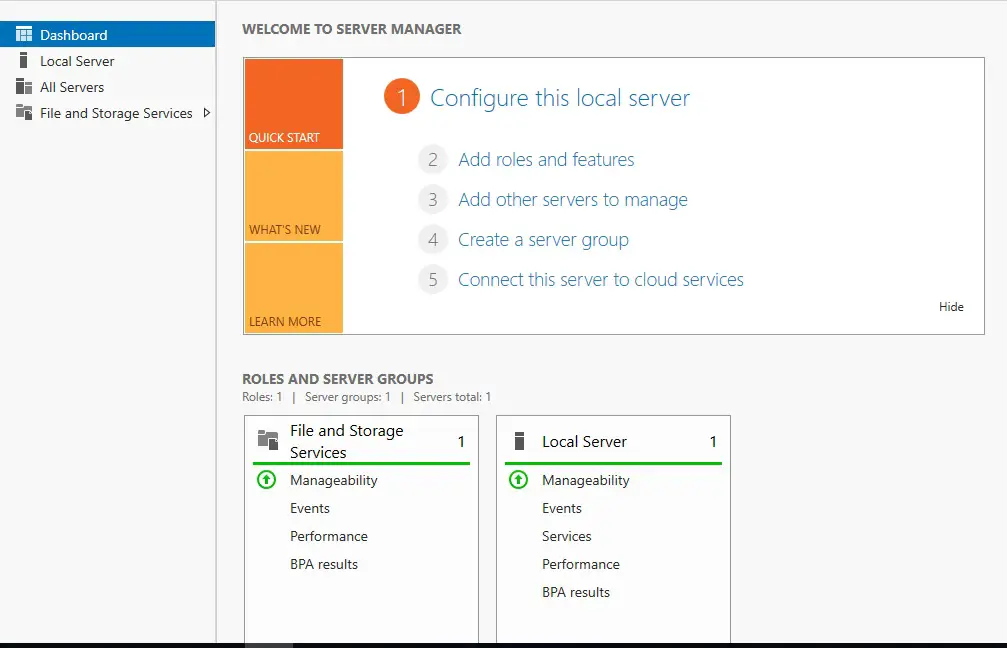
13- Windows Server 2019 Server Manager.
For more information click Here
