In this blog, I will explain how to install an Additional Domain Controller (ADC) in Windows server 2019. An additional domain controller is a backup domain
1- Click the Windows start button and choose the server manager.
![Windows server menu](https://xpertstec.com/wp-content/uploads/2019/09/windows-server-2019-desktop-1.jpg)
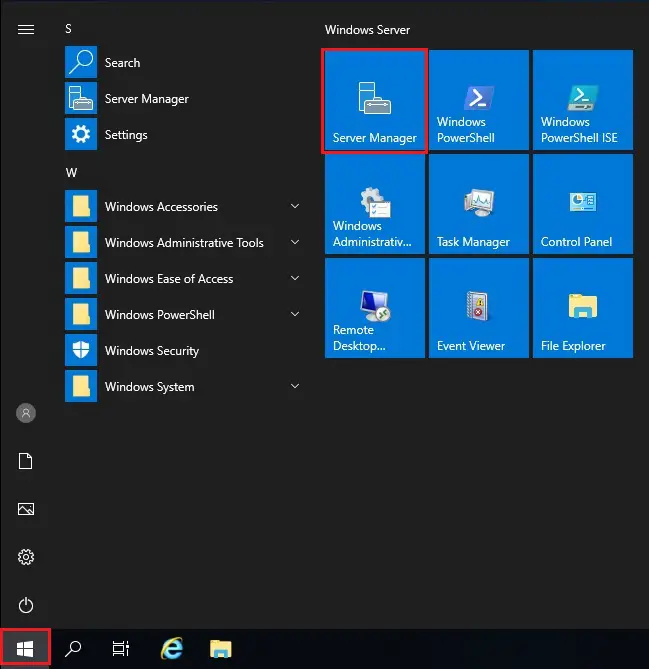
Install Additional Domain Controller
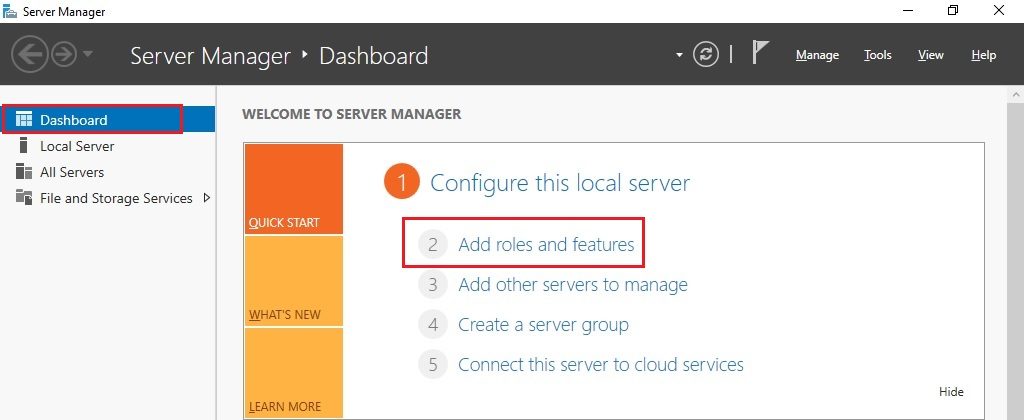
2- Windows Server Manager, Dashboard, Under configure this local server and select Add roles and features.
![server manager](https://xpertstec.com/wp-content/uploads/2019/09/server-2019-server-manager-1024x420.jpg)
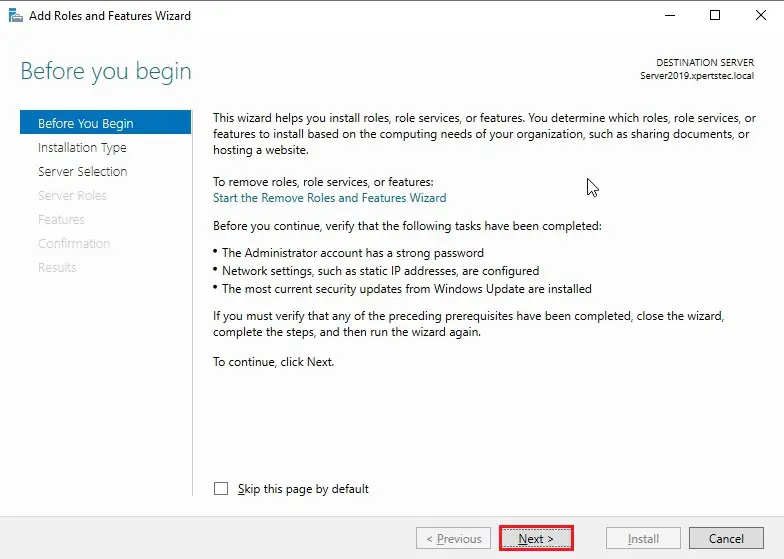
3- Add roles and features wizard so, click on next.
![add roles and features](https://xpertstec.com/wp-content/uploads/2019/09/server-2019-add-role-and-feature-wizard-2.jpg)
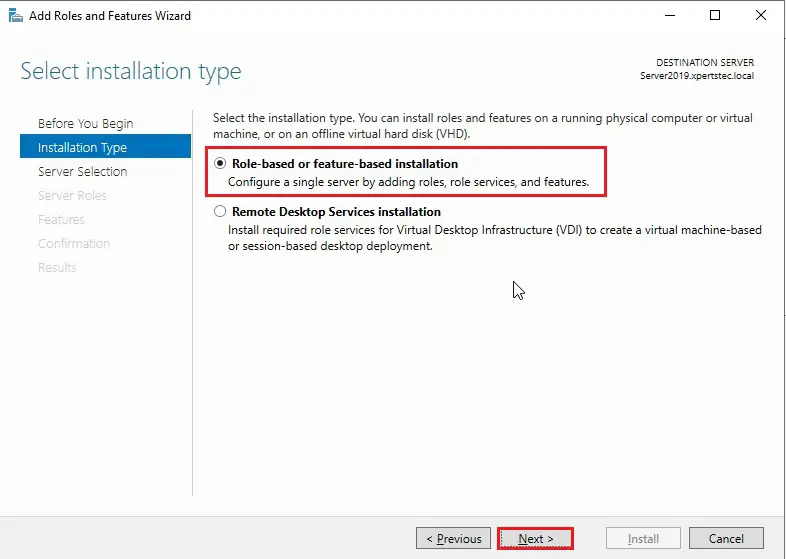
4- Installation Type so, select Role based or feature-based installation and then click on next.
![roles and features installation type](https://xpertstec.com/wp-content/uploads/2019/09/add-role-based-or-feature-based-8.jpg)
5- Select a server from the server pole and then click on ext.
![server selection](https://xpertstec.com/wp-content/uploads/2019/09/server-2019-server-selection-2.jpg)
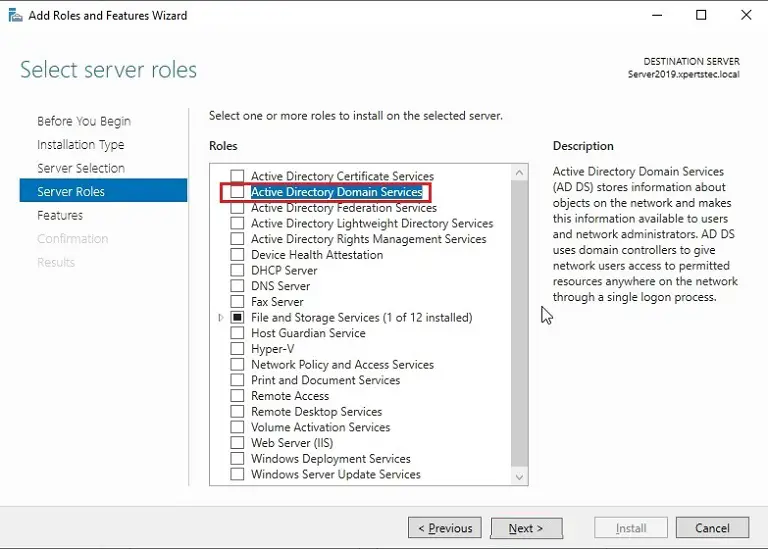
6- Select the Active Directory Domain Services box.
![server roles](https://xpertstec.com/wp-content/uploads/2019/09/server-2019-role-active-directory-domain-services-3.jpg)
7- Select Add Features that are required for the Active Directory Domain Services.
![features for active directory domain controller](https://xpertstec.com/wp-content/uploads/2019/09/server-2019-add-features-3.jpg)
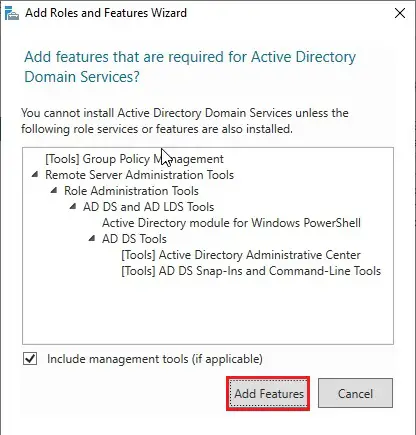
8- After selecting the active directory features so, click next.
![server roles active directory domain controller](https://xpertstec.com/wp-content/uploads/2019/09/server-2019-active-directory-server-role-2.jpg)
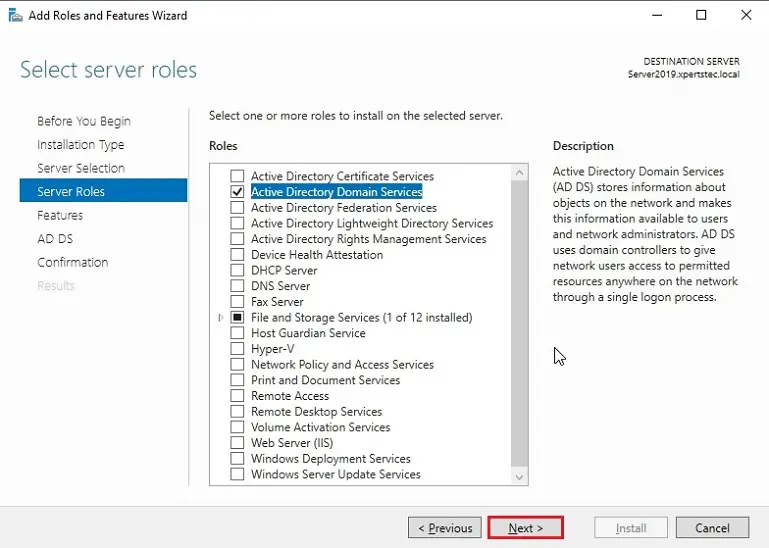
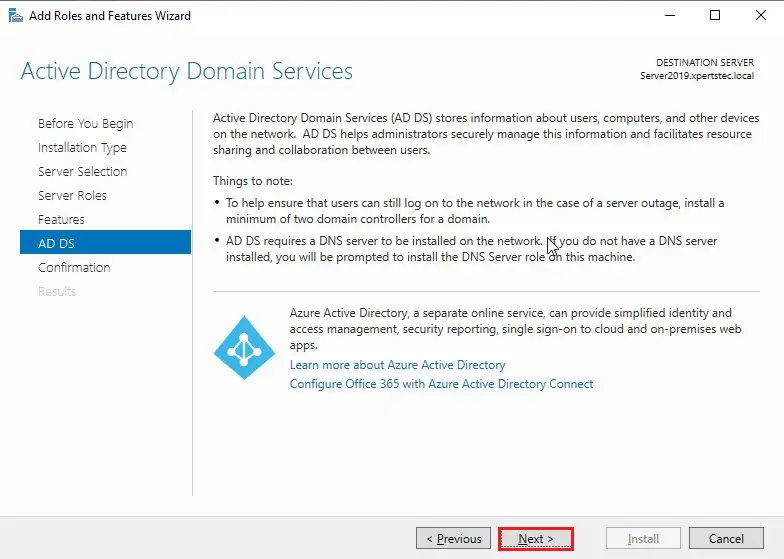
9- Active directory add roles and features wizard and click on next button.
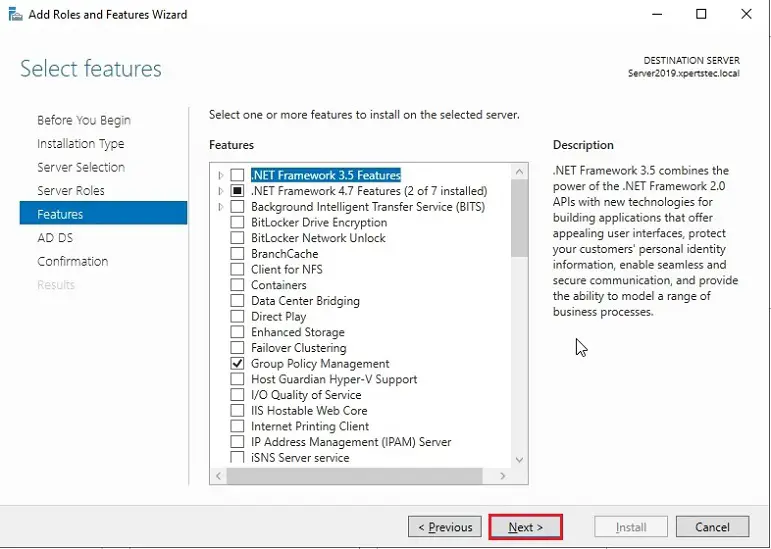
![add roles and features wizard features](https://xpertstec.com/wp-content/uploads/2019/09/server-2019-active-directory-features-2.jpg)
10- Now click Next.
![install active directory domain controller](https://xpertstec.com/wp-content/uploads/2019/09/server-2019-wizard-ad-ds-1.jpg)
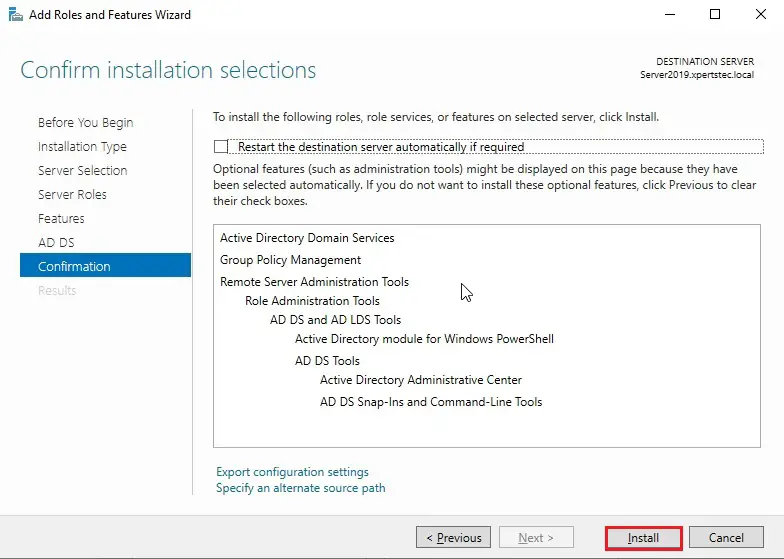
11- So, click the Install button to start out the active directory installation.
![active directory domain controller confirmation](https://xpertstec.com/wp-content/uploads/2019/09/server-2019-confirm-installation-1.jpg)
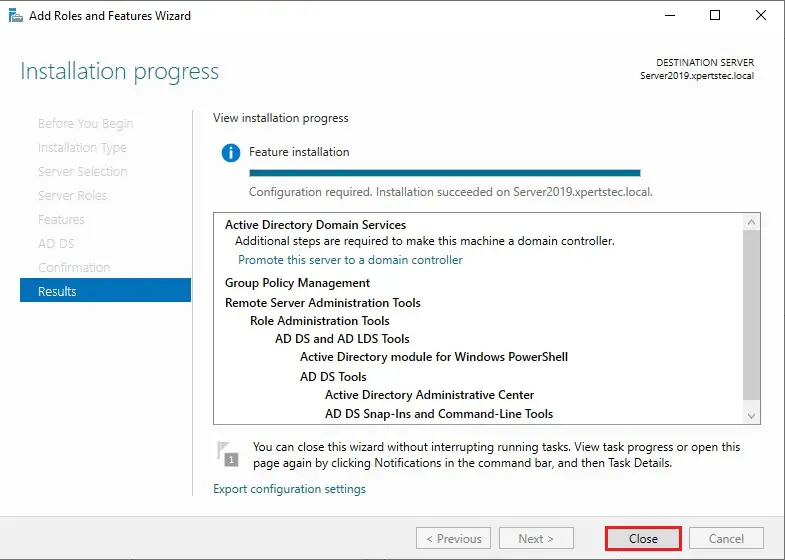
12- After active directory installation and click on Close.
![add roles and features wizard results](https://xpertstec.com/wp-content/uploads/2019/09/server-2019-installation-selections-1.jpg)
Promote Domain Controller
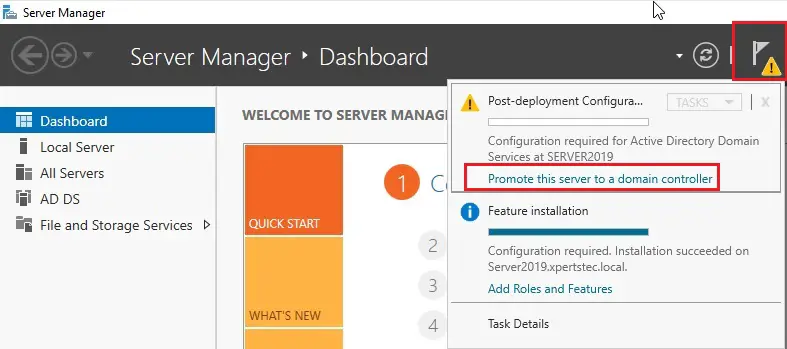
13- In Server Manager click warning message and then click on Promote this server to a website controller.
![post deployment configuration](https://xpertstec.com/wp-content/uploads/2019/09/server-2019-promote-this-server-1.jpg)
14- Select the deployment operation (Add a DC to an existing domain). then click the select button and browse to xpertstec.local, verify that credentials are Administrator and then click on next.
![install additional domain controller](https://xpertstec.com/wp-content/uploads/2019/09/server-2019-deployment-configuration-1.jpg)
15- If you get this message Verification of replica failed so, please cancel the setup and then follow the below steps.
![Verification of replica failed error](https://xpertstec.com/wp-content/uploads/2019/09/verification-replica-failed-server-2019.jpg)
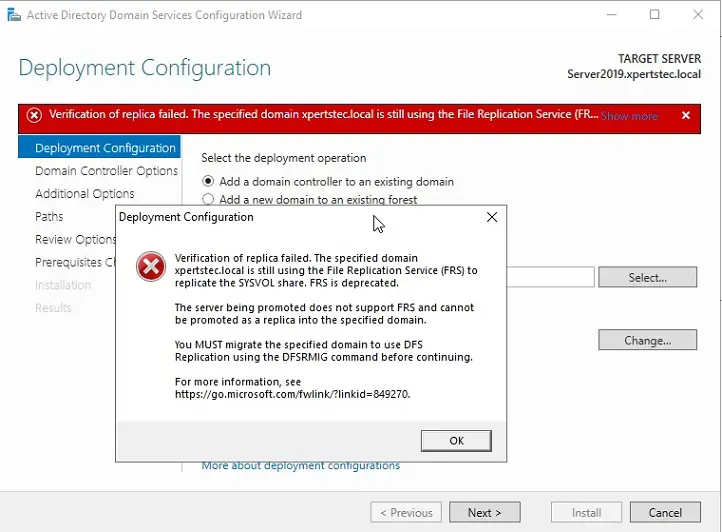
Update you’ll verify if the system uses the FRS using follow below steps
SYSVOL migration from FRS to DFSR Click Here
16- Return again open Server Manager click warning message and then click on Promote this server to a DC.
![post deployment configuration](https://xpertstec.com/wp-content/uploads/2019/09/server-2019-promote-this-server-2.jpg)
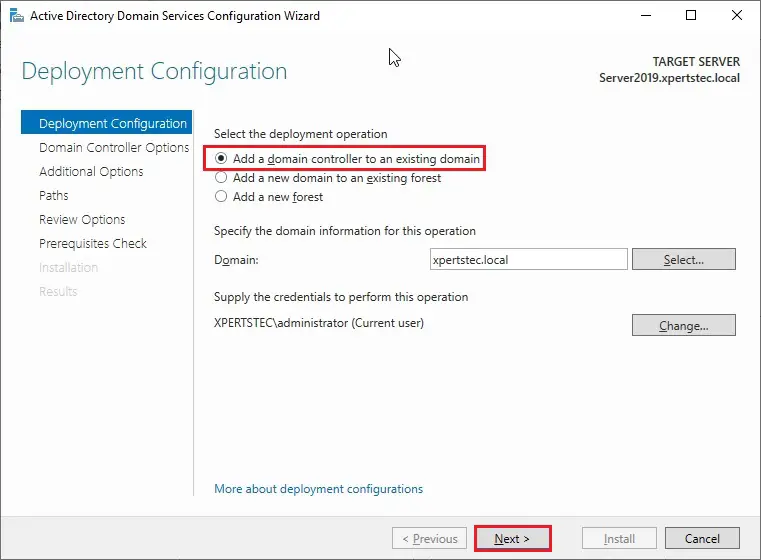
17- Deployment Configuration option So, Select Add a domain controller to an existing DC, and then click the select button and browse to xpertstec.local, verify that credentials are Administrator and then click on next.
![install additional domain controller](https://xpertstec.com/wp-content/uploads/2019/09/server-2019-deployment-configuration-2.jpg)
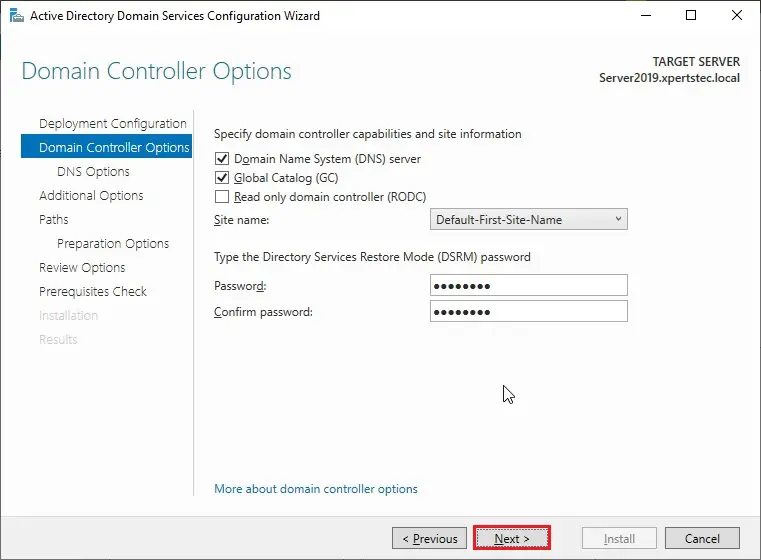
18- Verify that the name System (DNS) server and Global Catalog (GC) are selected and sort the directory services restore mode DSRM Password and then click on next.
![domain controller capabilities](https://xpertstec.com/wp-content/uploads/2019/09/server-2019-domain-controller-options-1.jpg)
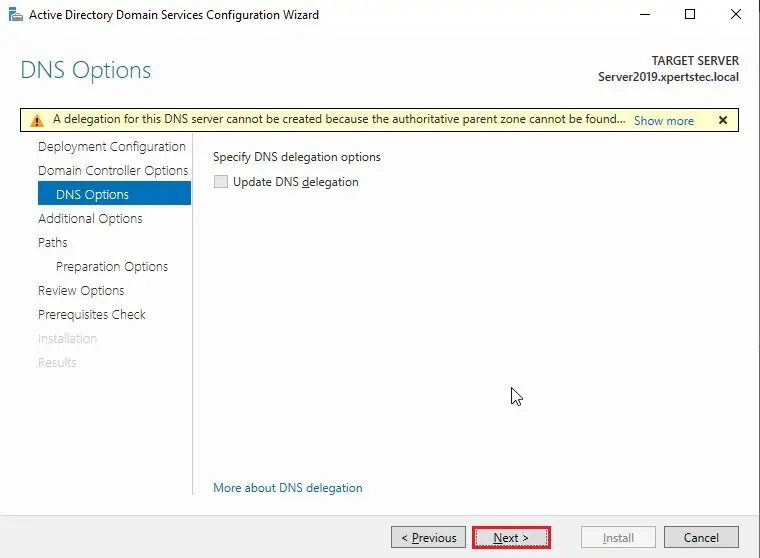
19- Ignore the DNS options warning and then click on next.
![active directory server wizard dns options](https://xpertstec.com/wp-content/uploads/2019/09/server-2019-dns-options-1.jpg)
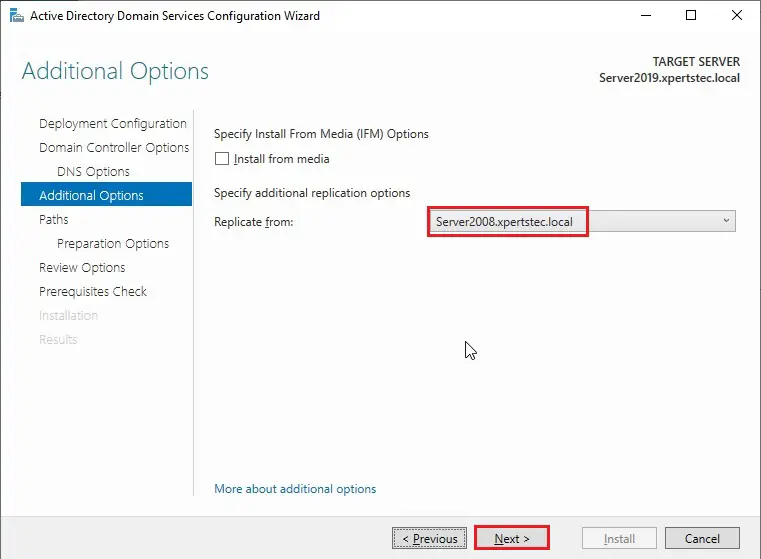
20- Specify Additional replication Options interface, besides the Replicate from Select Server2008.xpertstec.local and then click on next.
![additional domain controller options](https://xpertstec.com/wp-content/uploads/2019/09/server-2019-additional-options-1.jpg)
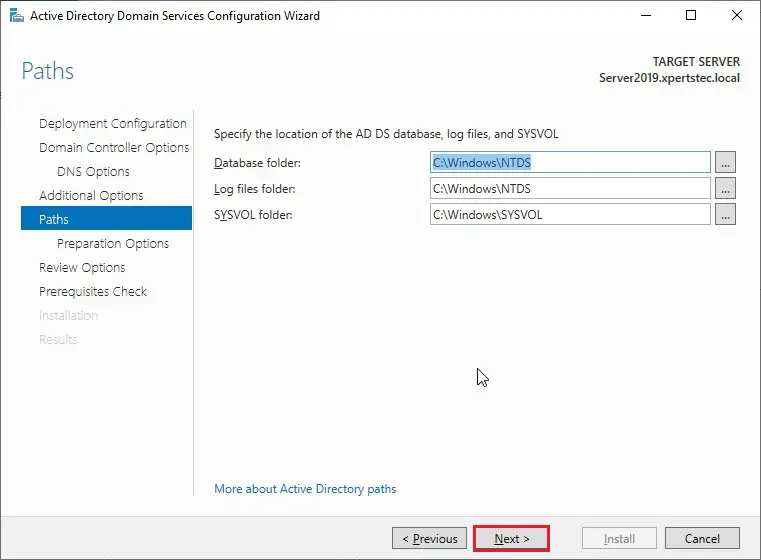
21- Specify the situation of the AD DS database, log files, and SYSVOL folders and then click on next.
![database and log files paths](https://xpertstec.com/wp-content/uploads/2019/09/server-2019-ad-ds-database-1.jpg)
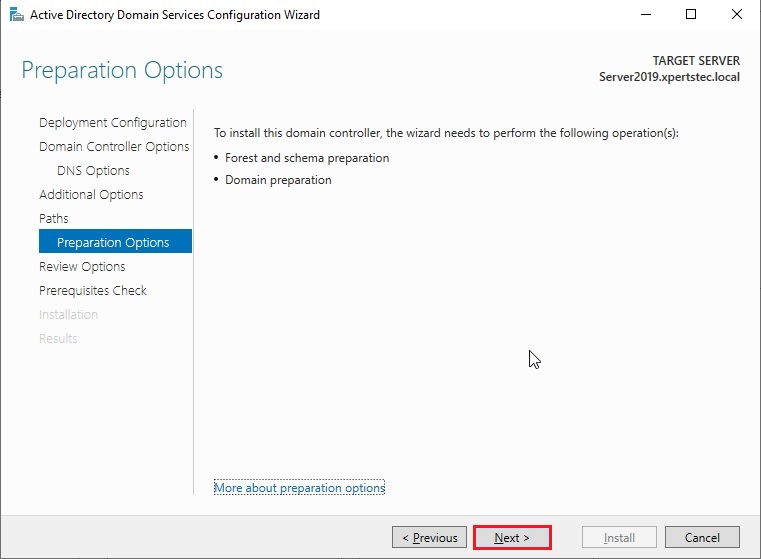
22- Active directory 2019 preparation options and then click Next.
![server preparation options](https://xpertstec.com/wp-content/uploads/2019/09/server-2019-preparation-options.jpg)
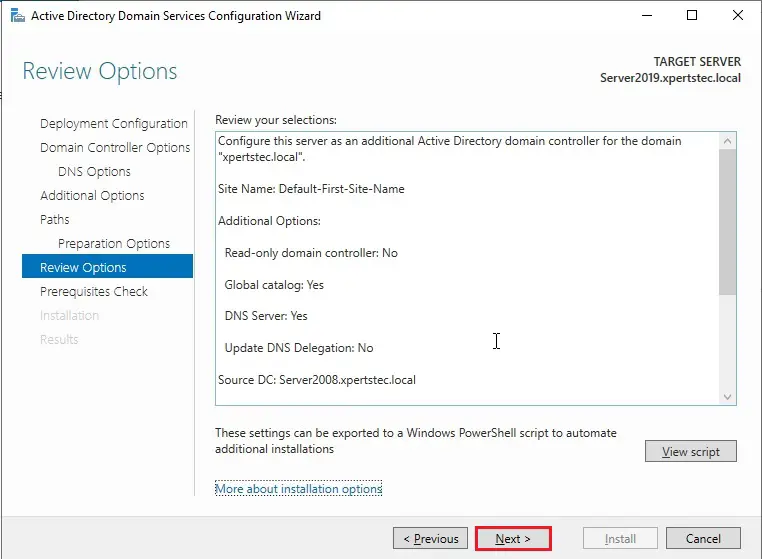
23- Review the choices interface so, verify all the knowledge and then click on next.
![additional domain controller review options](https://xpertstec.com/wp-content/uploads/2019/09/server-2019-review-options-1.jpg)
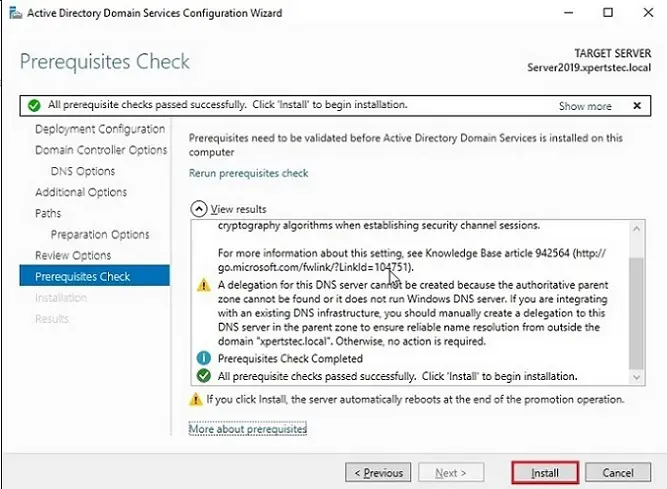
24- On the prerequisites check to verify that each one prerequisites checks passed successfully and then click on Install.
![server prerequisites check](https://xpertstec.com/wp-content/uploads/2019/09/server-2019-prerequisite-check-1.jpg)
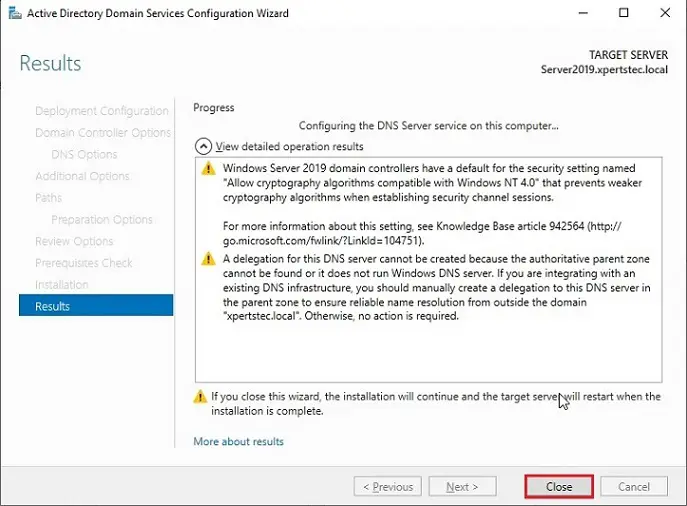
25- Now please awaits jiffy for the method to finish and then click on Close.
![](https://xpertstec.com/wp-content/uploads/2019/09/active-directory-2019-configuration-wizard-result.jpg)
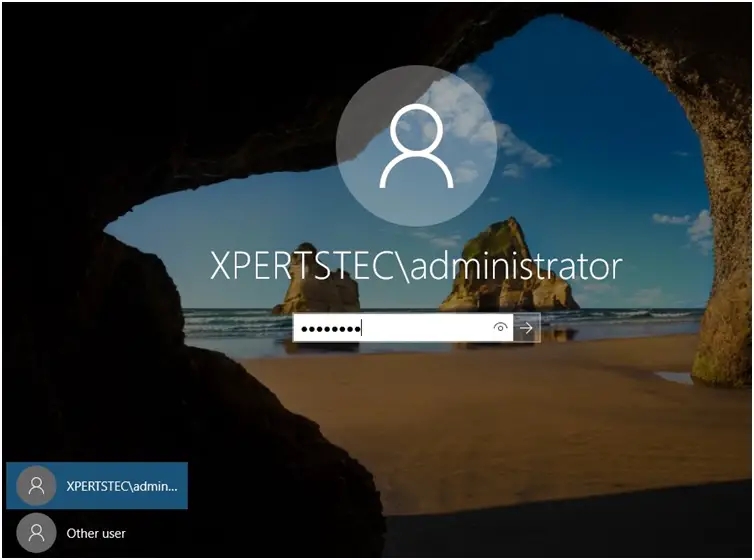
26- After restarting windows Server 2019 operating system and then log in as Domain Administrator.
![server login](https://xpertstec.com/wp-content/uploads/2019/09/server-2019-domain-admin-login.jpg)
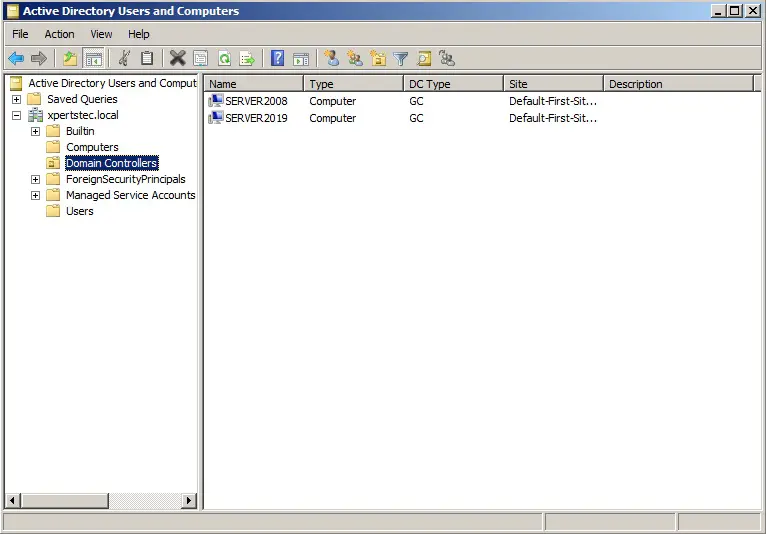
27- Then log in to your DC, open active directory users and computers, expand your domain.local (xpertstec.local) and then choose DC and here you’ll find the extra DC.
![active directory users and computers](https://xpertstec.com/wp-content/uploads/2019/09/active-directory-users-and-computers.jpg)
Watch this video on our YouTube Channel
For more details click here