Install Desktop Experience in windows server 2012, these feature allows you to install a choice of applications & features that are arranged in the server client operating system on your server that is running a Windows Server.
Powershell command
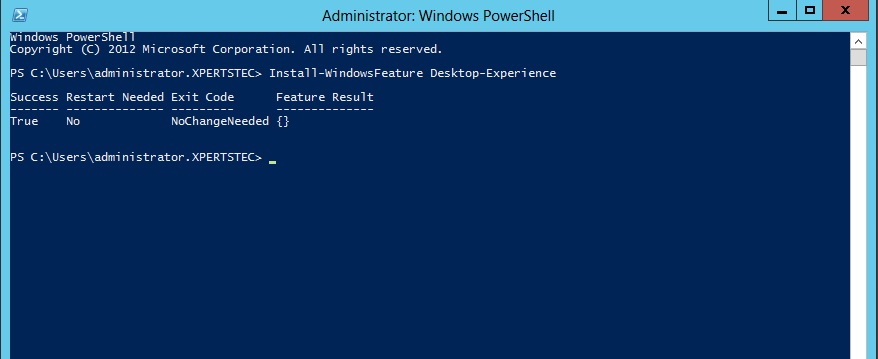
1- Open Windows server Powershell from the start bar.
2- Type the below command to enable desktop experience feature.
Install-WindowsFeature Desktop-Experience, (a Restart Required)
Enable desktop experience in windows server 2012 GUI
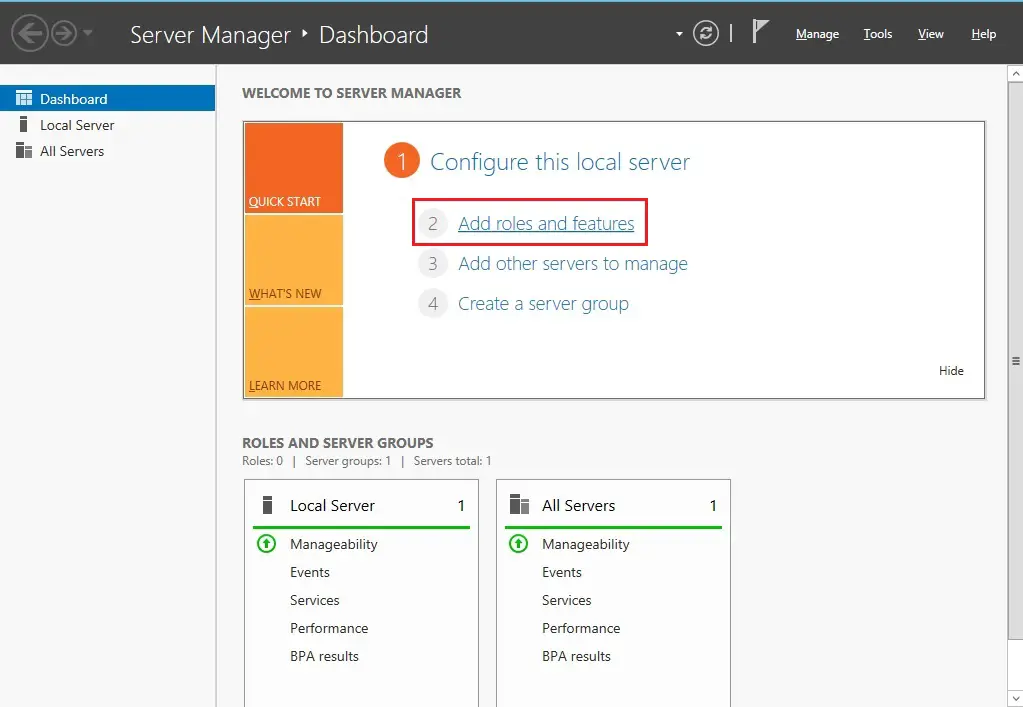
Open Server Manager from the Start screen.
1- In the Server Manager Dashboard and under Welcome to Server Manager and then click Add roles and features.
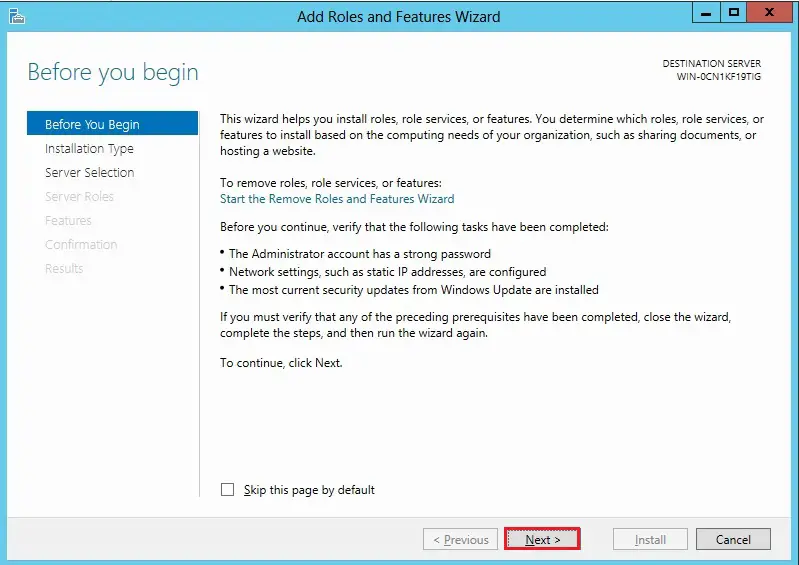
2- within the Add Roles and Features Wizard. So, click Next.
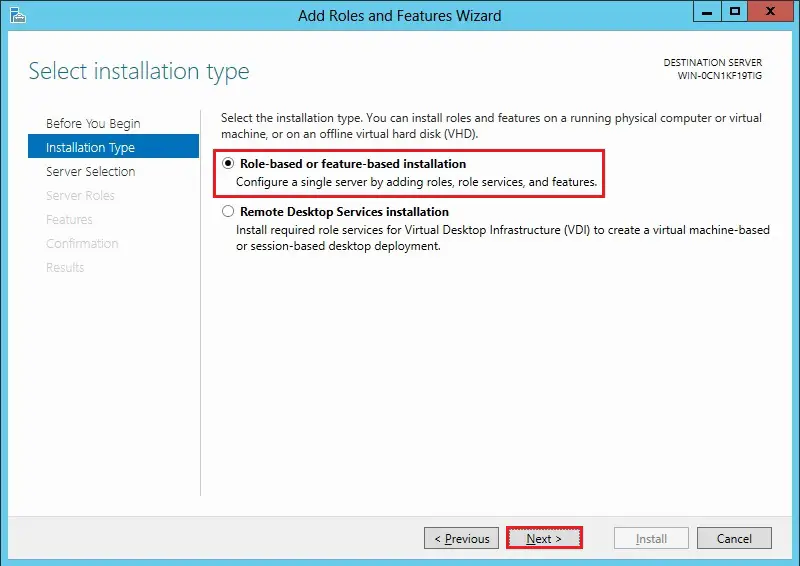
3- Select role-based or feature-based installation and then click Next.
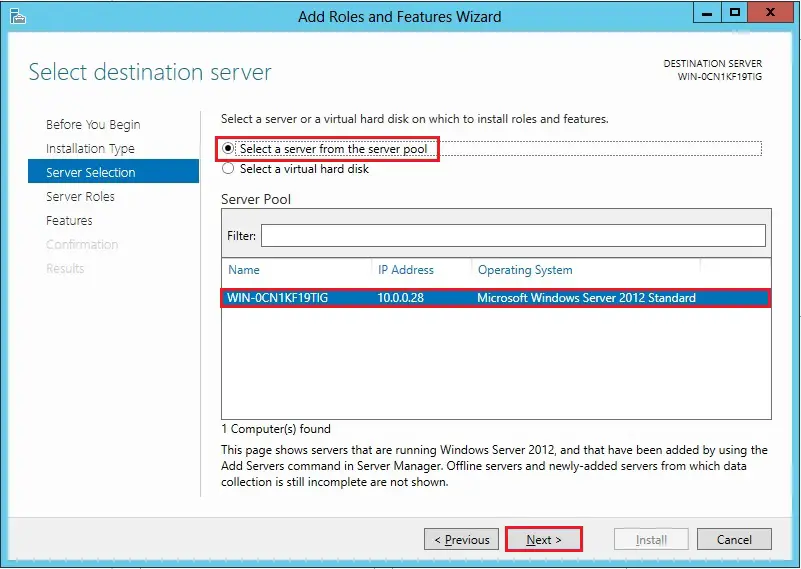
4- Select a server from the server pool and then click on next.
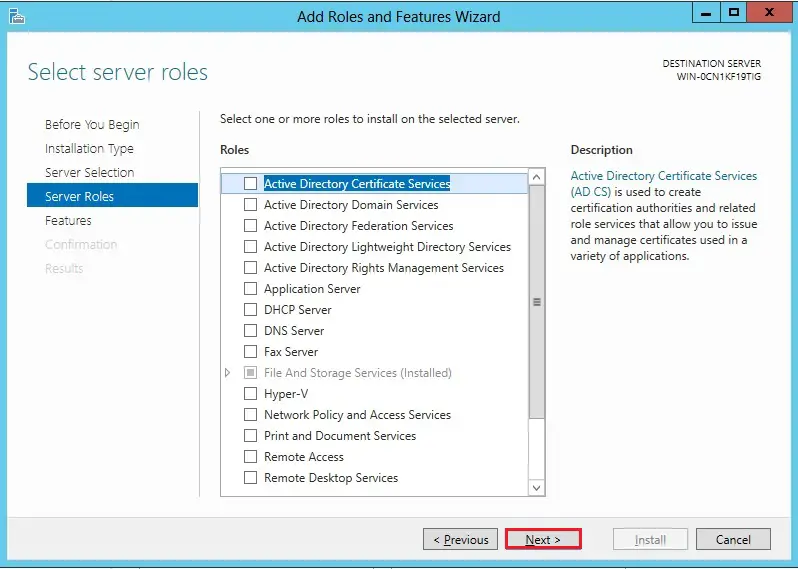
5- under Server Roles, click next.
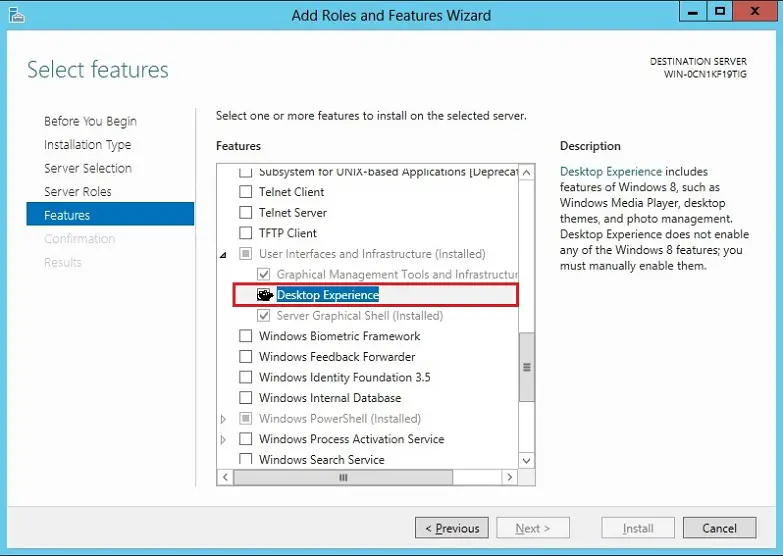
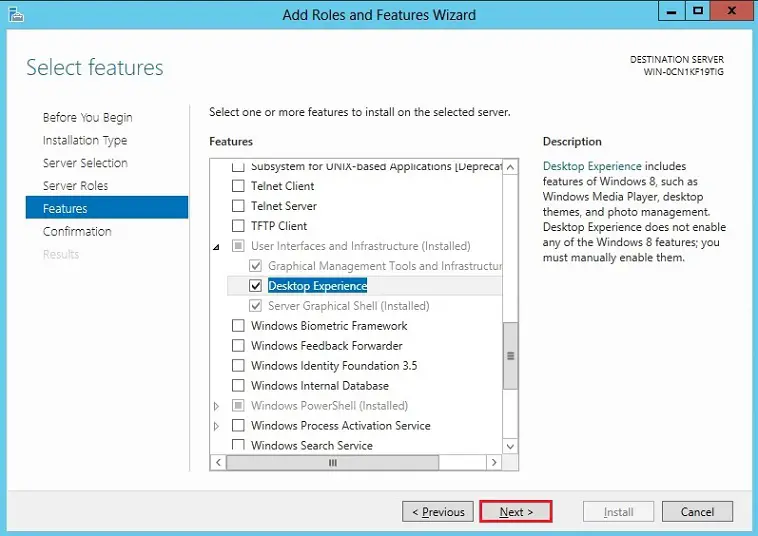
6- Scroll down the list of features and expand User Interfaces and Infrastructure and then select Desktop Experience.
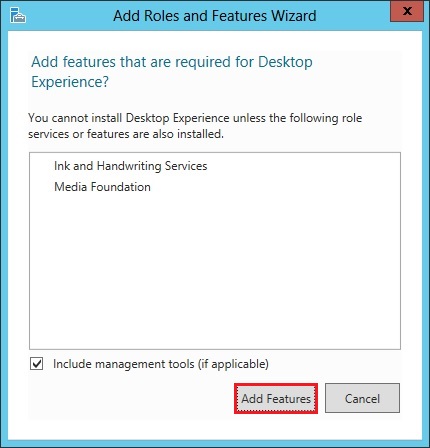
7- In the pop up dialog, click Add Features that are required for the desktop experience.
8- After adding desktop experience features. and click on next.
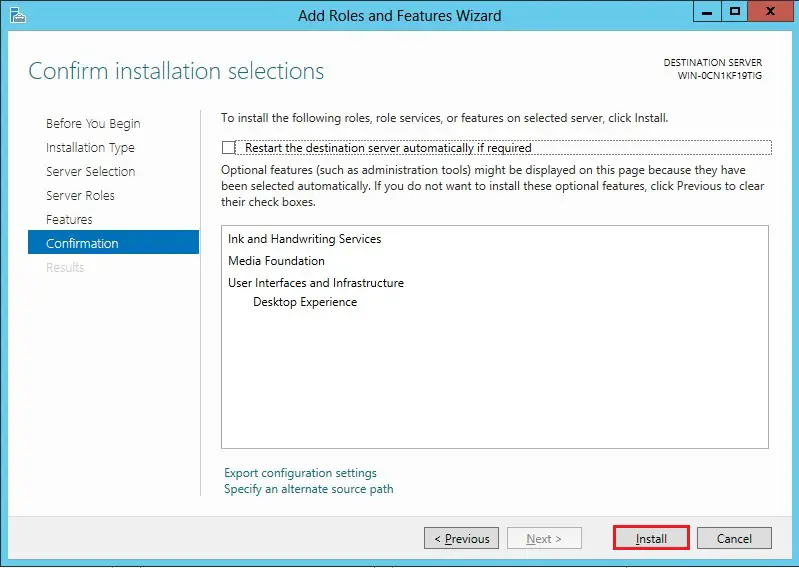
9- Click Install to start the Windows server 2012 desktop experience features installation.
10- When Desktop Experience installation completed, click Close and restart the server.
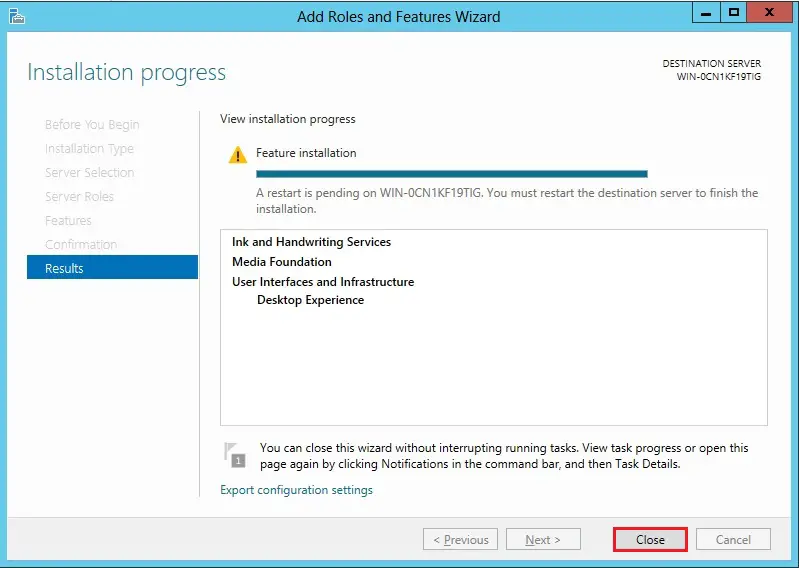
10- Once the server restarted, you can access the desktop features.
For more details click here
