In this guide, I am going to explore how To Create and Additional Domain Controller (ADC) in Microsoft Windows Server 2012
Additional Domain Controller (ADC) Server 2012
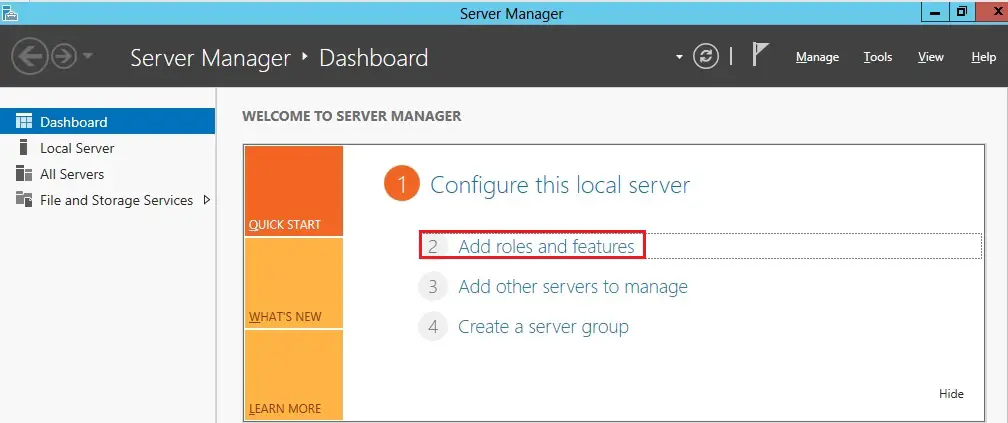
1- open server manager, under configure this local server select Add roles and features.
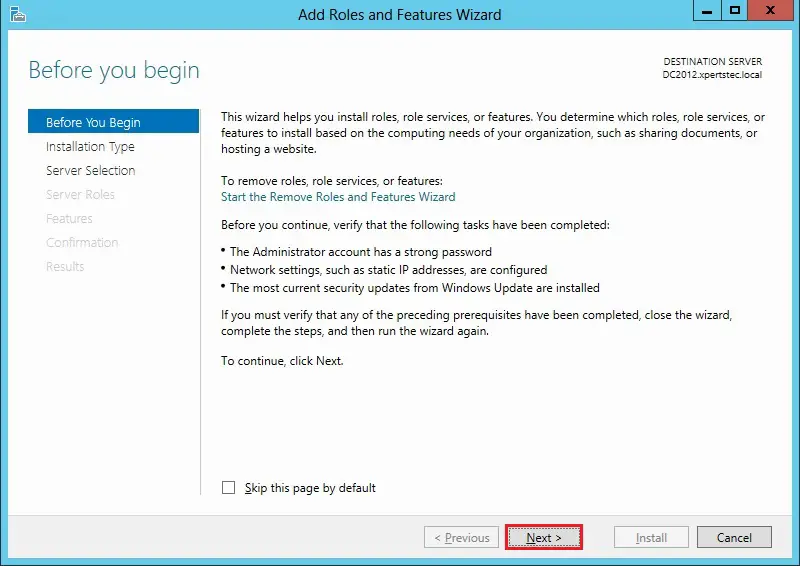
2- Add roles and features wizard, click next.
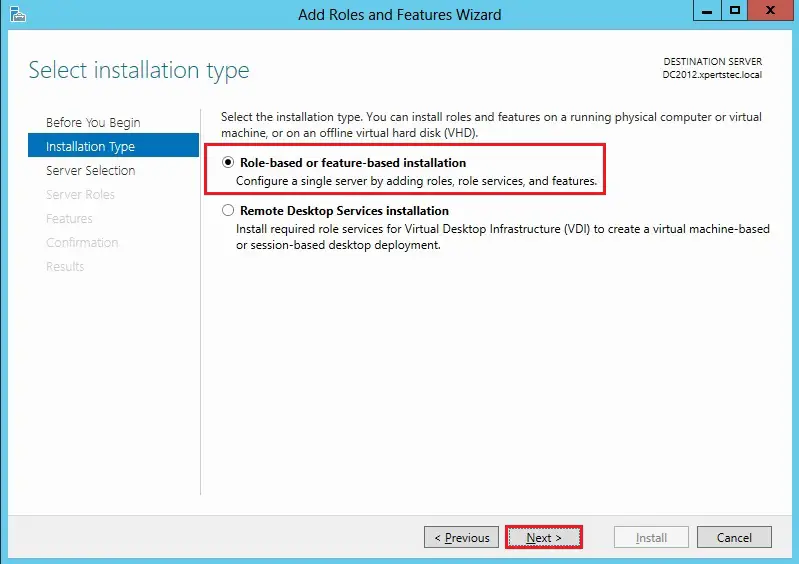
3- Select the Role-based or feature-based installation and click on next.
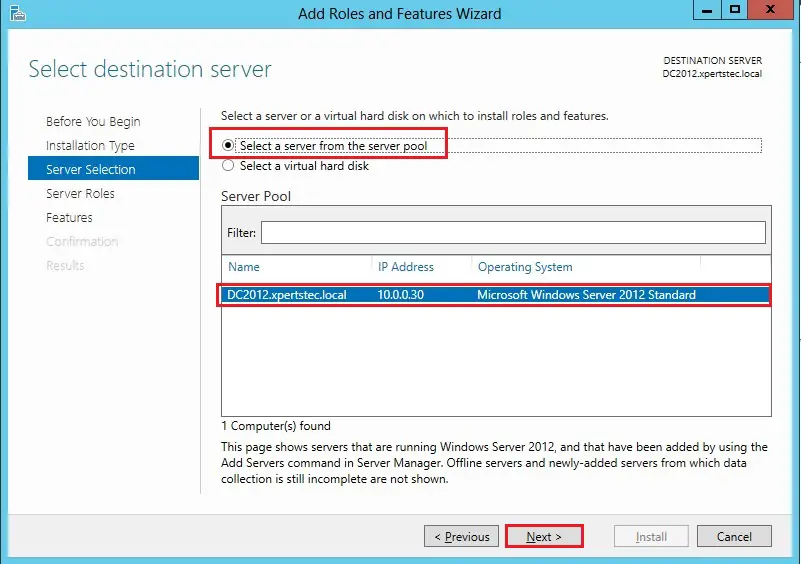
4- Select a server from the server pole and click next.
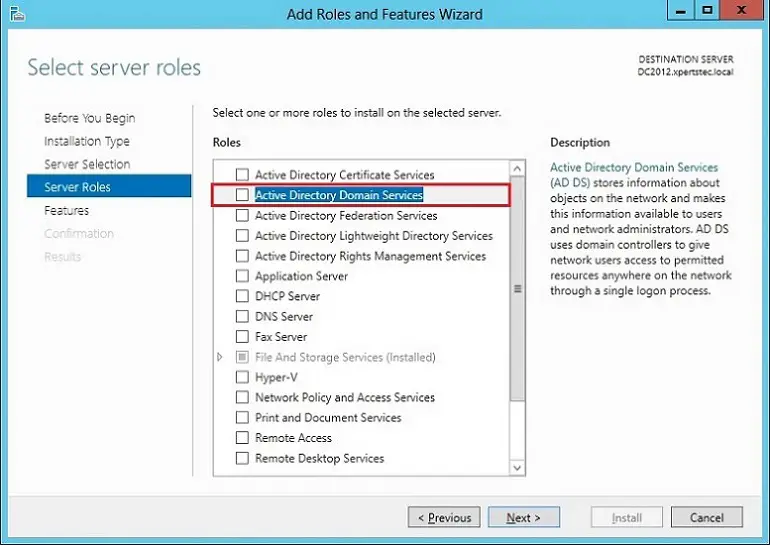
5- Select box Active Directory Domain Services.
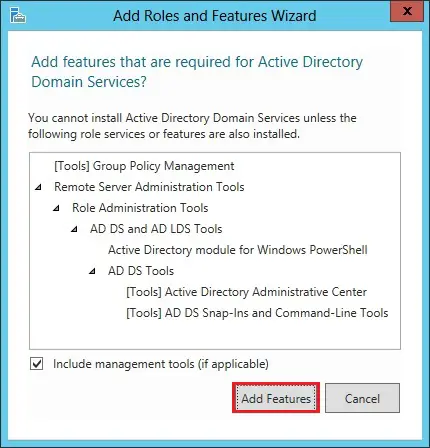
6- Click Add Features that are required for the Active Directory Domain Services.
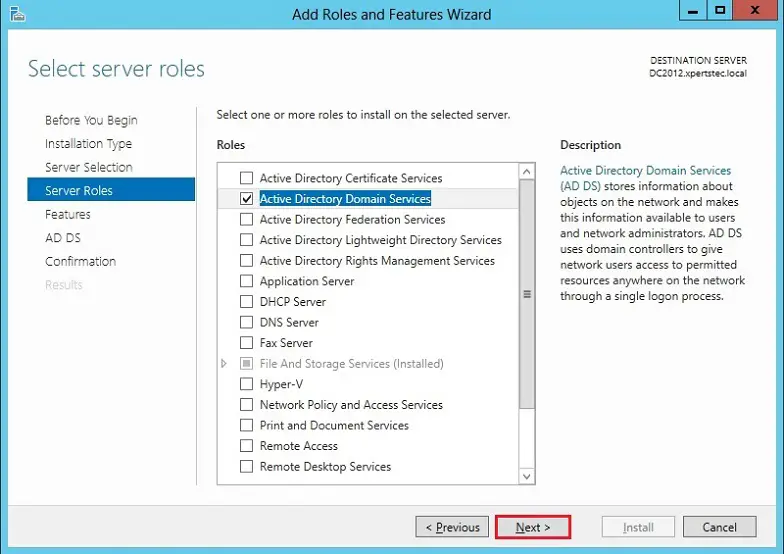
7- After adding active directory domain services features, click next.
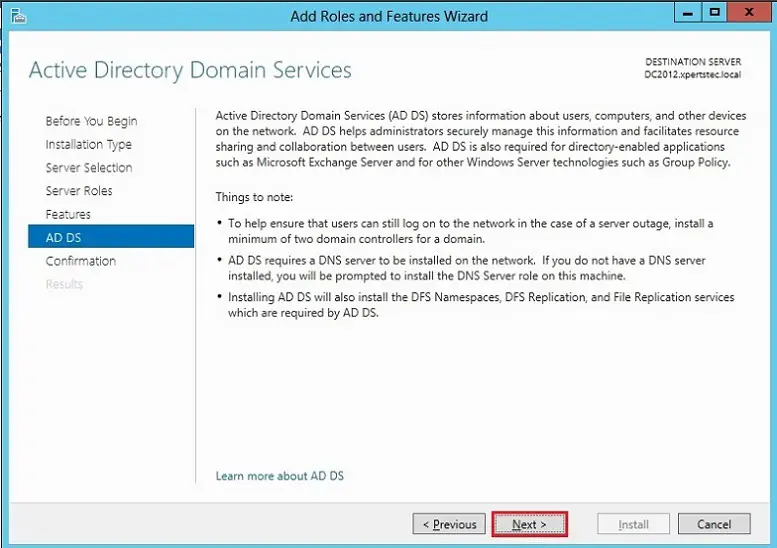
8- Click next.

9- Click next.
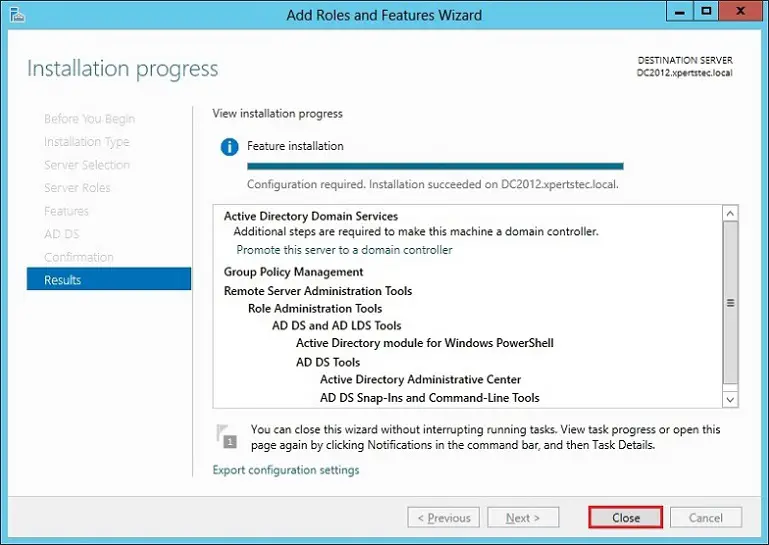
10- Click Install to start the active directory domain services installation.

11- After completed installation, then click on close.
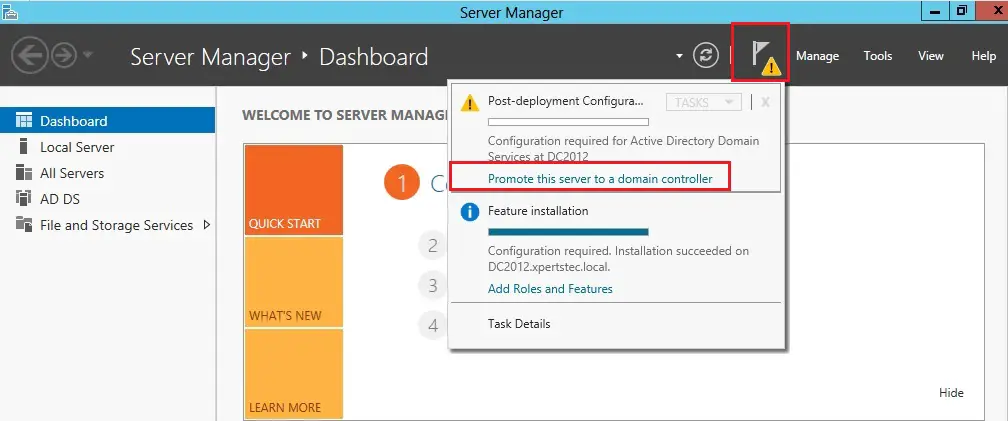
Server 2012 additional domain controller configuration
12- Server Manager click warning message and select Promote this server to a domain controller.
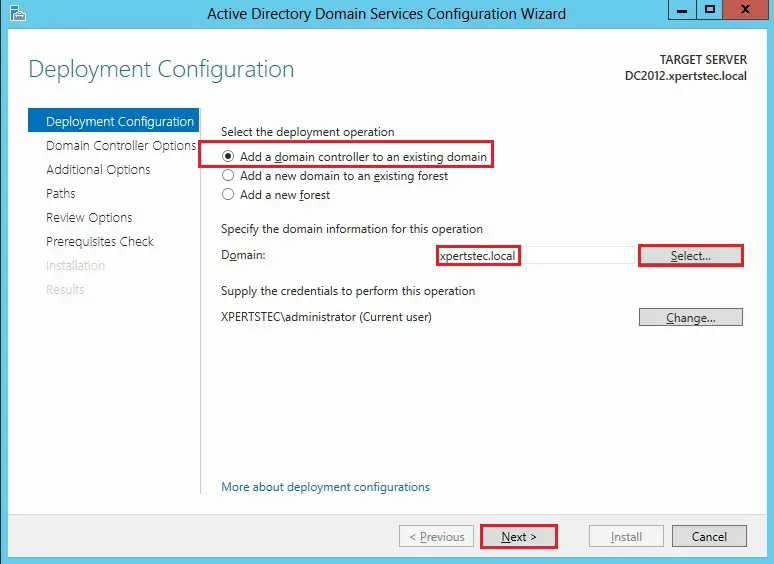
13- Select Add a domain controller to an existing domain, then click the select button and browse to your local domain controller (xpertstec.local), verify that credentials are Administrator and then click on next.
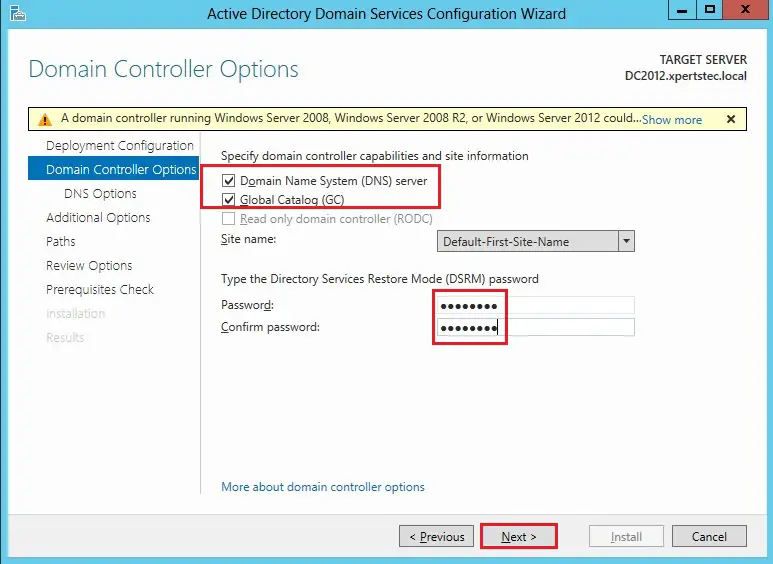
14- Verify that Domain Name System (DNS) server and Global Catalog (GC) is selected and type the directory services restore mode DSRM Password and click next.
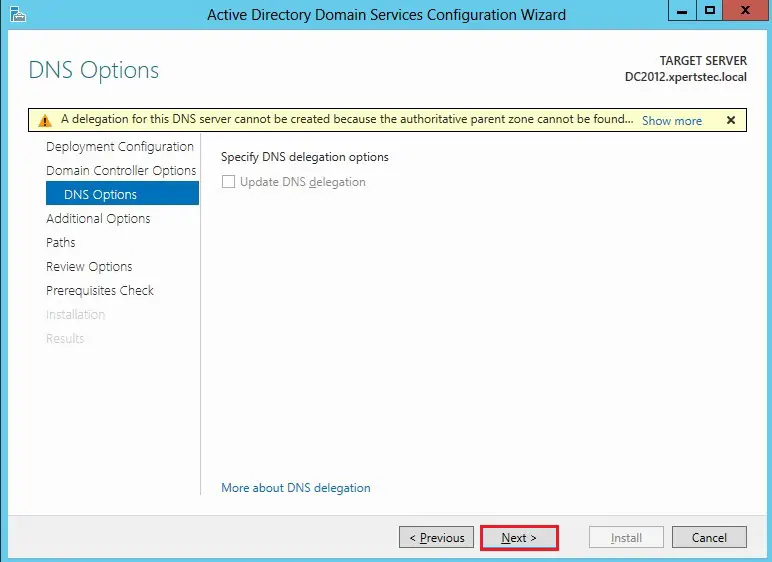
15- Ignore the DNS Options warning, so click on next.
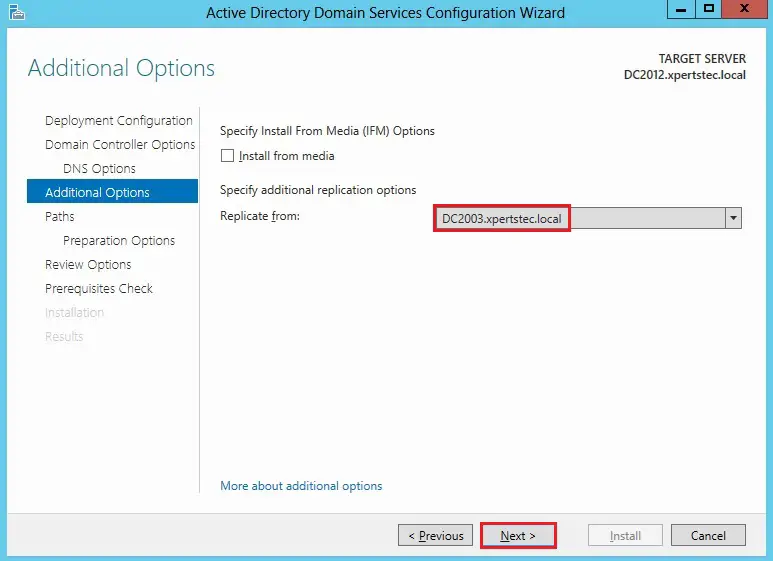
16- Specify Additional replication Options interface, besides the Replicate from Select DC2003.xpertstec.local and then click on next.
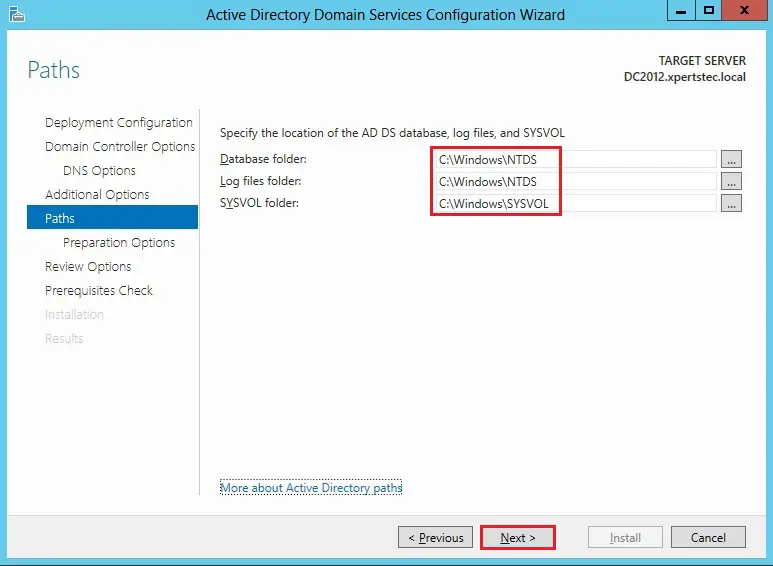
17- Specify the location of the AD DS database, log files, SYSVOL and then click on next.
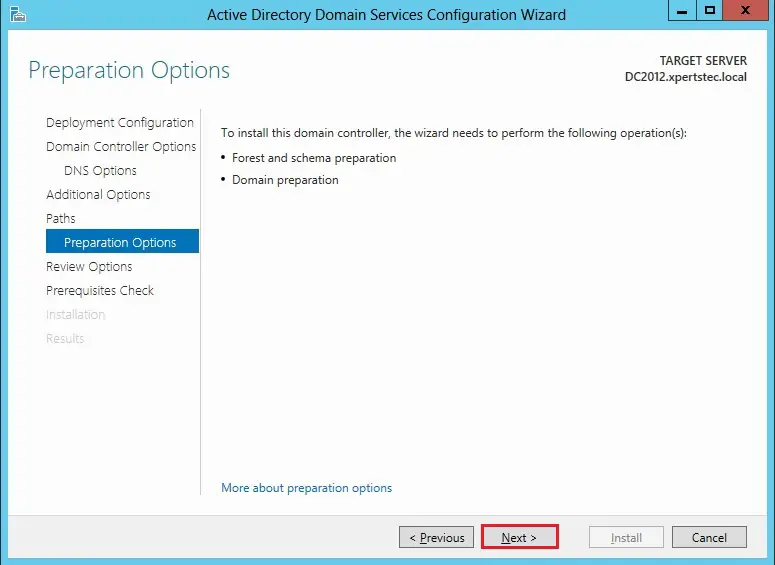
18- Under Preparation Options, then click on next.
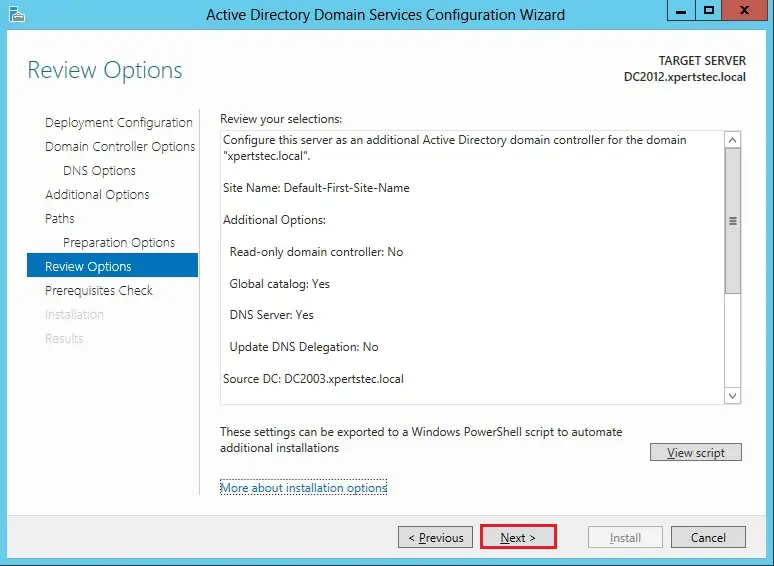
19- Review that configures this server as an additional active directory domain controller for this domain (your domain), verify all the information and then click on next.
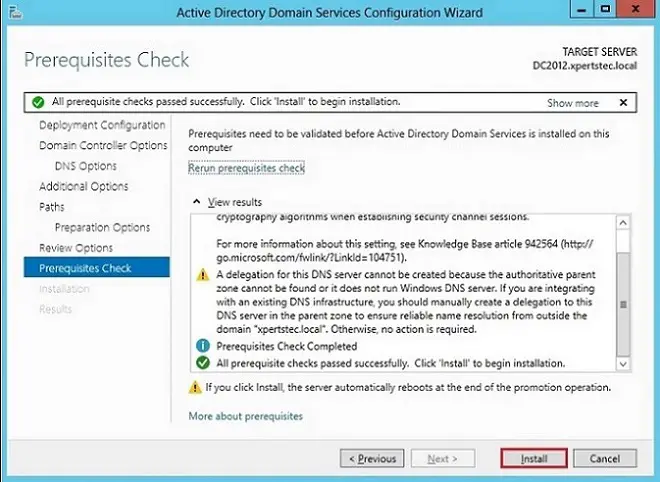
20- On the Prerequisites Check to verify that All prerequisites checks passed successfully, so click Install.
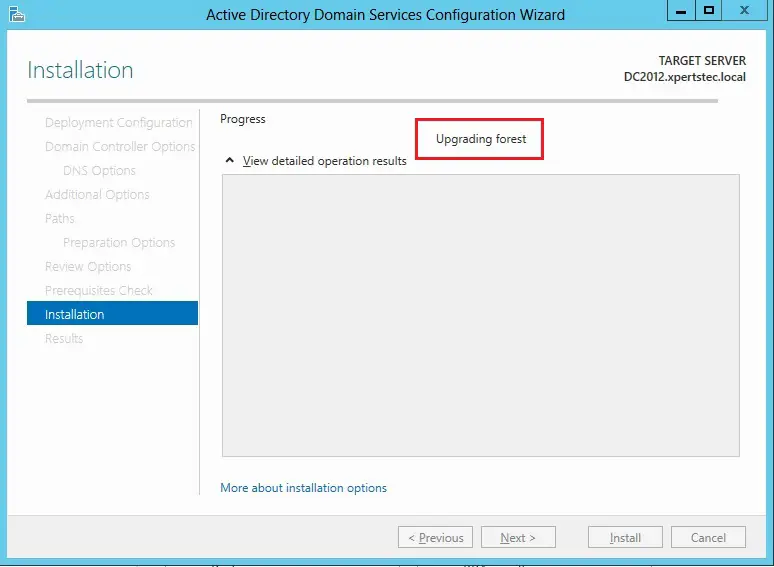
21- Please wait for few minutes for the process to complete.
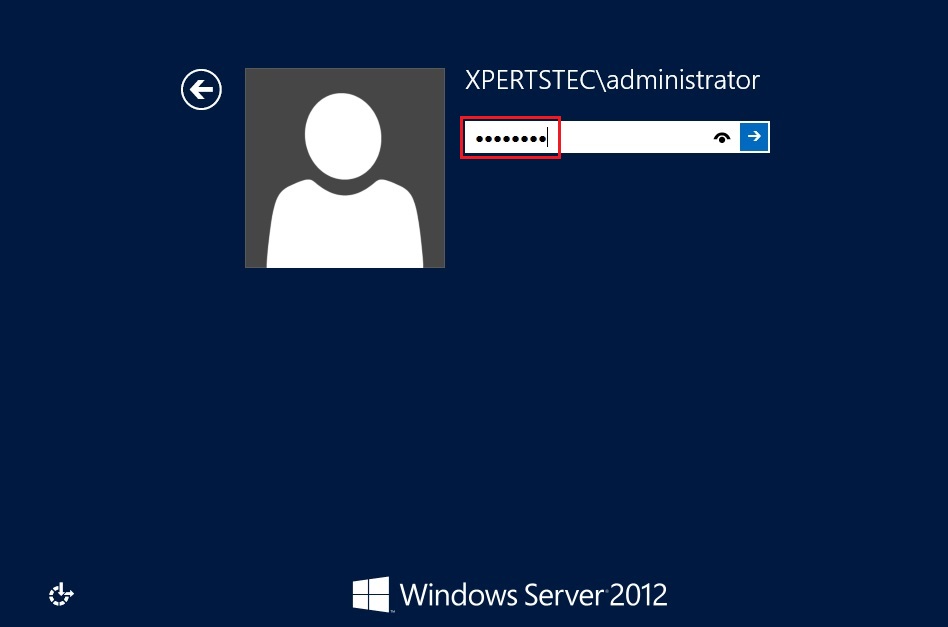
22- After restarting windows Server 2012, so log in as Domain Administrator.
For more information click here
