Bootable flash drive (USB) to install windows operating system without CD/DVD drive, Download ISO to USB software Download here
Bootable Flash Drive (USB)
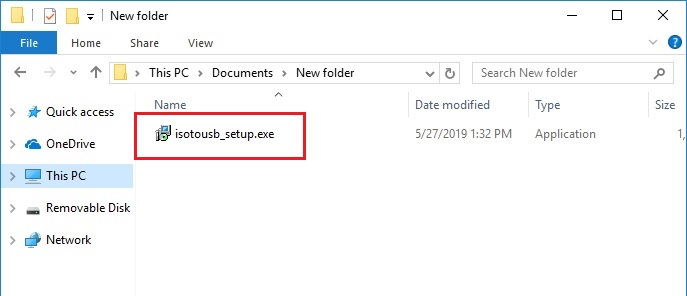
1- After downloading double click isotousb setup file to run.
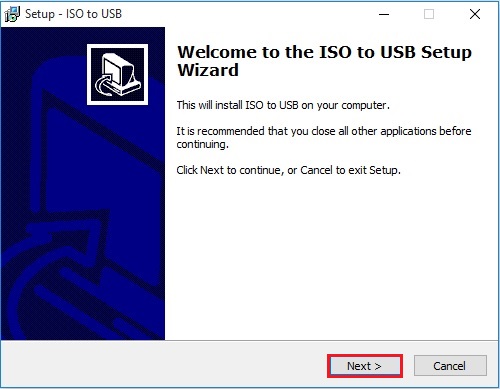
2- Welcome to the ISO to USB setup wizard, click next.
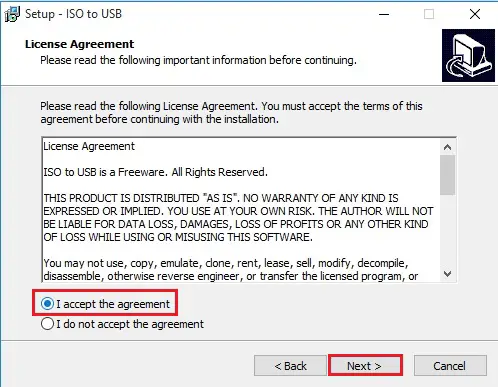
3- Select I accept the agreement and click on next.
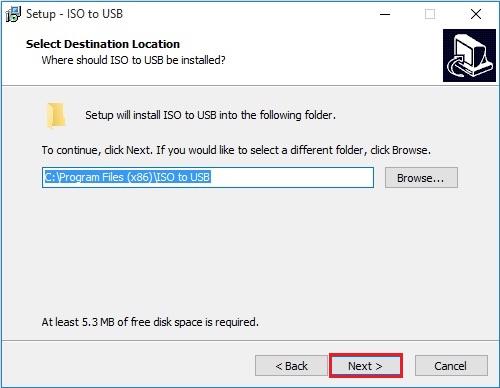
4- Click next.
5- Setup iso to usb, click next.
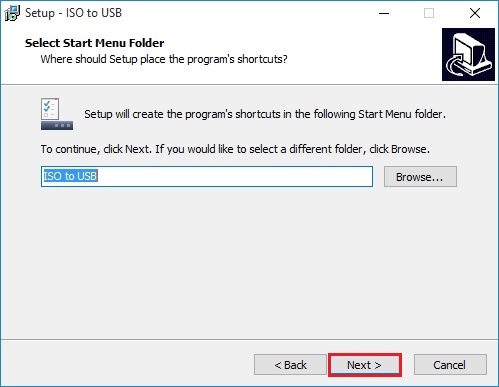
6- Select Create a desktop icon and click next.
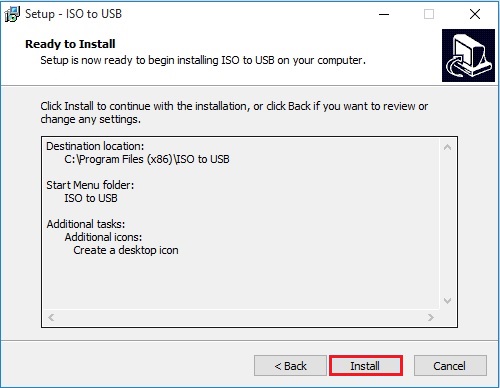
7- Click Install to start the installation ISO to USB on your computer.
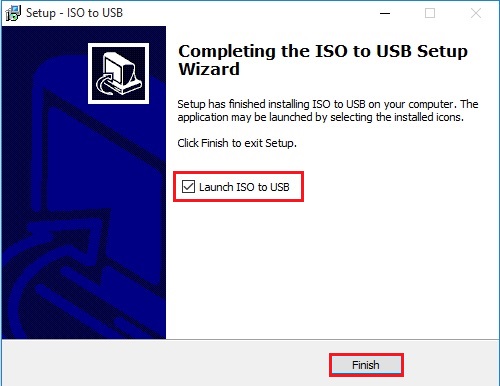
8- Select Launch ISO to USB and click finish.
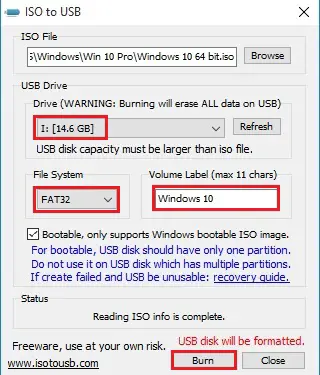
9- After opening software Click on brows to select the Windows ISO file.
Select the USB drive which you would like to form it bootable.
Select File System
Type a windows name in Volume Label.
Select Bootable, only support windows bootable ISO image to make the USB bootable.
Click Burn to burn the ISO to USB.
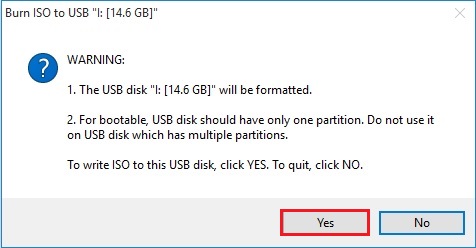
10- A warning message the USB disk will be formatted. click Yes to write ISO to this USB disk.
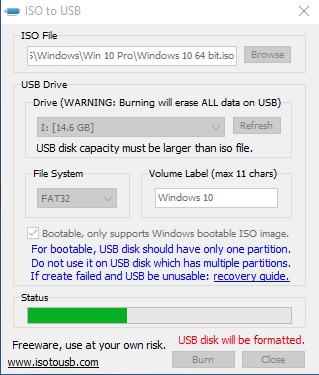
11- ISO to USB running process.
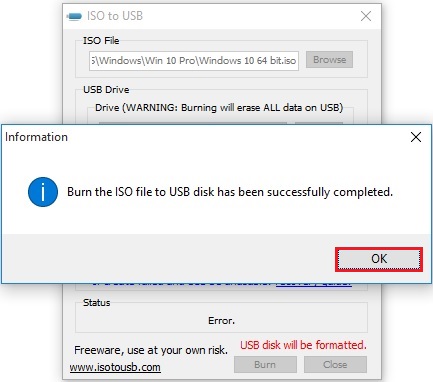
12- Burn the ISO file to USB disk has been successfully completed and click ok.
Create a Bootable USB drive Chrome OS using CloudReady USB maker
Download the USB Maker from CloudReady and click USB Maker
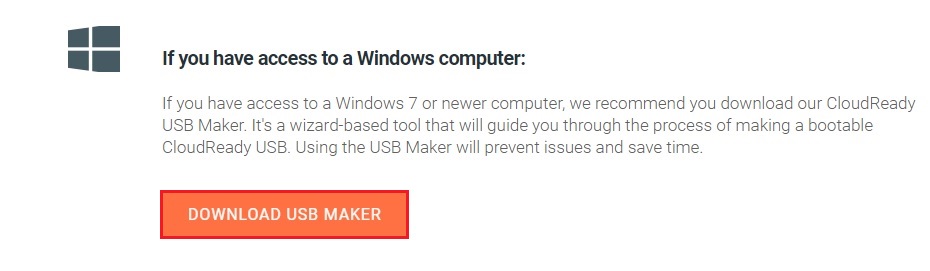
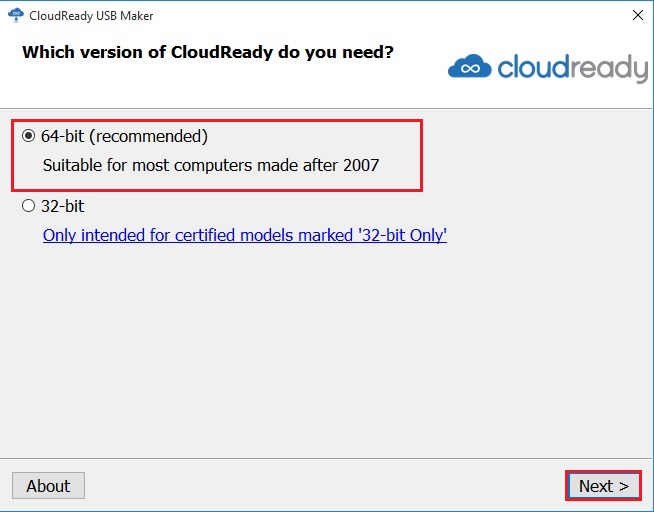
First, confirm you have downloaded the right version of the CloudReady USB Maker.
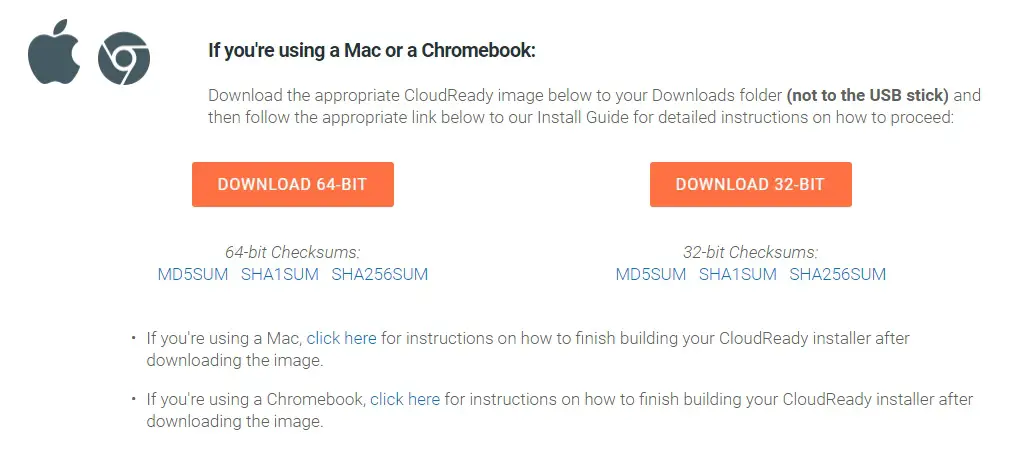
Download the CloudReady 64-Bit 32-Bit image from CloudReady and click here Image.
Create a USB installer for CloudReady
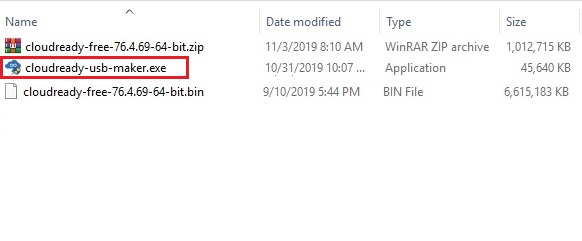
3- After downloading open your downloads folder and double click the CloudReady USB maker setup file.
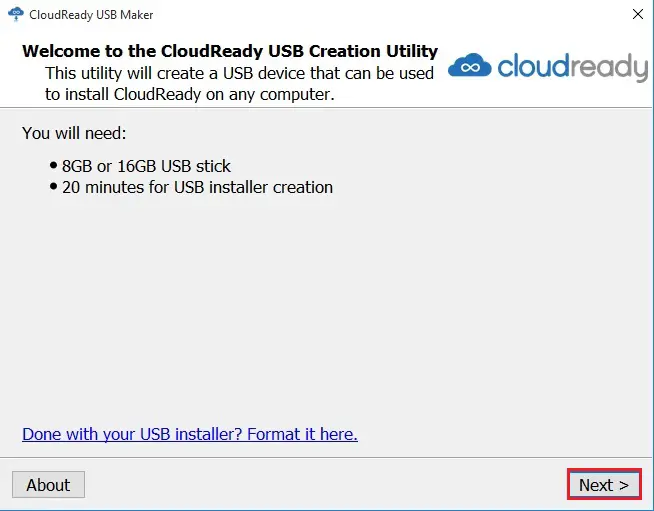
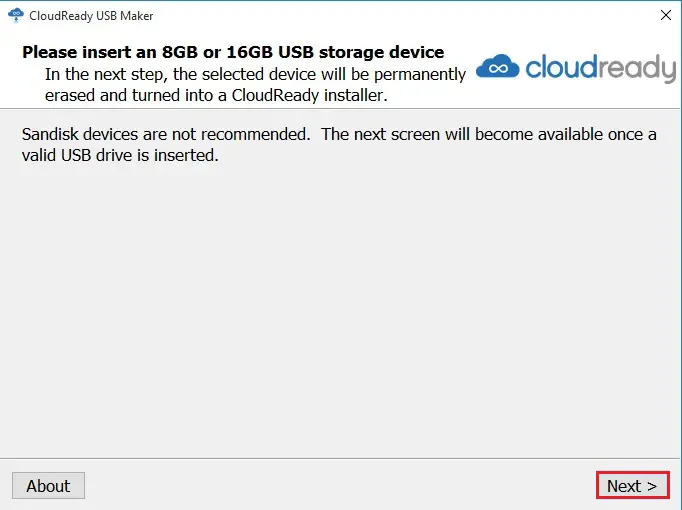
4- Make sure you have a USB stick of either 8 GB and 16 GB capacity and then click Next.
5- Select 64-bit (Recommended) and then click on Next.
6- Insert your bootable USB storage device and then click on Next.
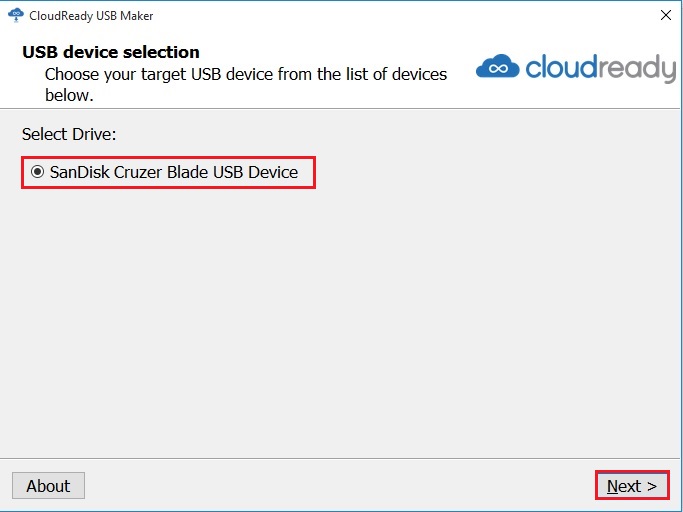
7- Select the target bootable USB device to format and use it as your CloudReady installation device And then click on Next.
Note: It will permanently erase all existing data on the target USB device and then click Next.
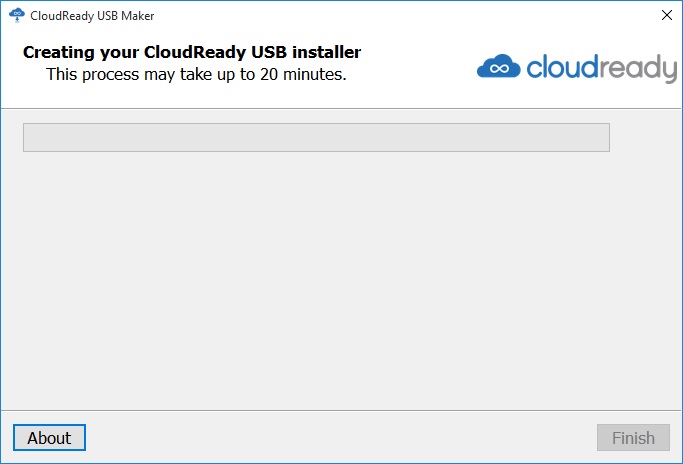
8- The bootable USB maker will automatically download extract and format. Make a bootable device for you to employ to put in CloudReady on your target devices.
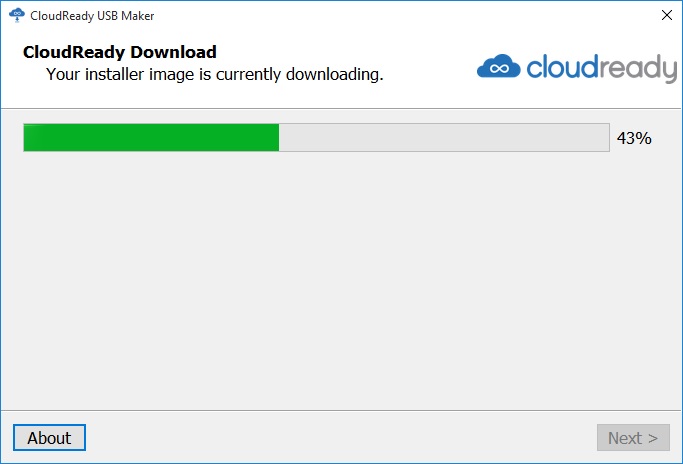
9- It takes approximately 20 minutes to create the usb chrome OS installer.
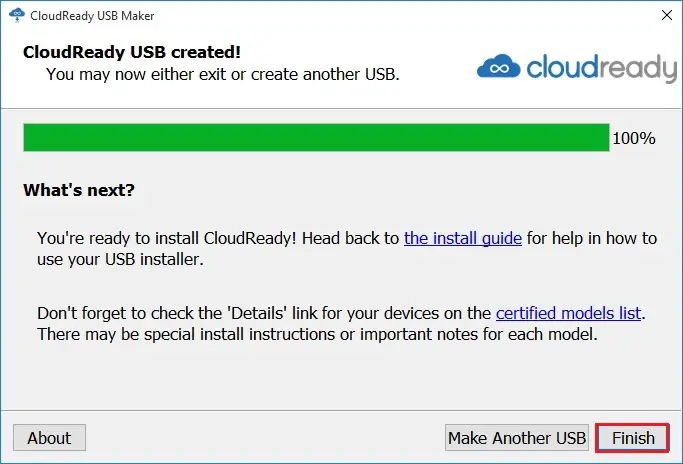
10- CloudReady bootable USB created successfully and then click finish.
Android Endless OS Bootable USB
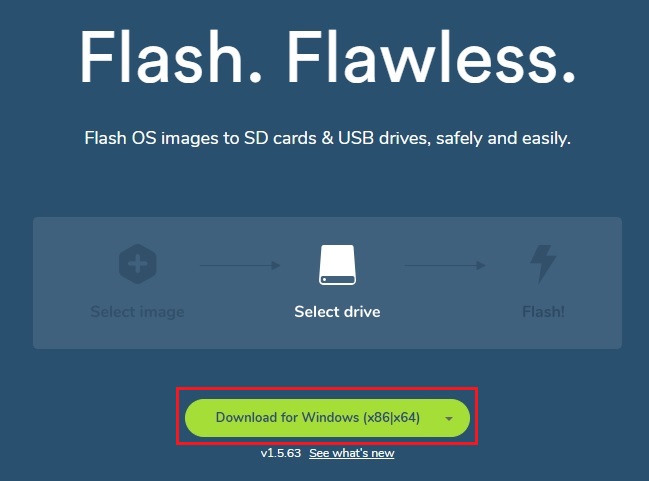
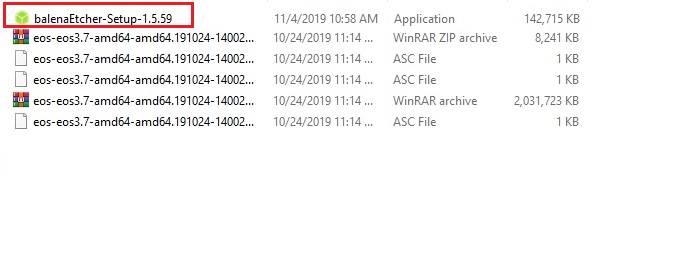
1- Download Etcher from here BalenaEcher
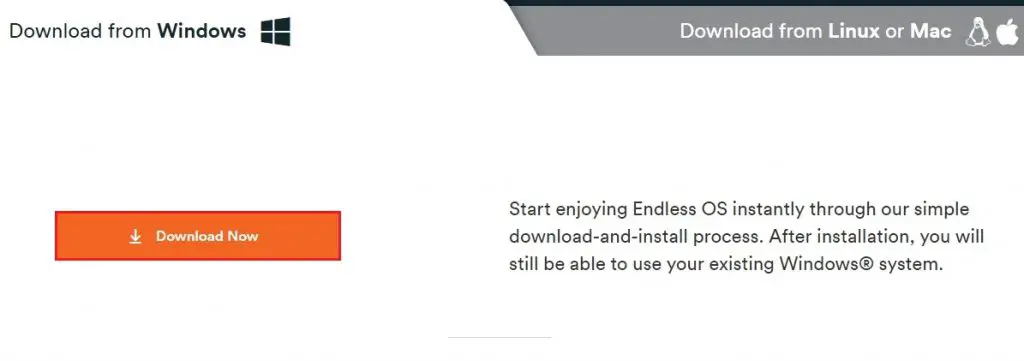
2- Download the latest version of the Installer from Android Endless OS Bootable
Plug a USB drive into your Windows PC. All your data on this USB stick will be erased.
3- Double click on Balena Echer-Setup file to run Etcher.
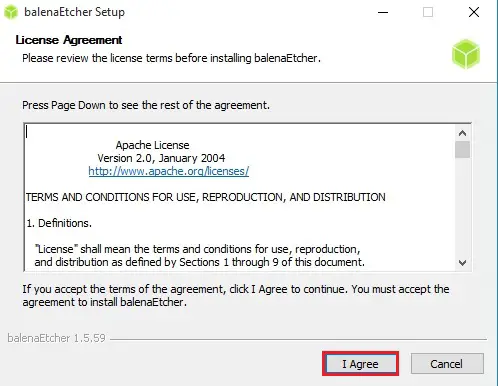
4- License Agreement, so click I Agree.
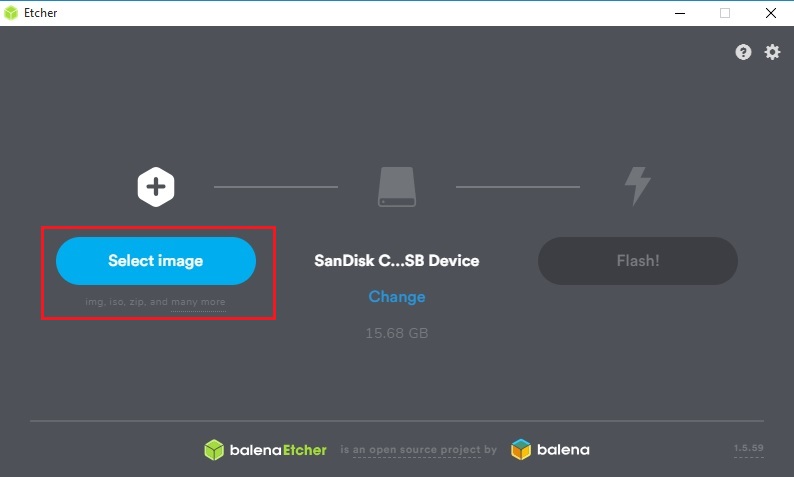
5- Click the select image and choose the ISO or img file you’ve downloaded.
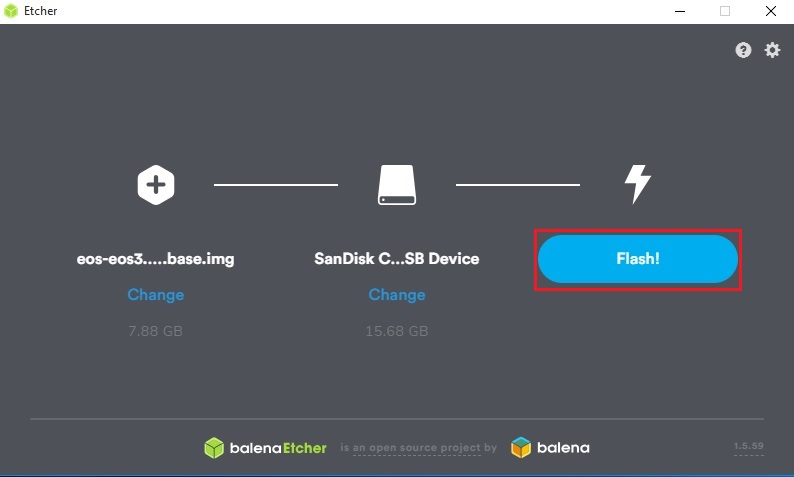
6- Select the USB drive. If not, click Change and then choose the right USB stick.
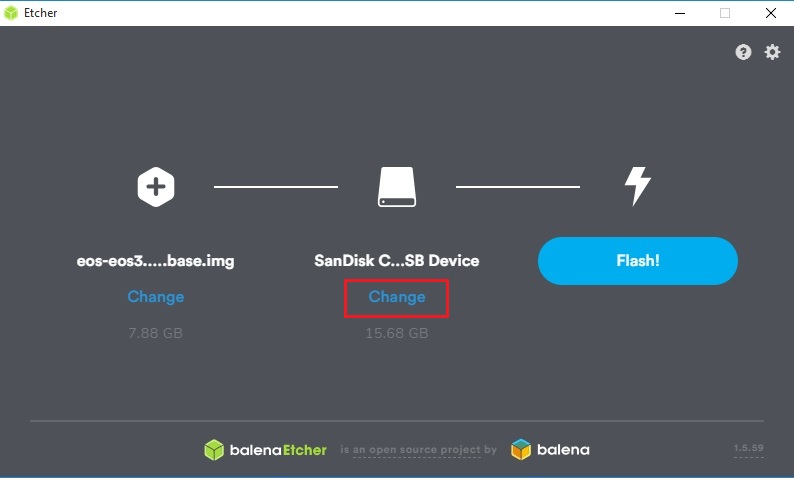
7- Now click the Flash button.
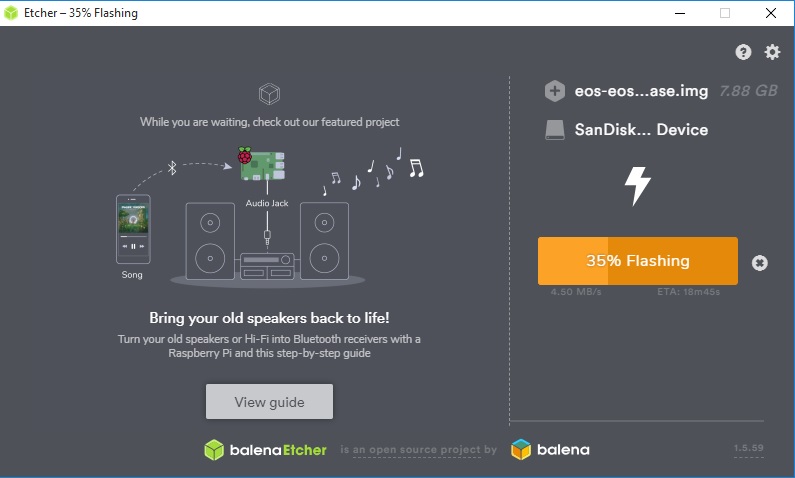
8- Now BalentaEtcher starts flashing.
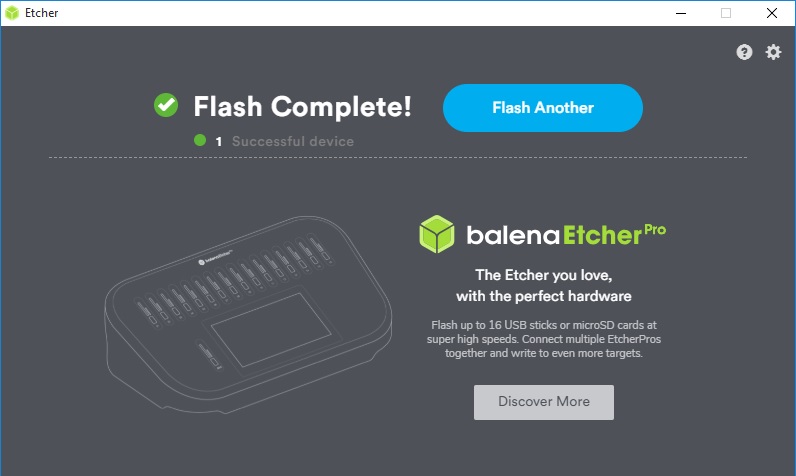
9- Android Endless OS USB Flash drive successfully completed.
Create Android BlissOS Bootable USB Flash Drive
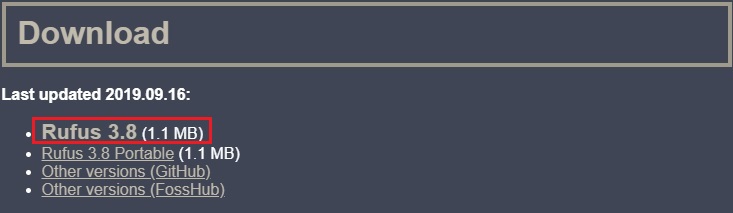
1- Download Rufus software click Rufus.
2- Download the Bliss OS.ISO file so click Bliss-OS. or Bliss-OS.
3- Insert the USB flash disk to your PC.
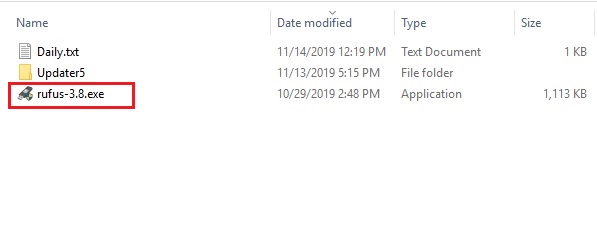
4- Double click to run the rufus-3.8.exe file.
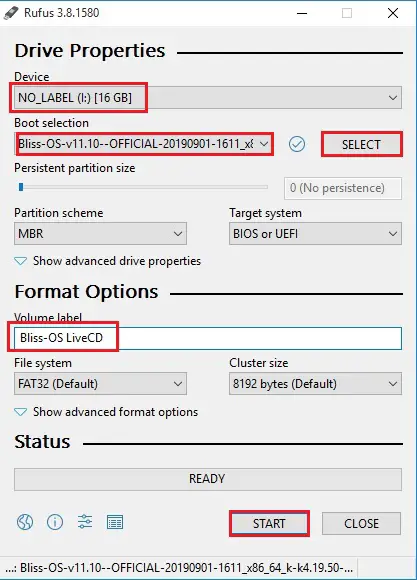
5- Under device select your USB pin drive.
6- Click the select button and choose your Bliss OS ISO file.
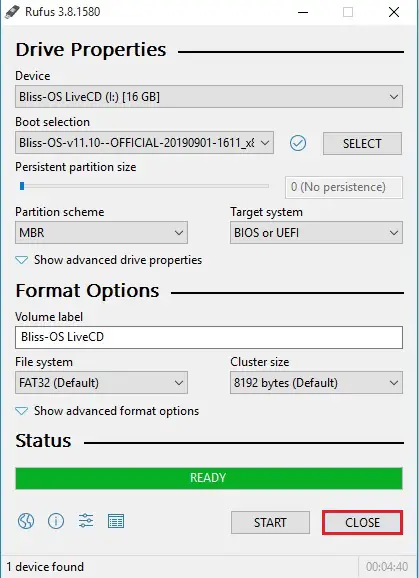
7- Under the quantity label, A name and then click on the beginning button.
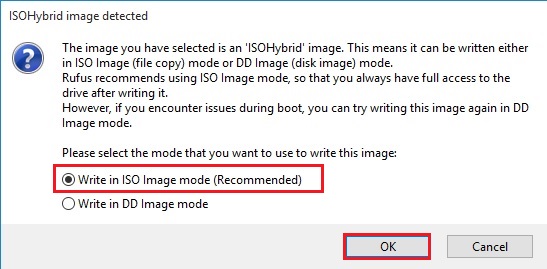
8- Select write in ISO image mode (Recommended) and then click ok.
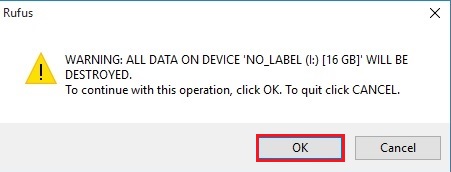
9- Rufus warning, all data on the device will be destroyed so click ok.
10- Create BlissOS bootable USB bootable flash drive completed, so click close.