In this guide, I am going to explain how to convert a physical machine to a virtual machine to run on (VMware Workstation)
Convert Machine VMware Converter (VMware Workstation)
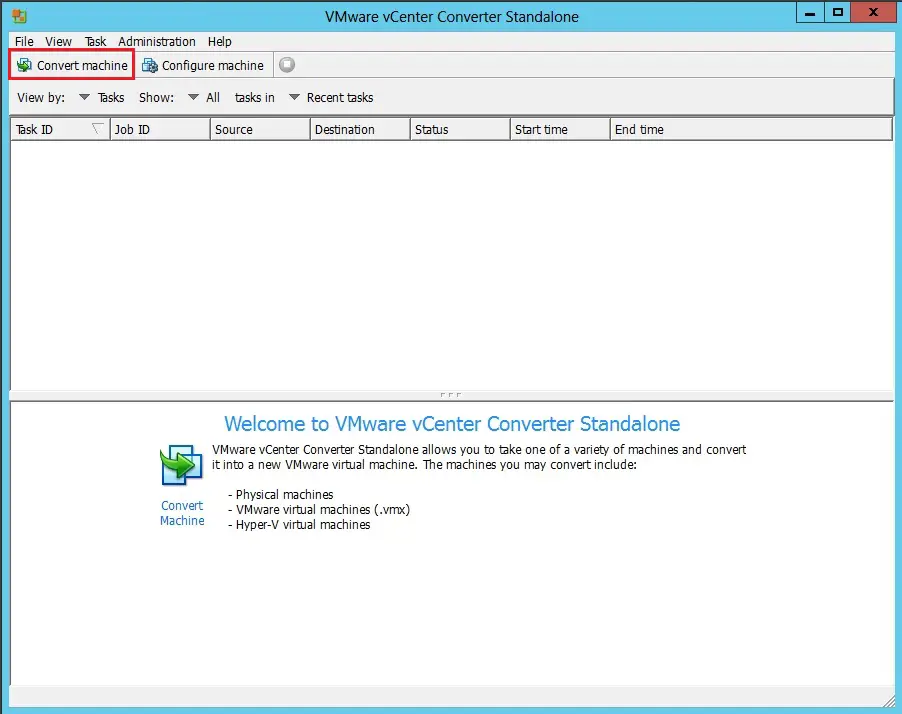
1- Double click to run VMware vCenter converter shortcut from your desktop and then click on Convert Machine.
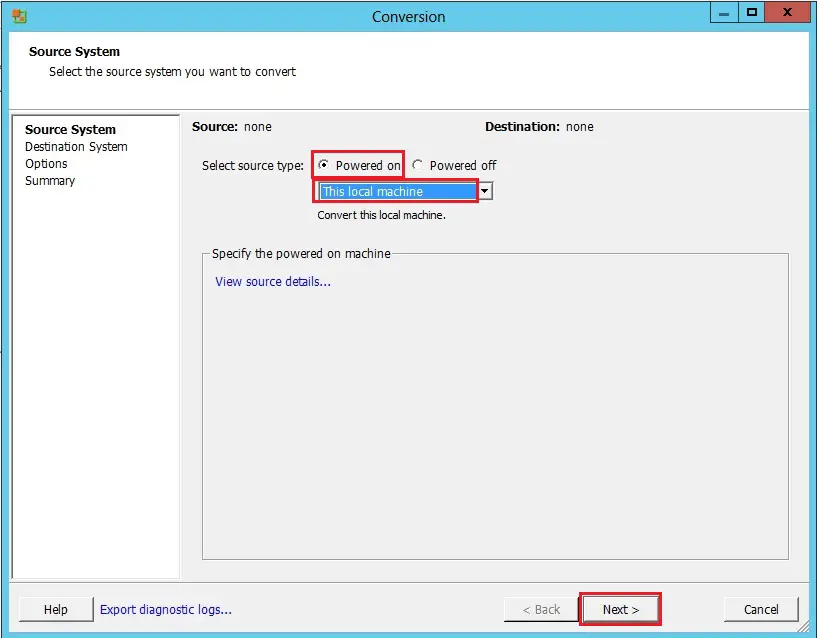
2- Select source type Powered on > select this local machine and then click on next.
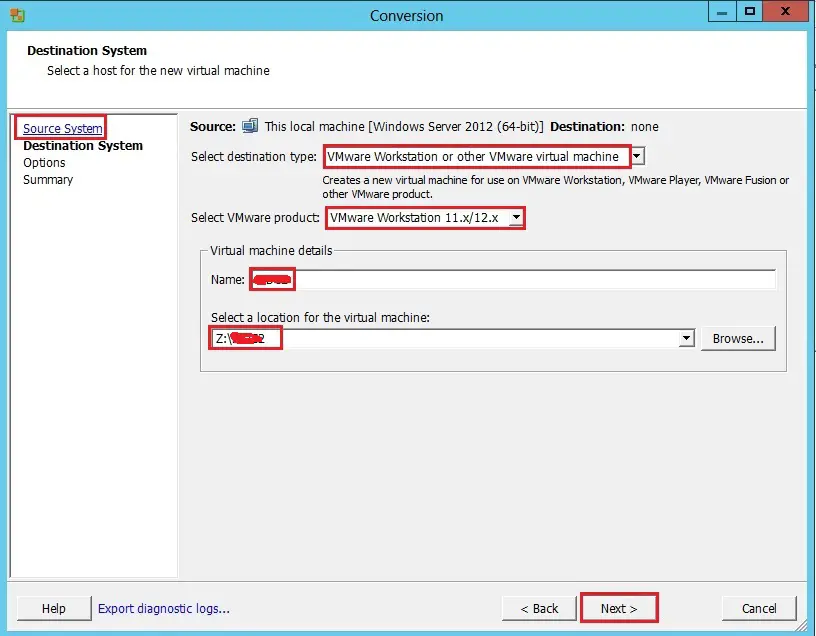
3- Select destination type to VMware Workstation or other VMware virtual machine.
Change Select VMware product to VMware Workstation 11.x.
Create a reputation for the VM > click browse to pick a location to save lots of the VM and then click on next.
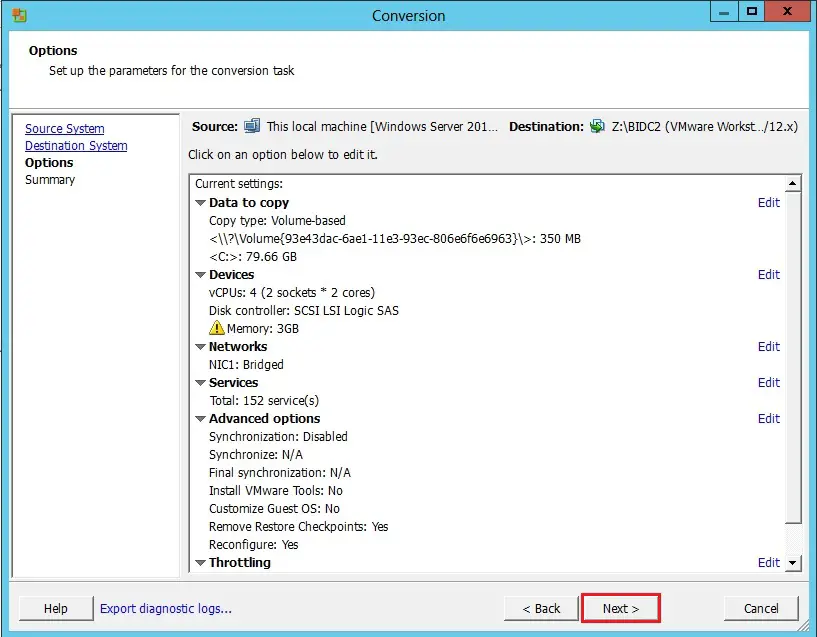
4- On the Options screen, under Data to copy click Edit.
Make ensure that you have selected disk C: change destination size to Minimum size.
Under Devices, click Edit on the Memory tab, change Memory allocation to the recommended value and then click next.
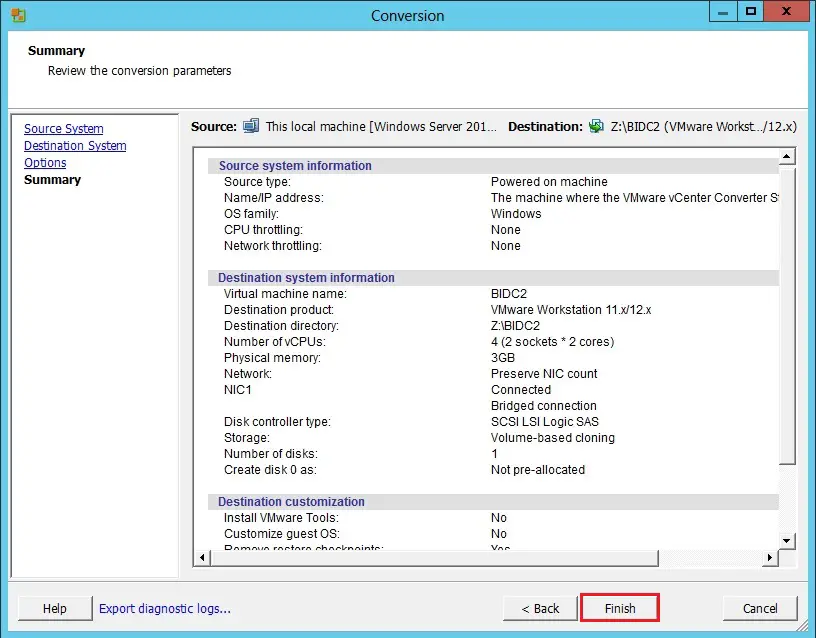
5- Review the conversion parameters and Click Finish to start the conversion. This can typically take an hour or more. It Depends on the Virtual Machine size.
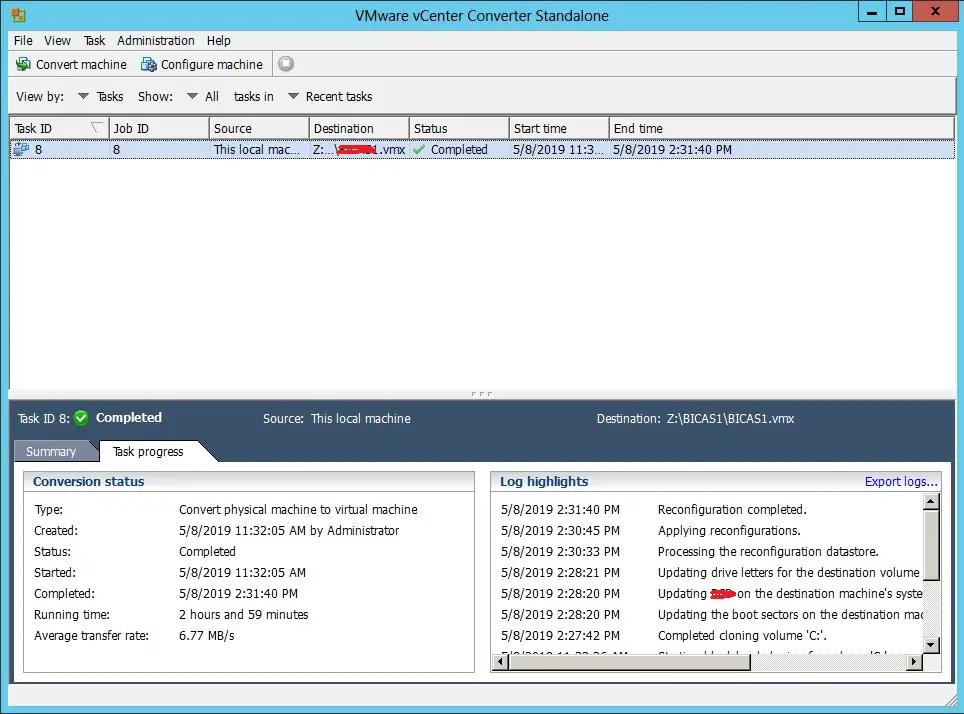
6- Go to your VM created windows explorer folder and check that .vmx and .vmdk files were created.
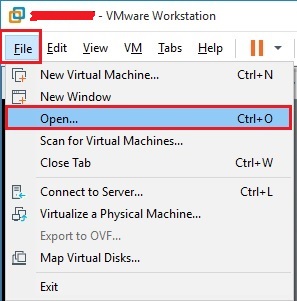
7- Select the file and then click open.
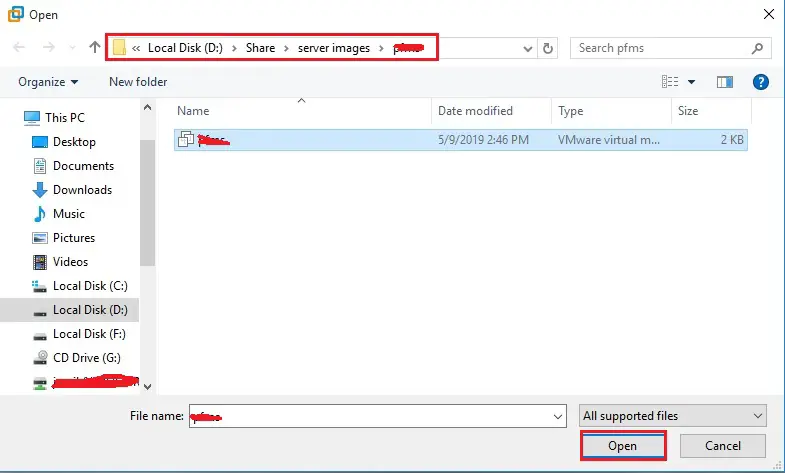
8- Browse the location where you saved the VM (.vmdk) and then click open.
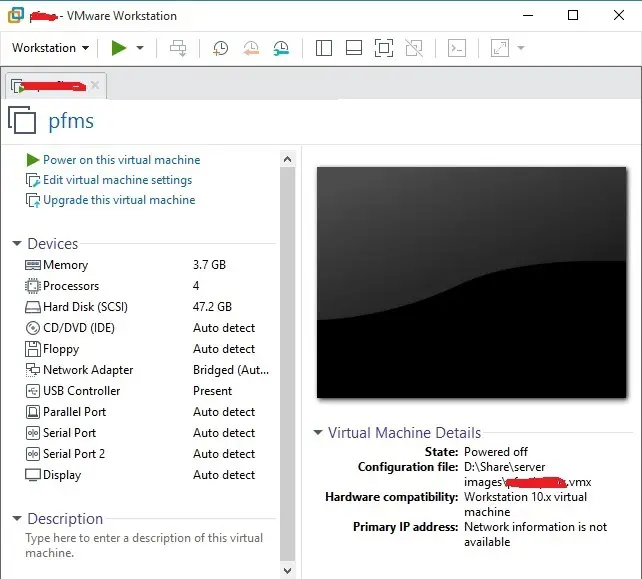
9- Now Virtual Machine is listed in VMware Workstation, now click power on this virtual machine to start.
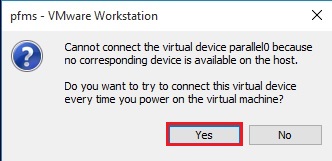
10- Click Yes.
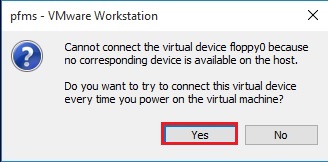
11- Click Yes.
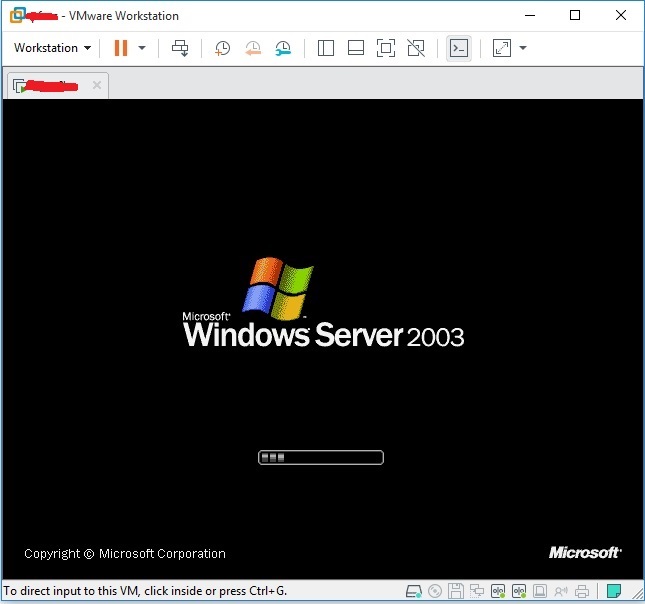
12- Now Virtual Machine is booting.
For more details click here
