In this article, I am going to Configure Accepted domain Settings in Microsoft Exchange Server 2013
Accepted Domain Settings Exchange 2013
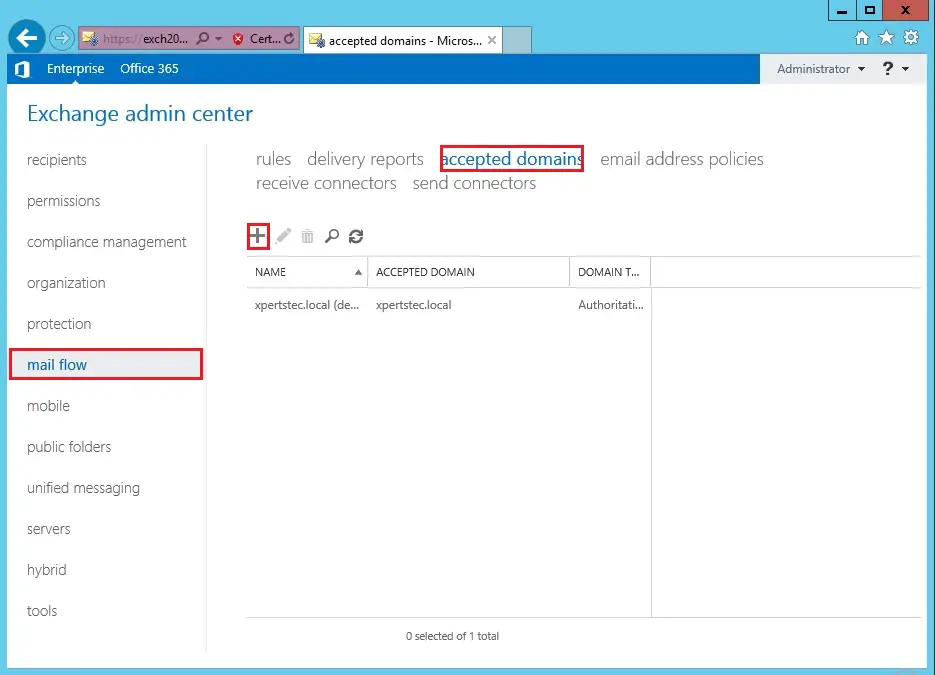
1- Open Exchange admin center > click mail flow > click on accepted domains and then click the + symbol to create a new accepted domain.
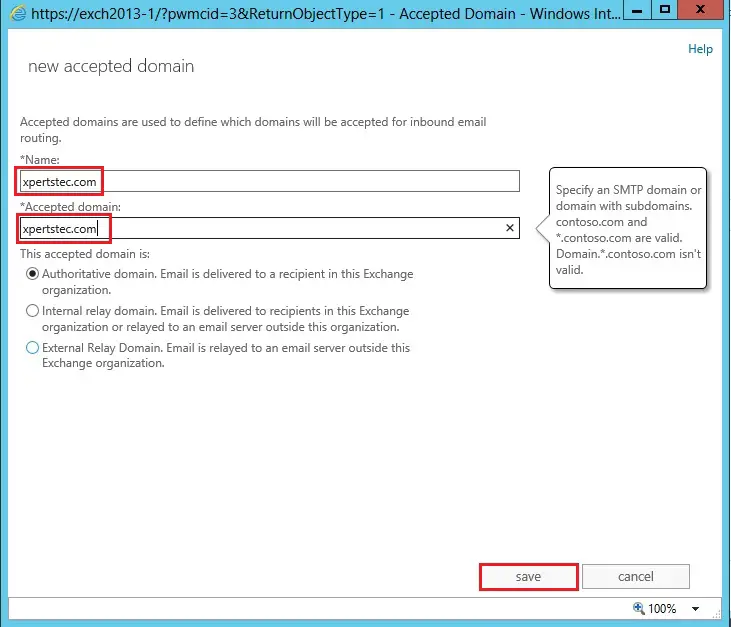
2- Type a name, type the FQDN domain in the accepted domain (xpertstec.com) and then click Save.
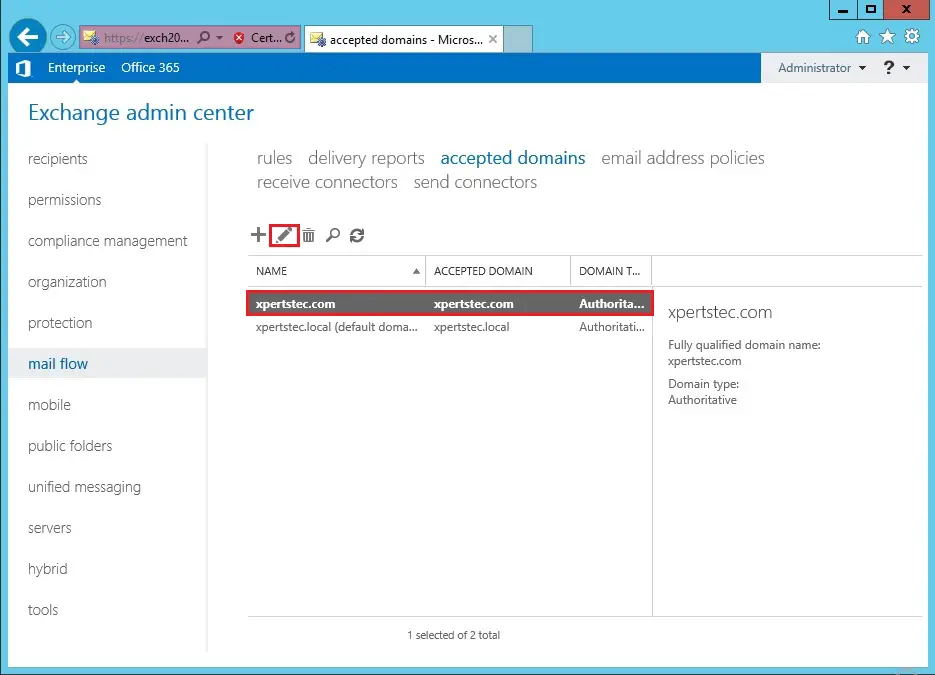
3- So, you have a new accepted domain.
To change the default domain highlight the new domain and then click the edit icon.
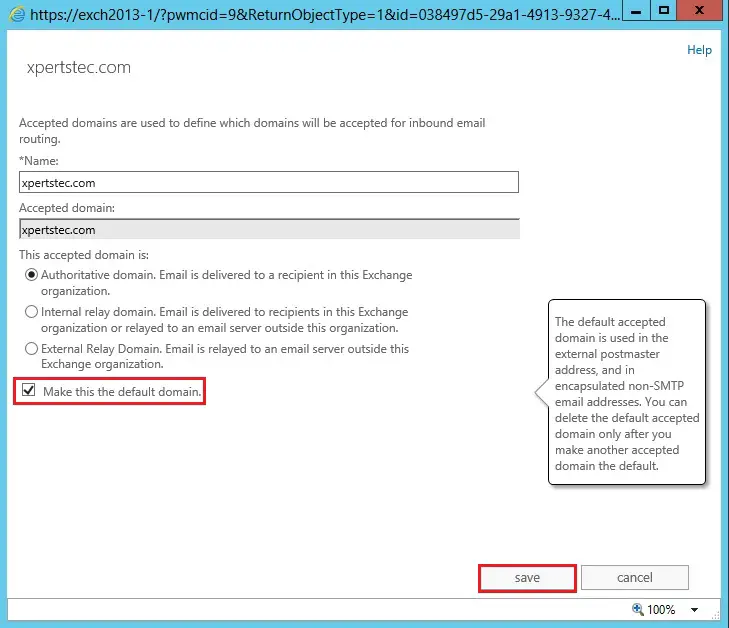
4- Select the box Make this the default domain and then click on Save.
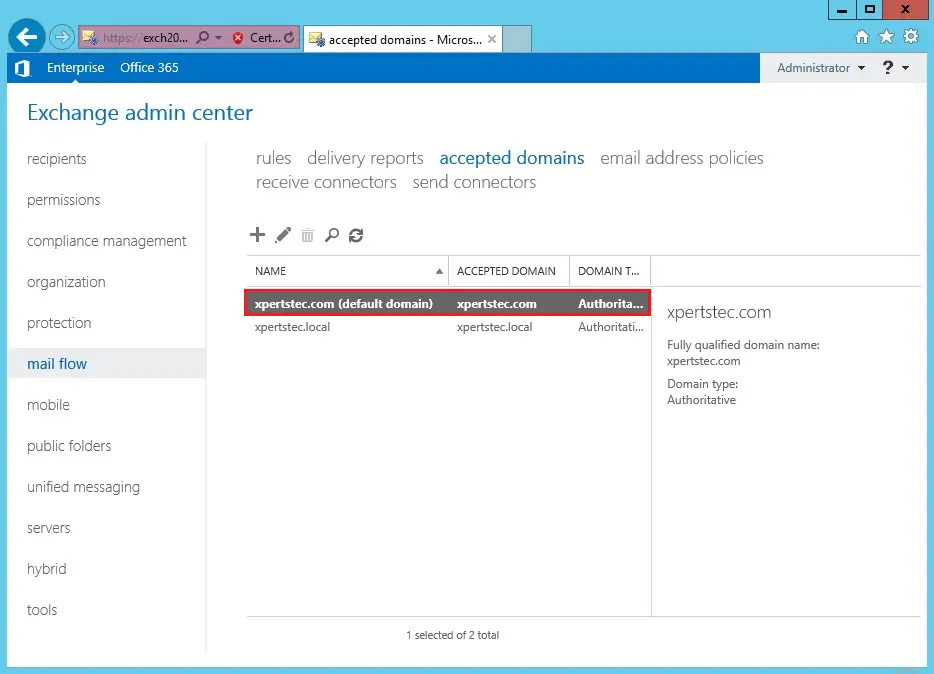
5- Now you can see the default domain changed.
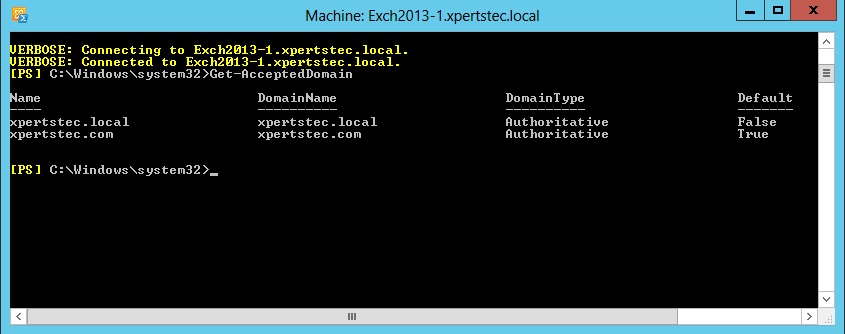
6- Configure the accepted domain in the server 2013 PowerShell command.
New-AcceptedDomain
New-AcceptedDomain -DomainName xpertstec.com -Name xpertstec.com -DomainType Authoritative
Set-AcceptedDomain
Set-AcceptedDomain -Identity xpertstec.com -MakeDefault $true
Get-AcceptedDomain
For more details click here
