


Configure NFS Share in FreeNAS, in our previous article, we have shown you how to set up FreeNAS. In this blog, I will explain to you the Configure NFS share in FreeNAS.
NFS stands for Network File System. It is used to allow users to access files/directory across a network.
NFS permits the user to mount all or a portion of a file system throughout the network. The share portion of the file system that is mounted could be accessed by clients with have privileges like read-only or read-write.
How to share file/directory via NFS in FreeNAS.
Type your FreeNAS server IP address on the web browser.
FreeNAS is a free & open-source software network-attached storage (NAS) system based on the FreeBSD system. FreeNAS operating system supports Windows, OS X & Unix clients, and various virtualization hosts such as XenServer and VMware. To configure the NFS share on FreeNAS, please follow the below steps.
1- Login to FreeNAS
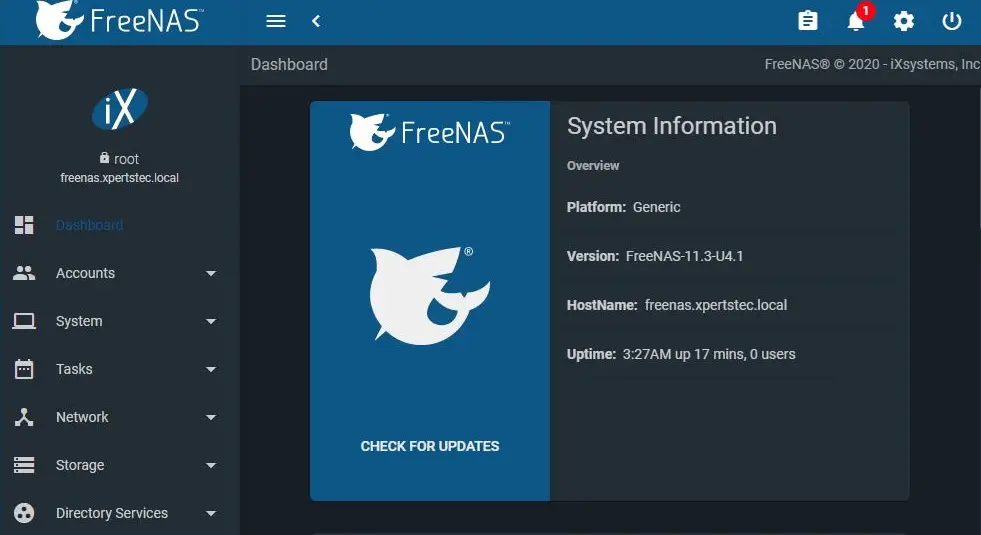
2- FreeNAS Dashboard.
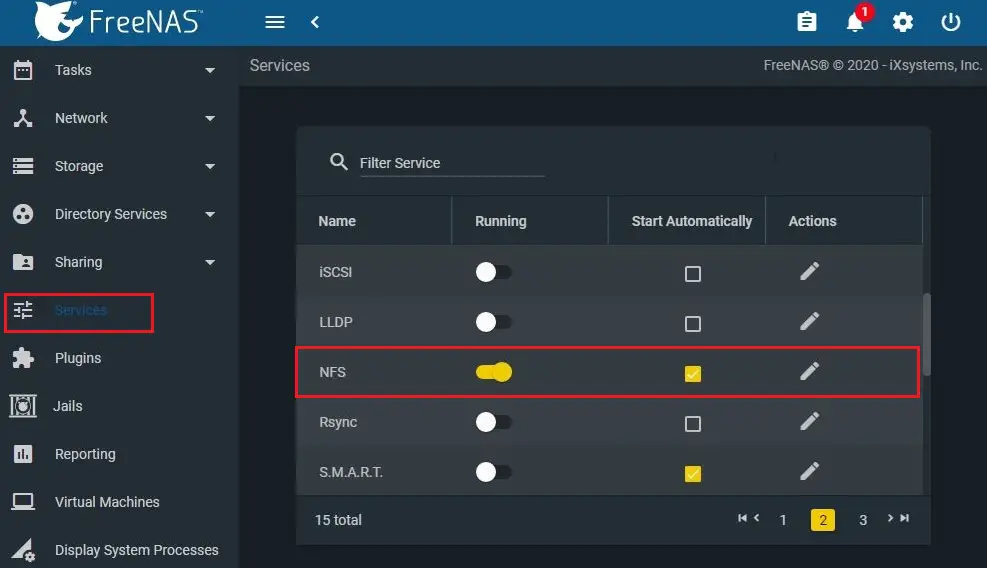
3- Select the services menu and then enable NFS service.
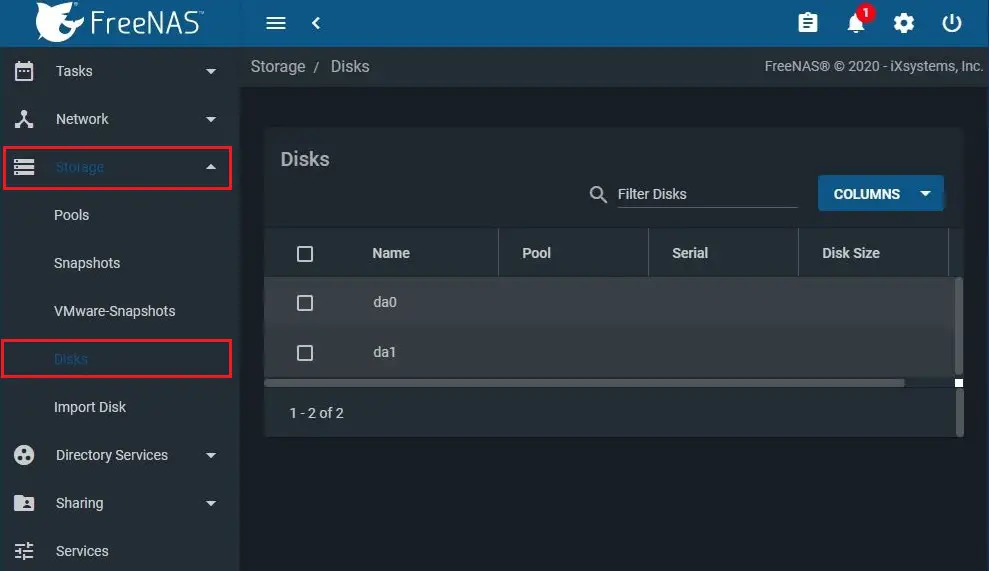
4- Select storage and then disks to check your disks.
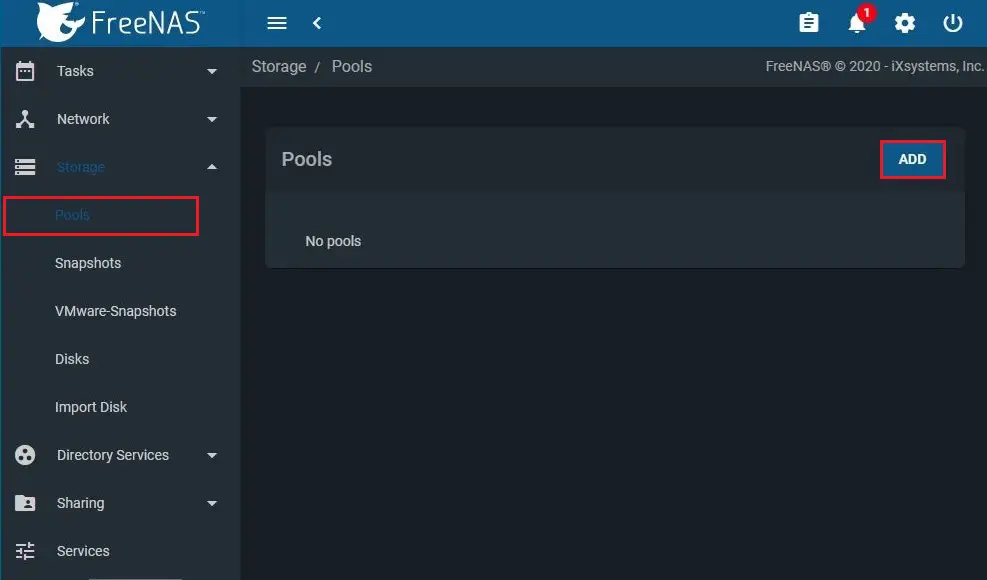
5- Under storage select pools and click on ADD button.
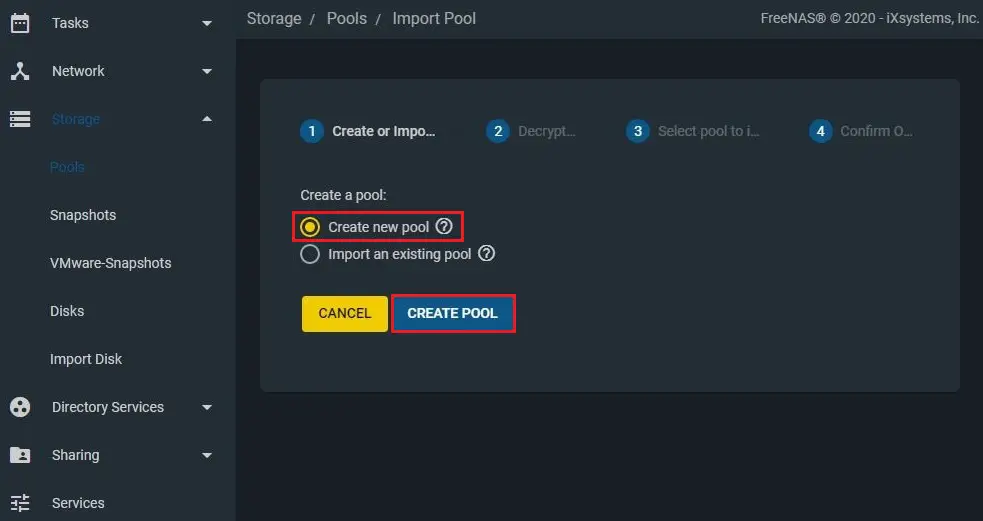
6- Select create new pool and then select create pool.
7- Type a name and select disk the one you want to use for NFS share.
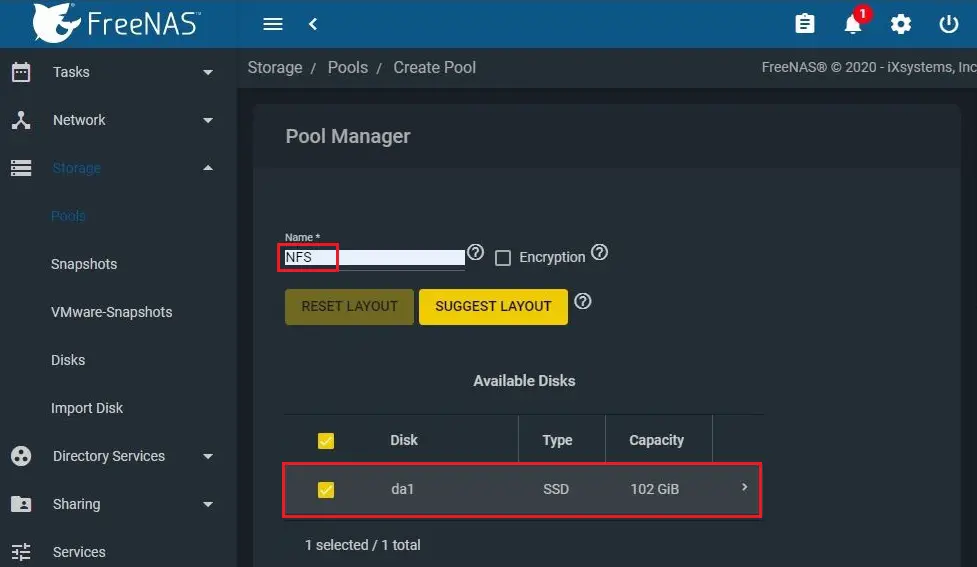
8- Click on forward arrow key and click create.

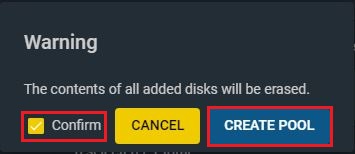
9- Select confirm and click create pool.
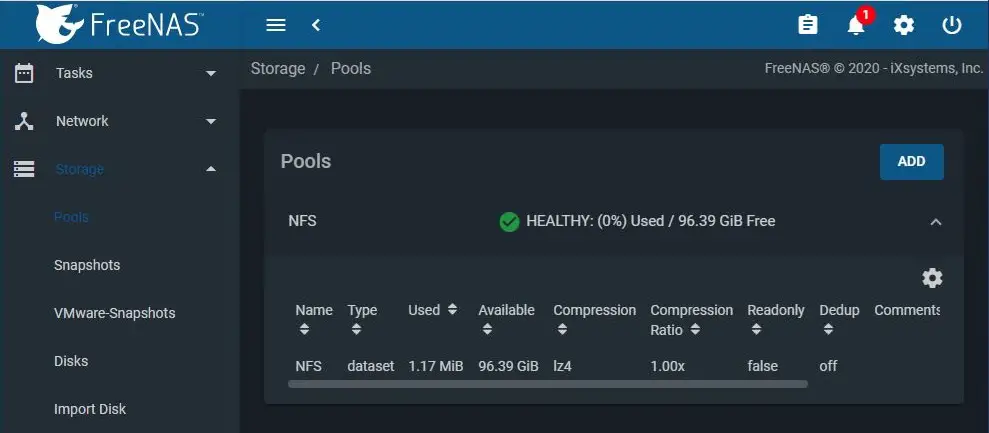
10- A pool successfully created.
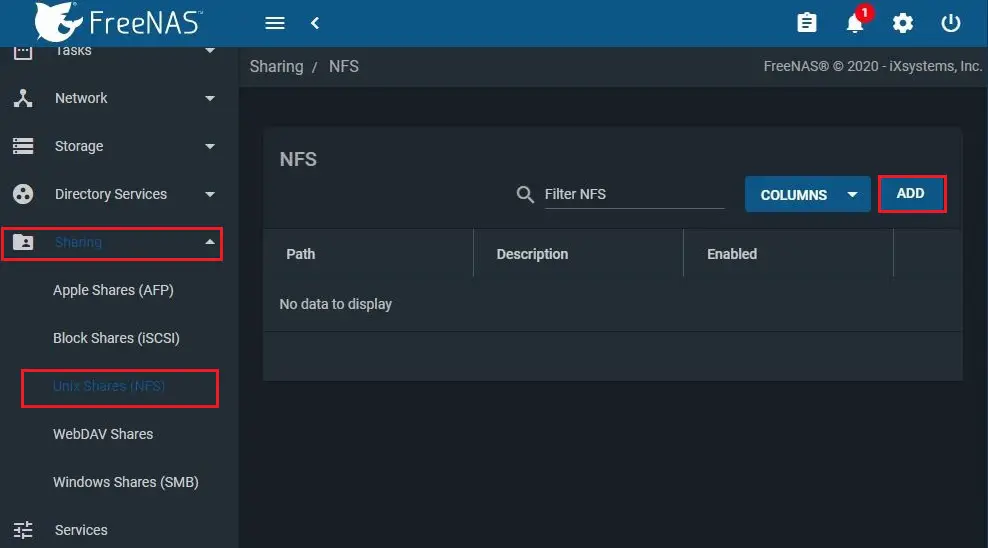
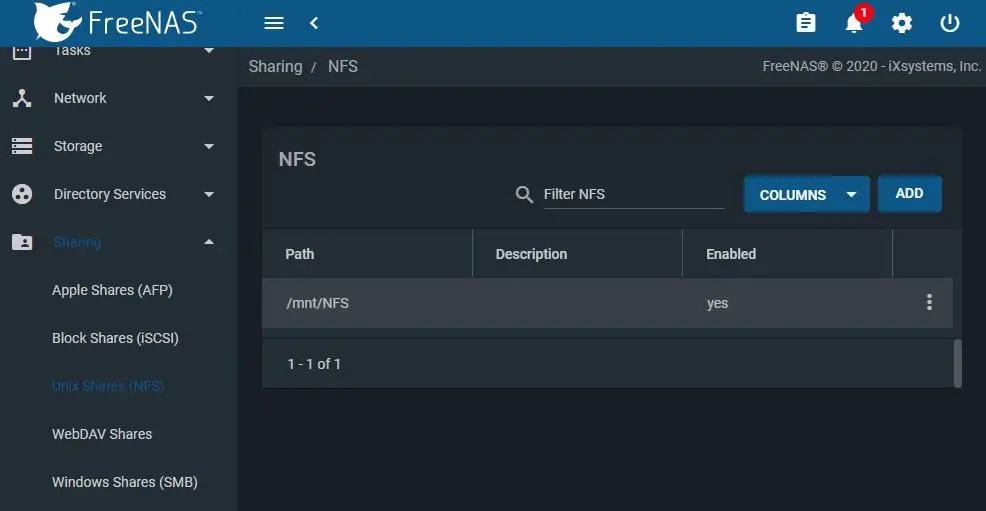
11- To configure NFS click on Unix Shares (NFS) and click on ADD button.
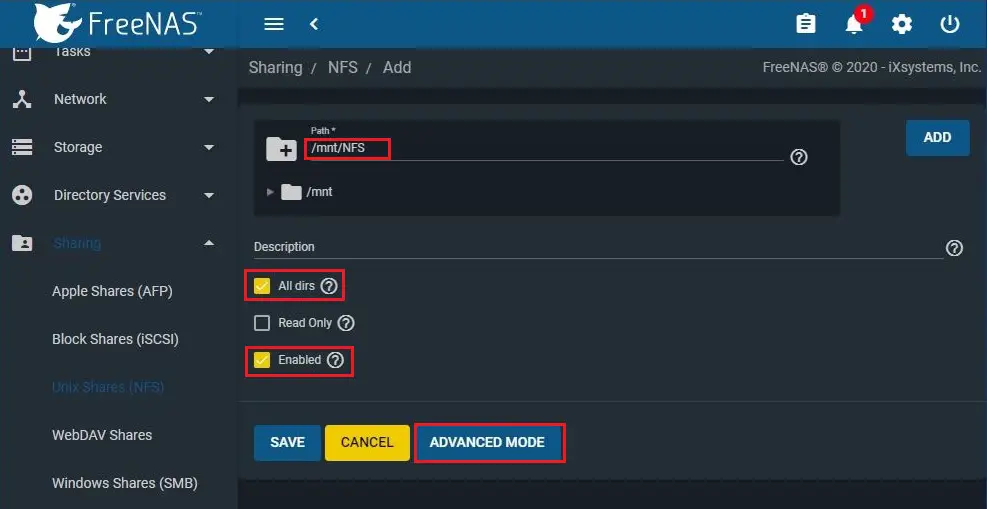
12- Type a path, select All dirs checkbox, select enable checkbox, and then click advanced mode.
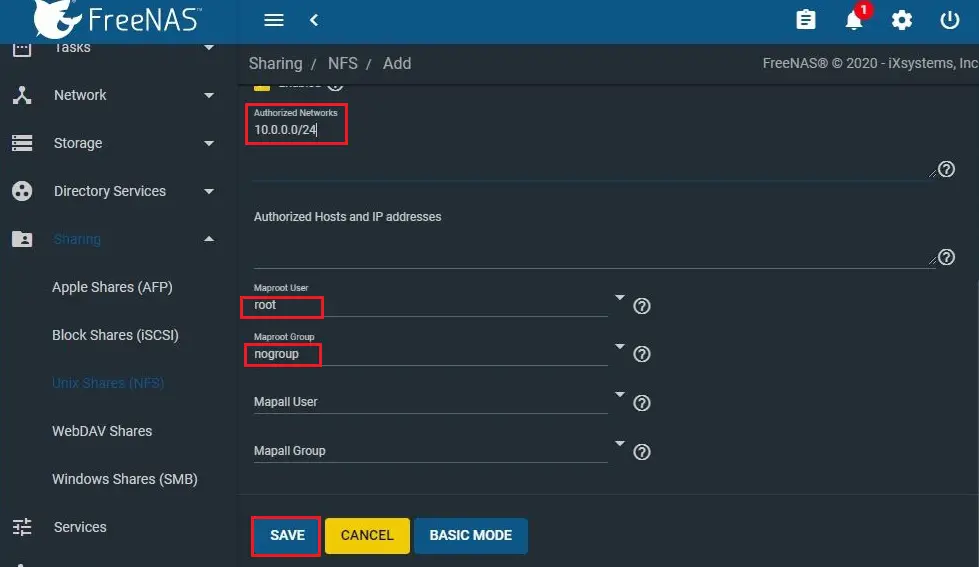
13- Authorized Network – type your network address
Maproot User – Select root
Maproot Group – Select nogroup and then click Save.
14- NFS path created.
How to Add NFS shared with VMware Host as a datastore.
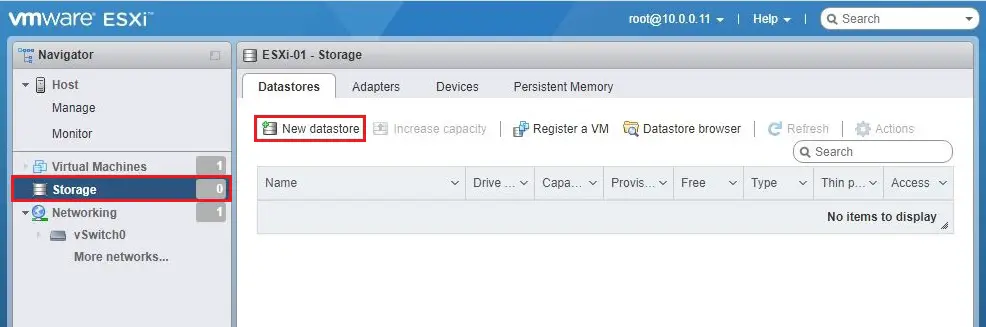
1- Log in to VMware vSphere client, navigate to Storage and then click New datastore.
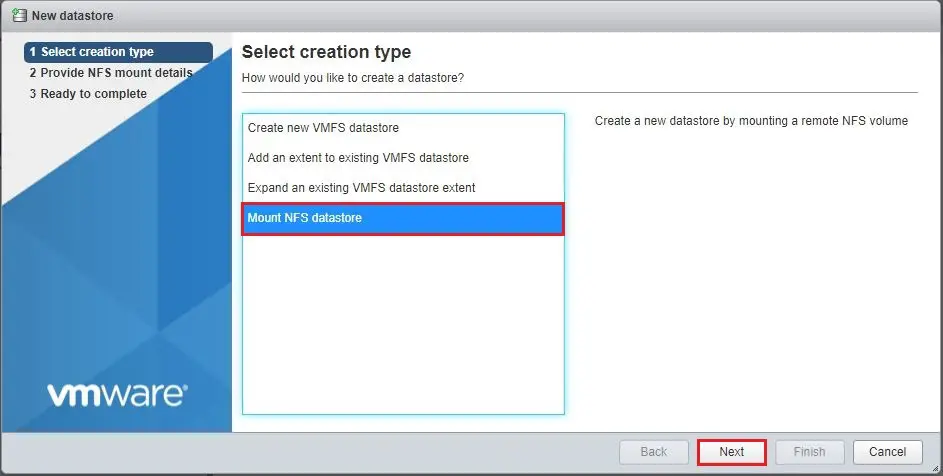
2- Select mount NFS datastore and click next.
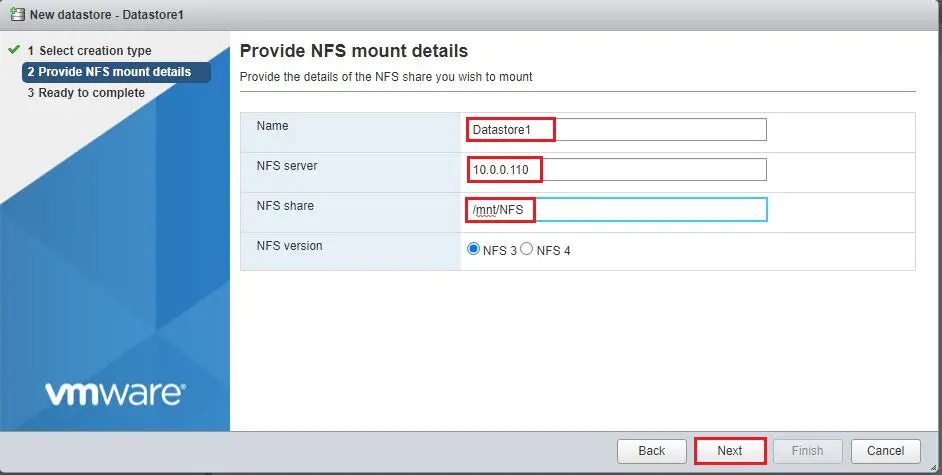
3- Enter Datastore Name, NFS server IP, NFS share path and then click next.
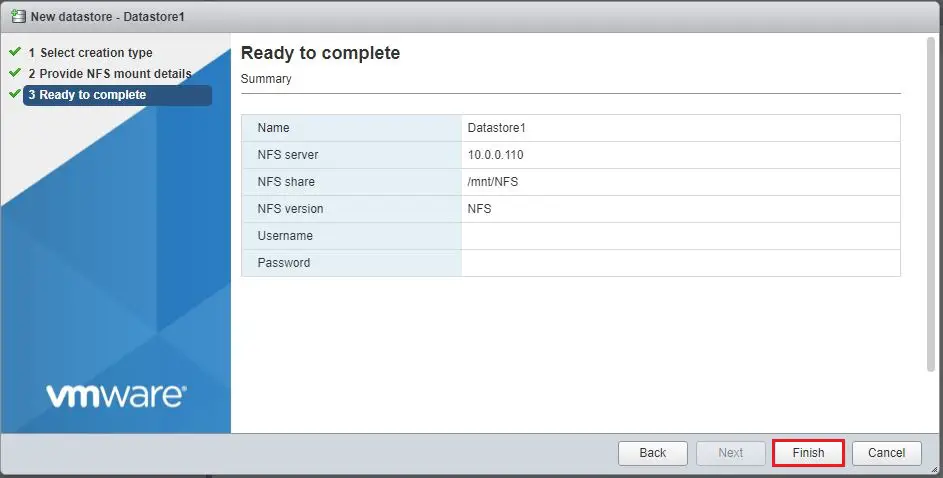
4- Review the summary and click finish.
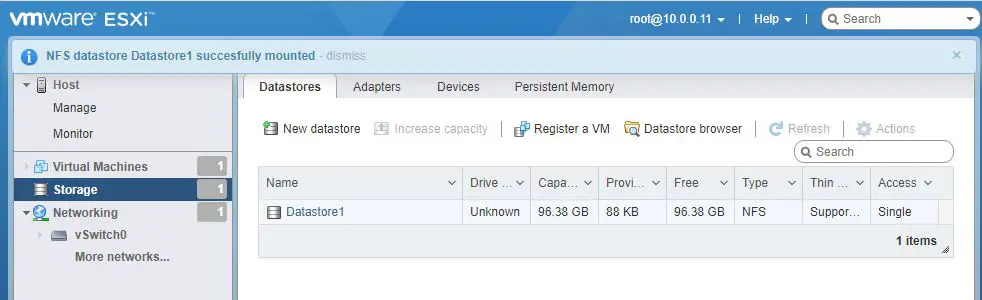
5- Now we can see Datastore1 on storage list.
For more details please click here
