


In this blog, I will be able to configure database backup and restore the mailbox database and recover the whole database and emails using Windows Server Backup.
First of all, we’d like to install the Windows Server Backup role.
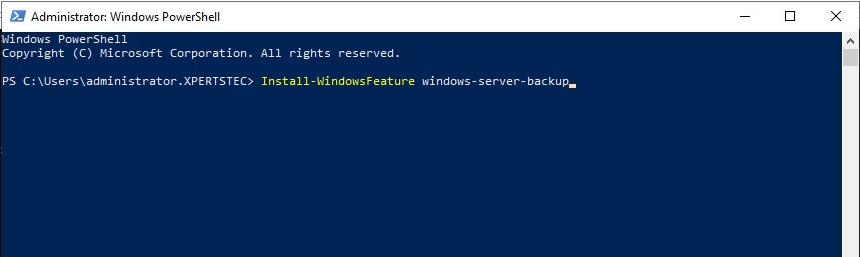
1- Open powershell and type the below command to enable the windows server backup role.
Install Windows Server Backup
Install-WindowsFeature windows-server-backup
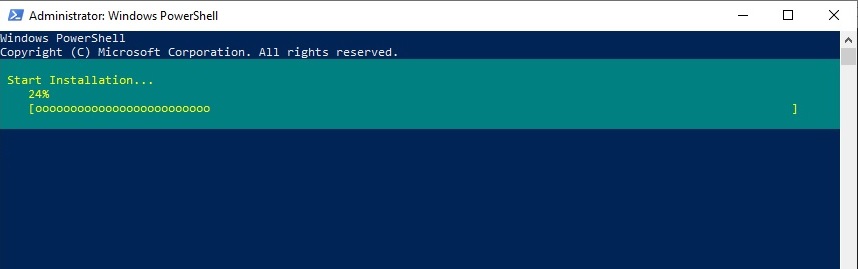
2- Windows Server Backup role start the installation.
Exchange 2019 Database Backup and Restore
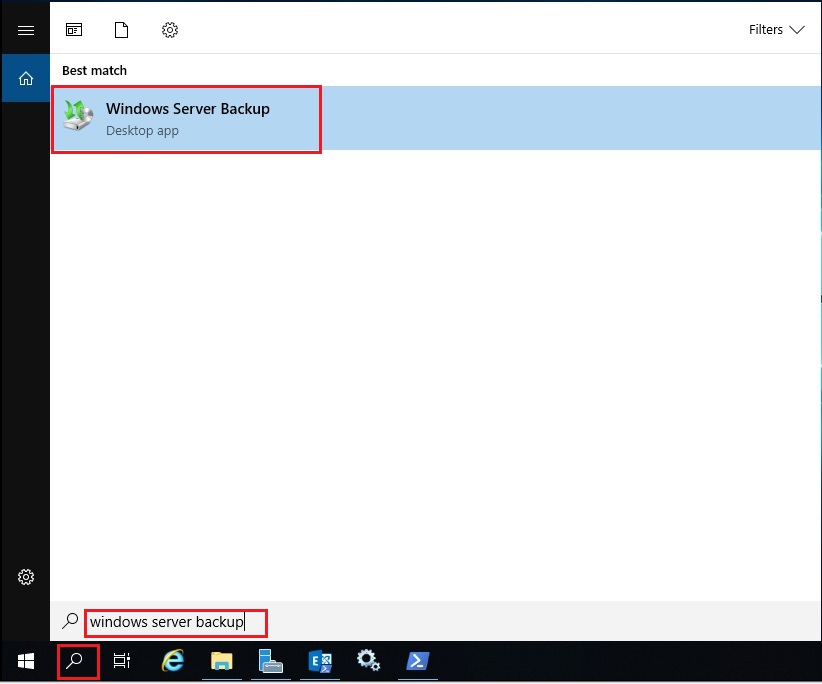
3- Select windows search bar and type Windows Server Backup and then select to start the Backup Process.
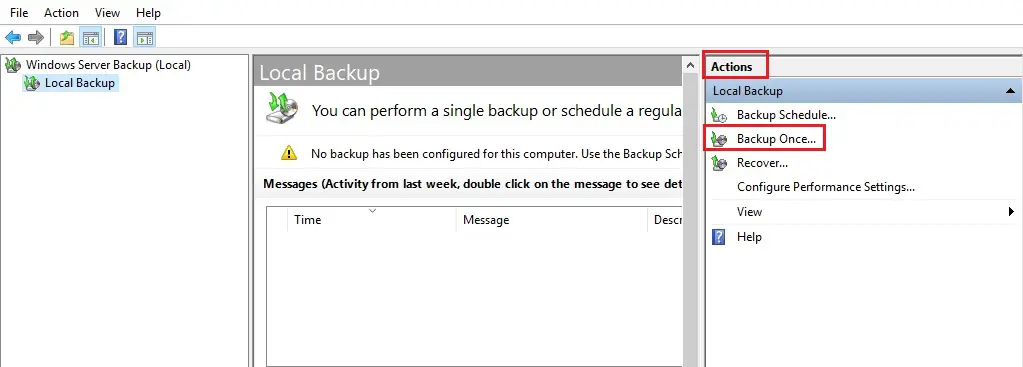
4- After opening windows server backup and under the action menu and then select on Backup once.
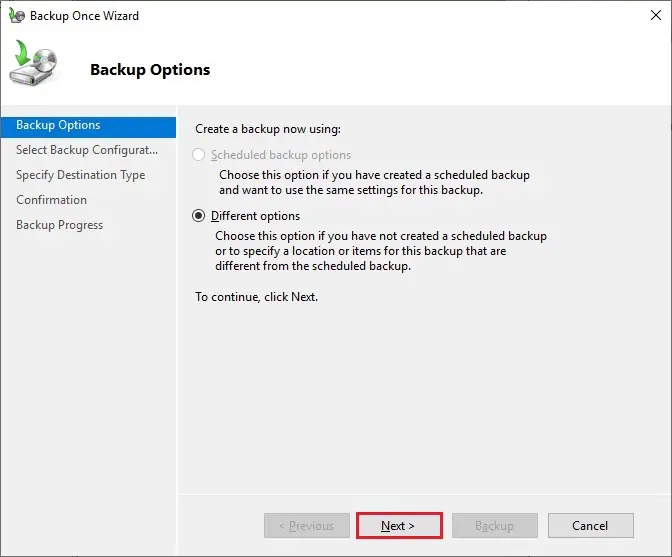
5- In the backup options so select Different options and then click on the next.
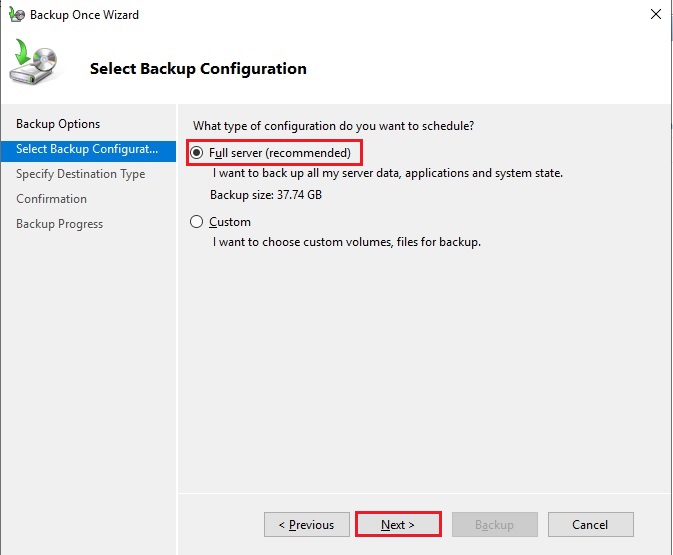
6- Select full backup (recommended) and then click on the Next button.
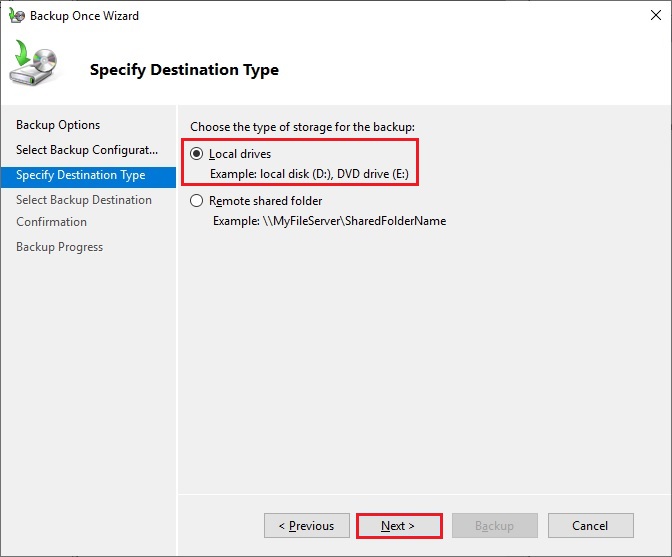
7- Select Local Drives and then click on the Next button.
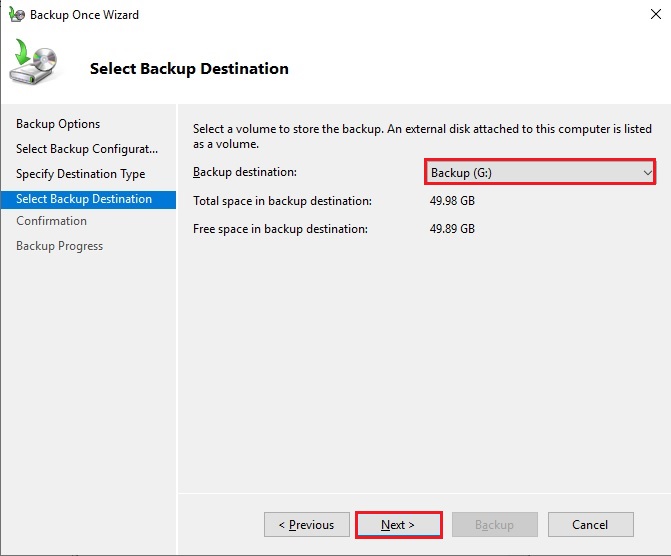
8- Select a volume where you want to store the backup and then click on the next.
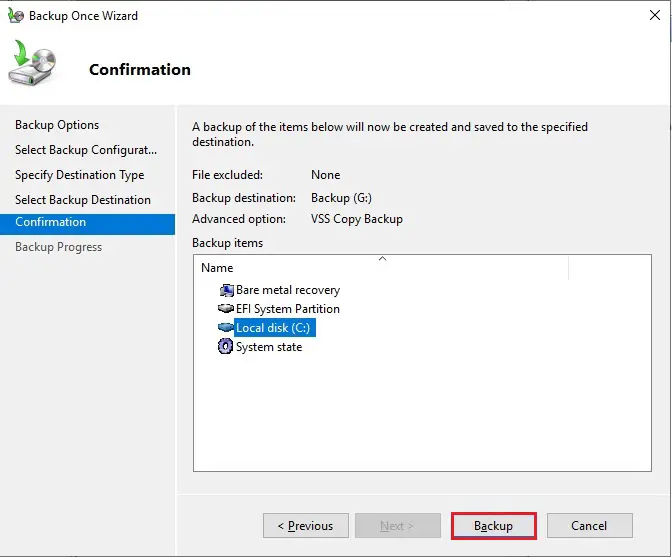
9- After confirmation and then click the Backup button to start the back up.
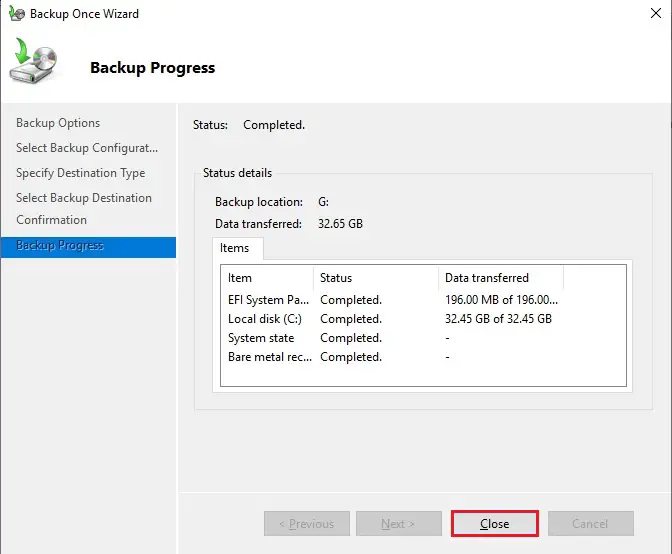
10- Now the Backup process successfully completed, so click on close.
Restoring the Entire Mailbox Database.
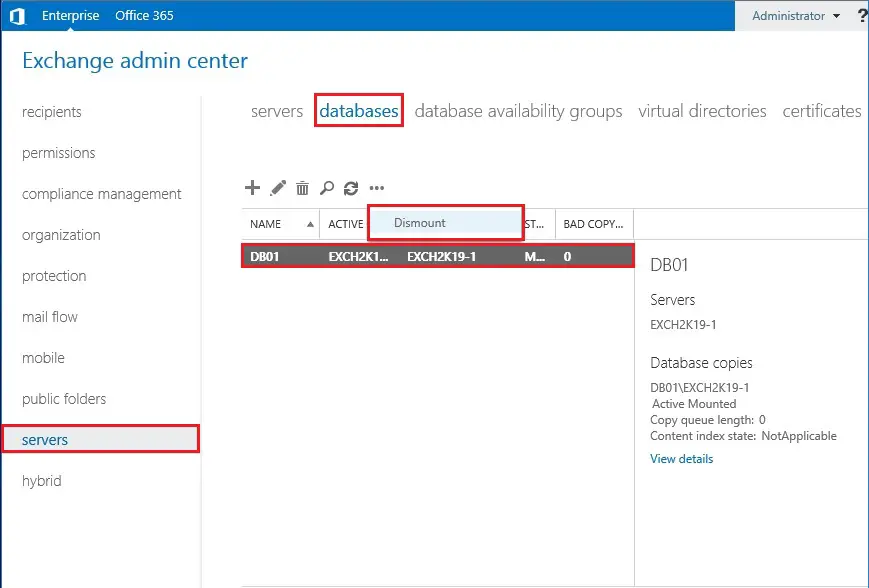
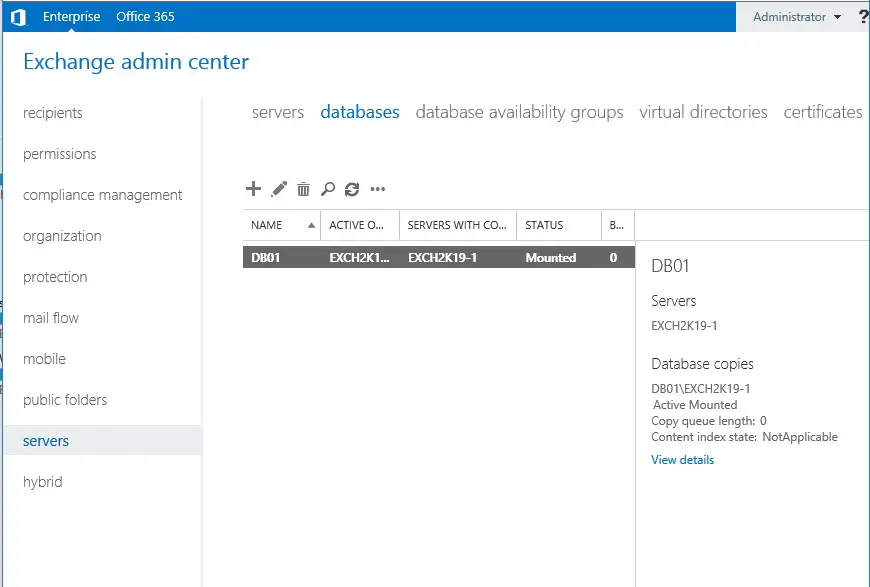
11- Login to Exchange admin center and select the Servers tab and select the database and select … and then click on Dismount.
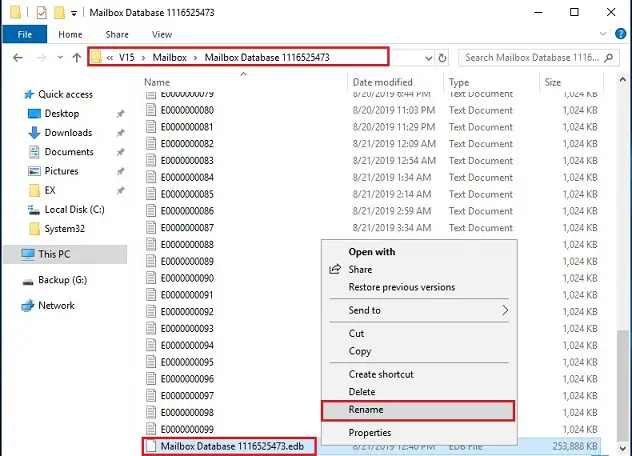
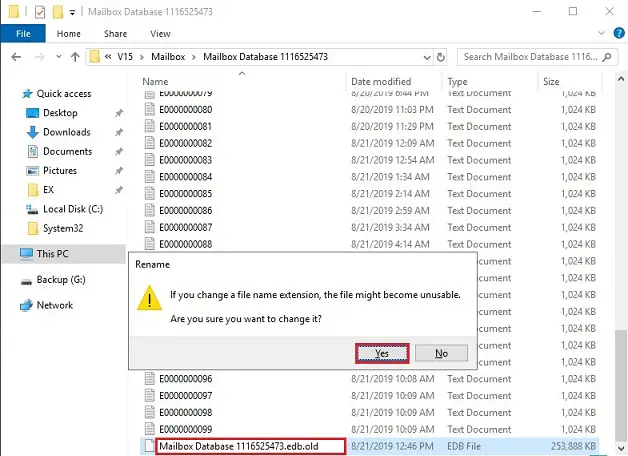
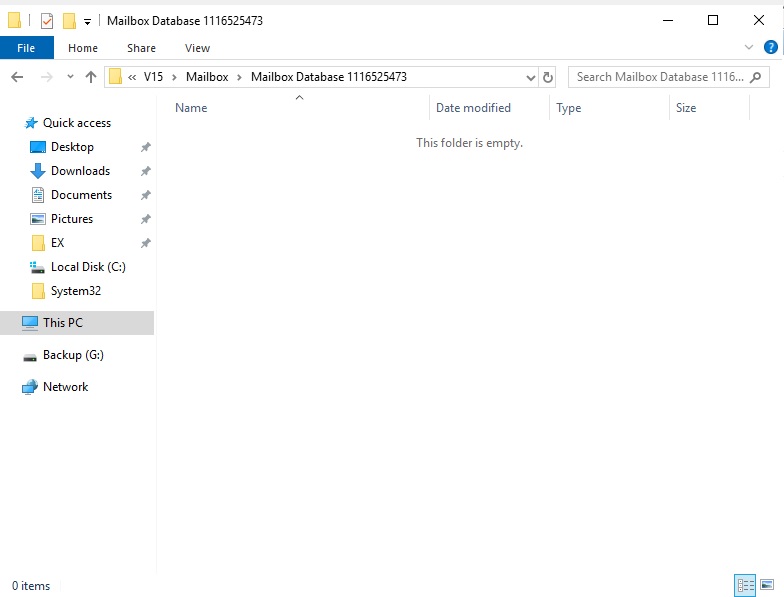
12- Open your mailbox database location and then right click on the mailbox database 111625473 and select on rename.
C:\Program Files\Microsoft\Exchange Server\V15\Mailbox\Mailbox Database 1116525473.
Are you sure you want to change it?
13- Mailbox database 111625473.edb.old and click on yes.
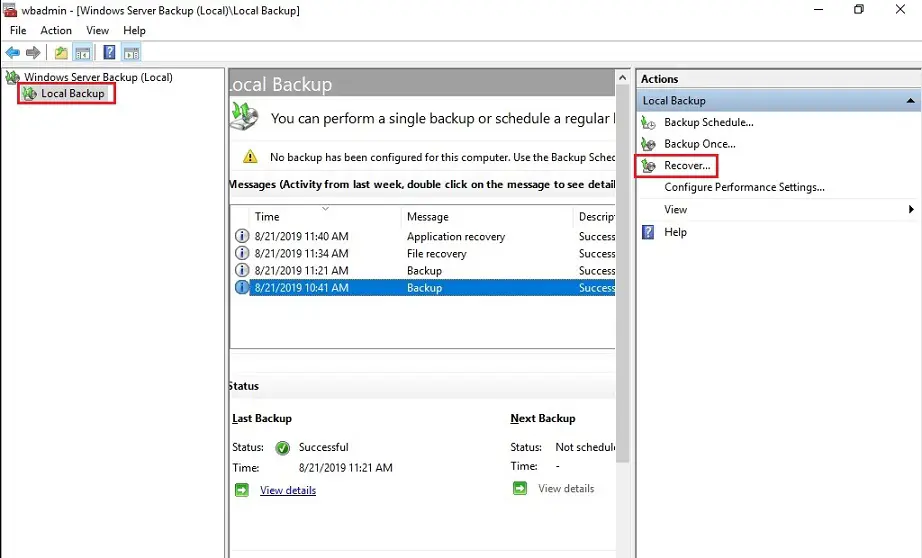
14- Now open windows server backup and under the action menu and click on recovery.
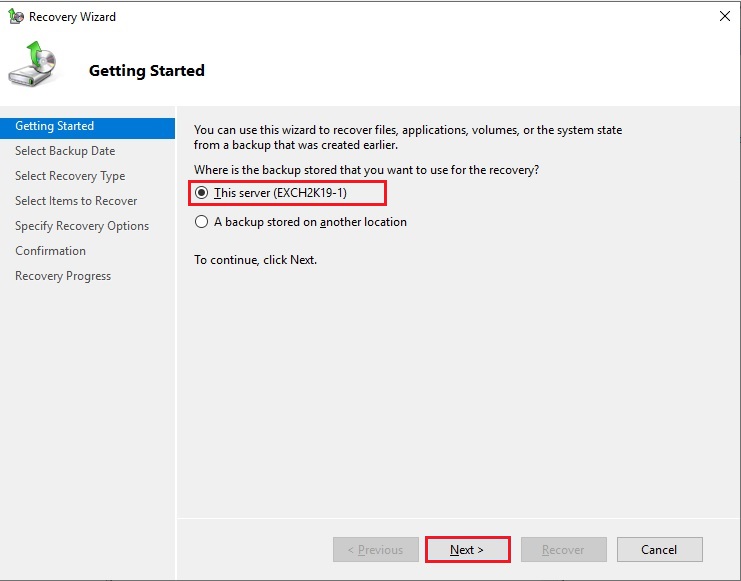
15- Select this server (Exch2K19-1) and click on next.
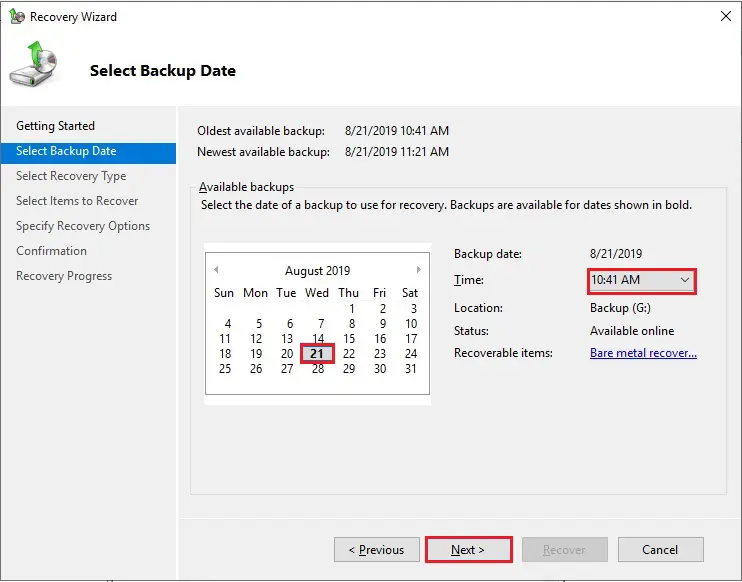
16- Select the backup date you would like to backup and click on next.
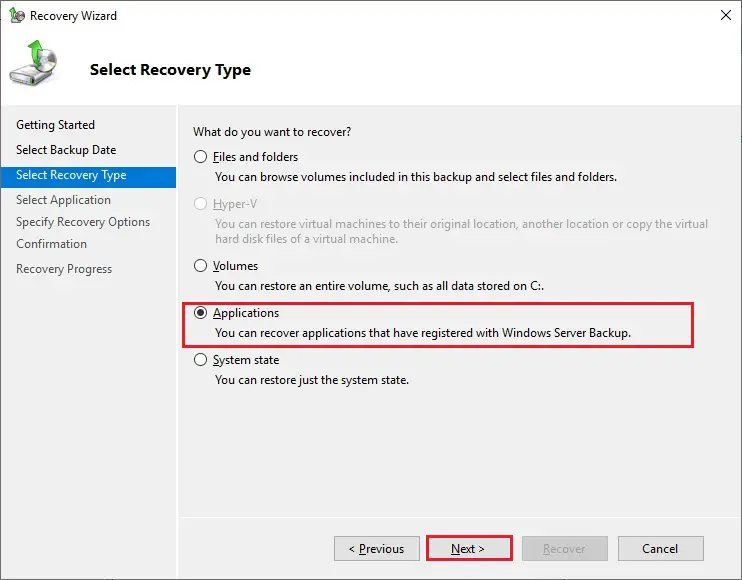
17- Select Applications and click on the Next button.
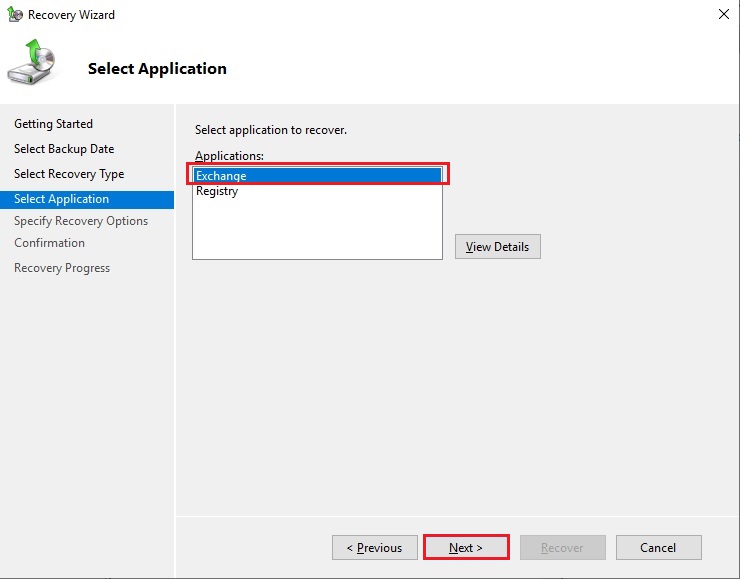
18- Under applications and select the exchange and click on next.
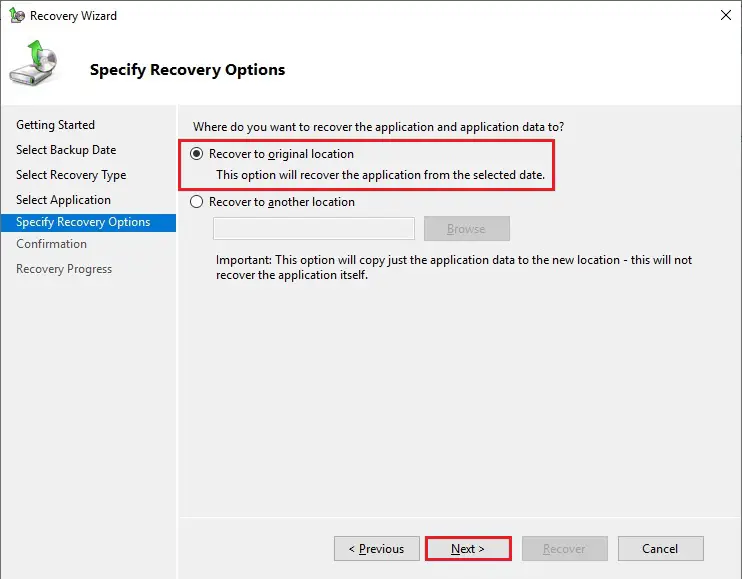
19- Specify recovery options so, select recovery to original locations and click on the next.
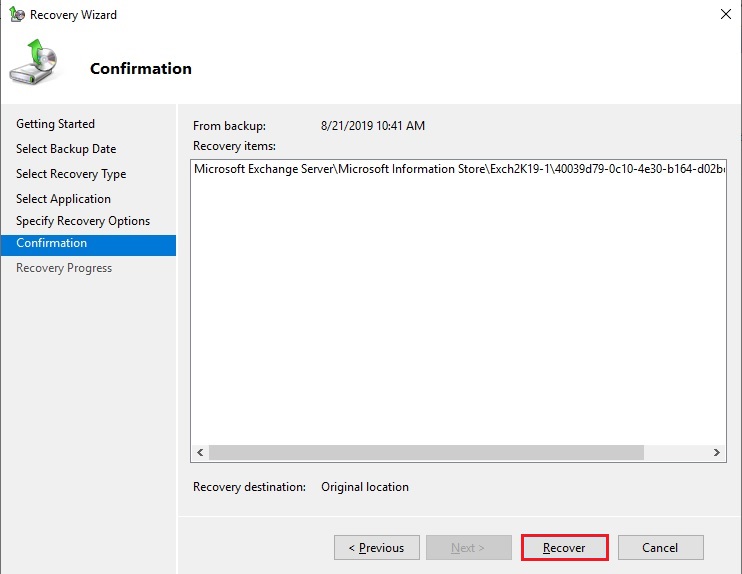
20- Exchange Server database Confirmation so click on the recovery.
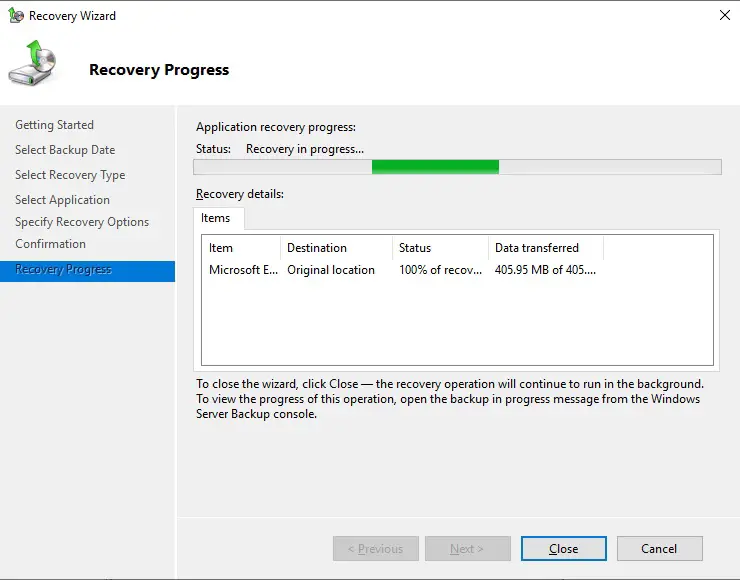
21- Now the Backup server Recovery in progress.
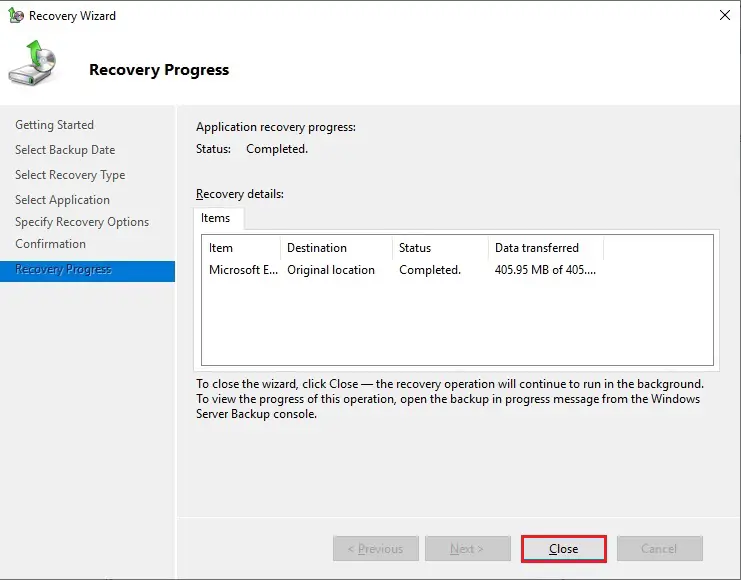
22- Recovery Process completed and click on close.
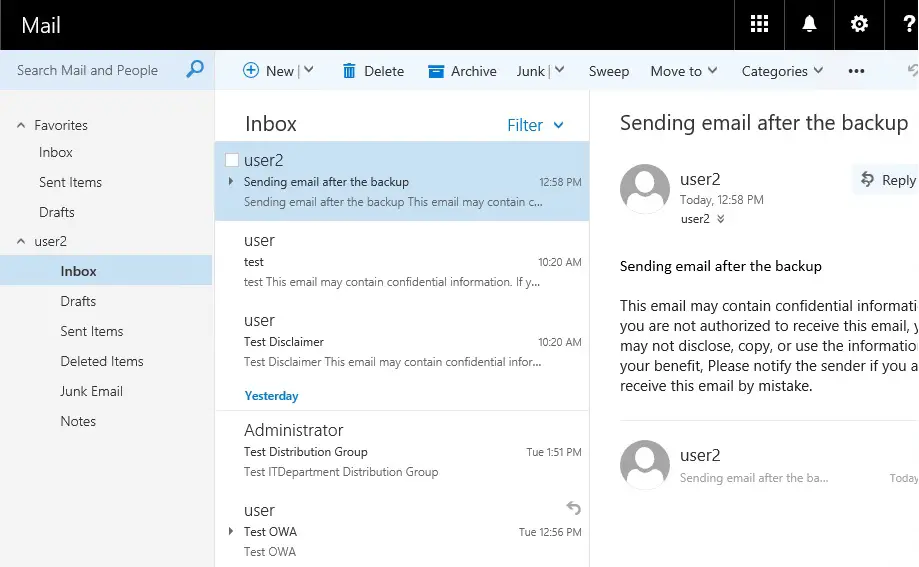
23- After a successful recovery log in the outlook web app.
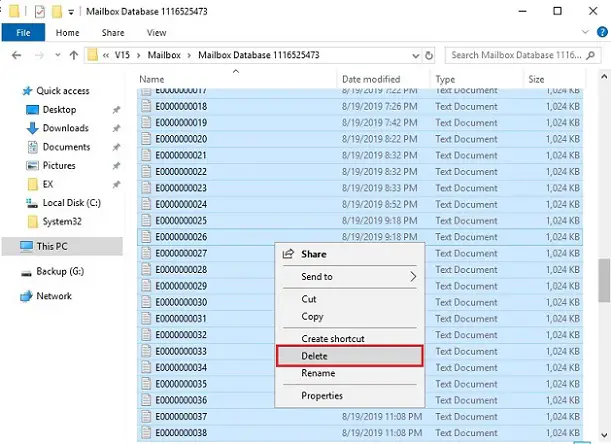
Now I have deleted the mailbox database and log files.
Because I want to recover the mailbox database.
24- Select delete database and log files and select delete.
C:\Program Files\Microsoft\Exchange Server\V15\Mailbox\Mailbox Database 1116525473.
25- After deleted the mailbox.
Follow the steps from 14 to 22 to restore the database.
Now Exchange database successfully recovered and database mounted.
For more details how to backup and recover exchange 2019 database