


Create hyper-v high availability, in the previous post of creating a Hyper-V cluster Window Server 2019; we took a look at installing the Hyper-V role, networks, as well as attaching both hosts to iSCSI targets.
Now, in the second article, we will look at installing Failover Clustering, creating hyper-v high availability clusters, creating clustered shared volumes (CSVs), and making the Hyper-V virtual machine workloads role highly available.
Installing Failover Clustering Role
Now we have installed the Hyper-V role on both Hyper-V hosts. We need to install the Failover Clustering feature on both servers in our lab.
1- Log in to first Hyper-V node (HVS2K19-01) open server manager and the click Add Roles and Features.
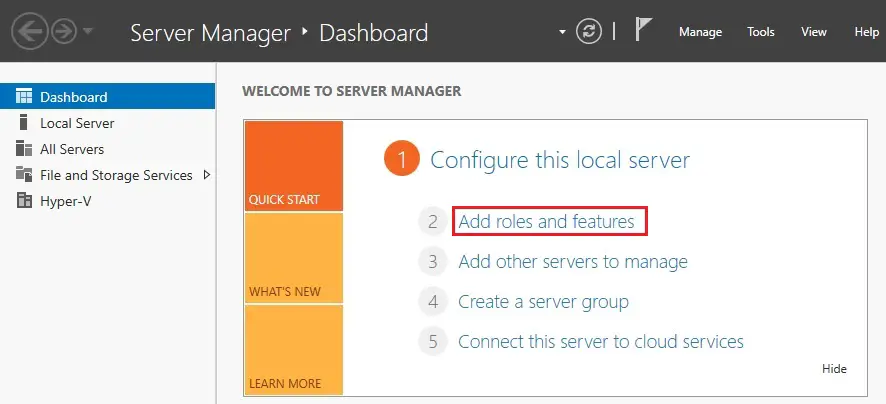
2- Add roles and features wizard click next.
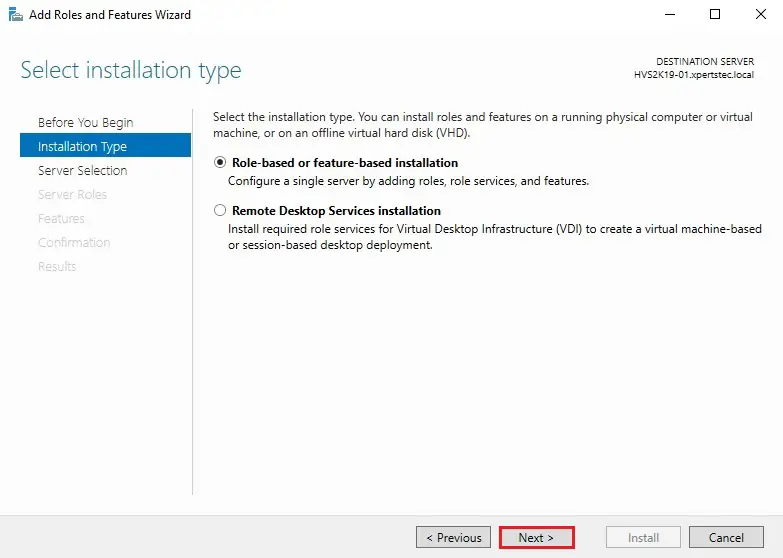
3- Role-based or feature-based installation click next.
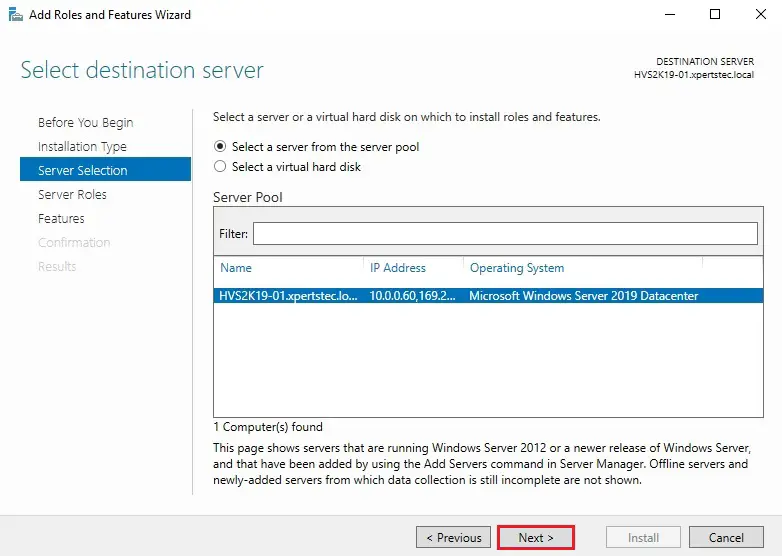
4- Choose the host and then click next.
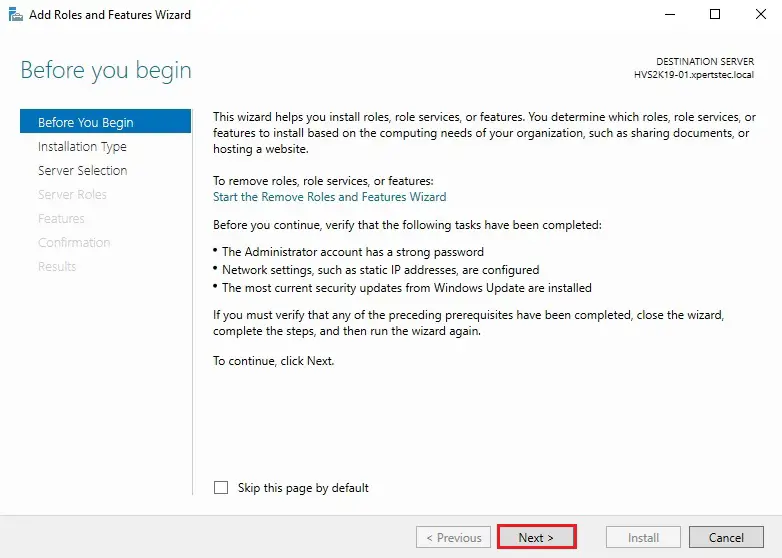
5- Click next.
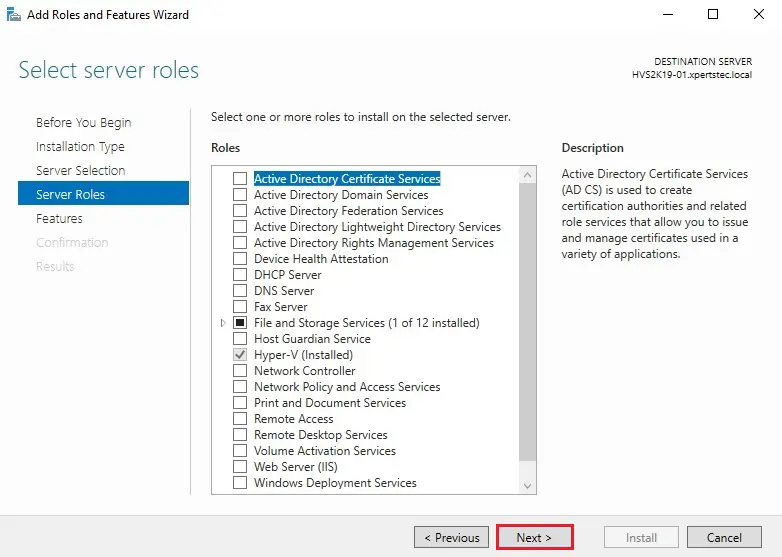
6- Select the Failover Clustering feature.
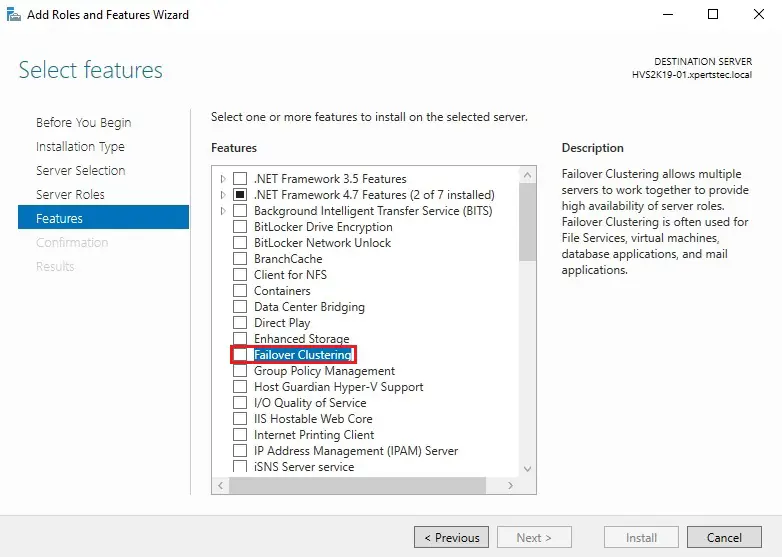
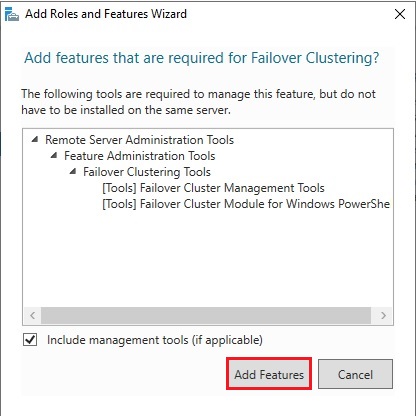
7- Click the Add Features button to install the required features for Failover Clustering.
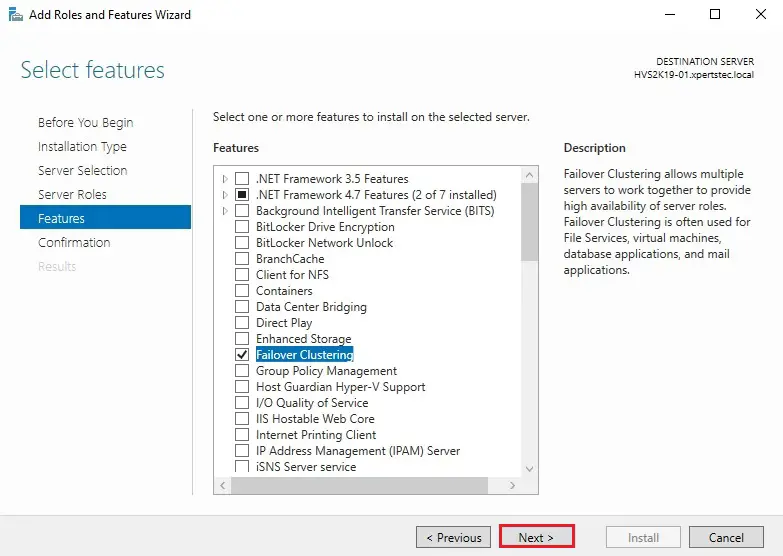
8- The Failover Clustering feature is now selected, Click next.
9- Click the install button.
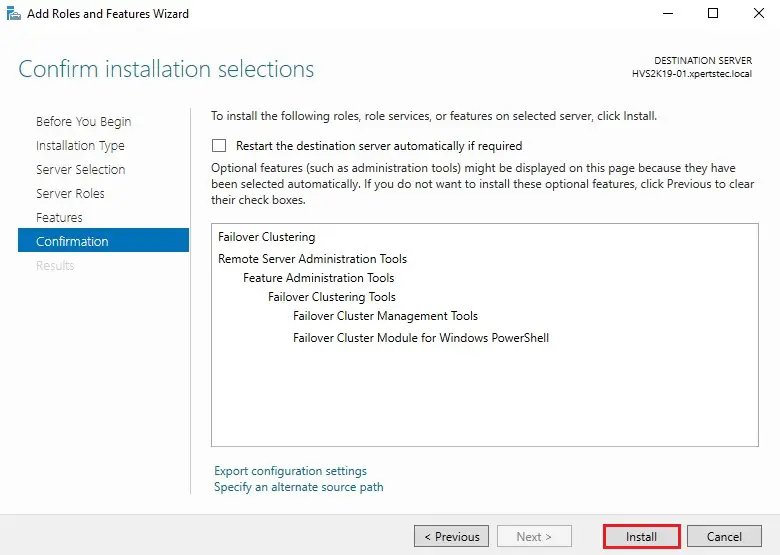
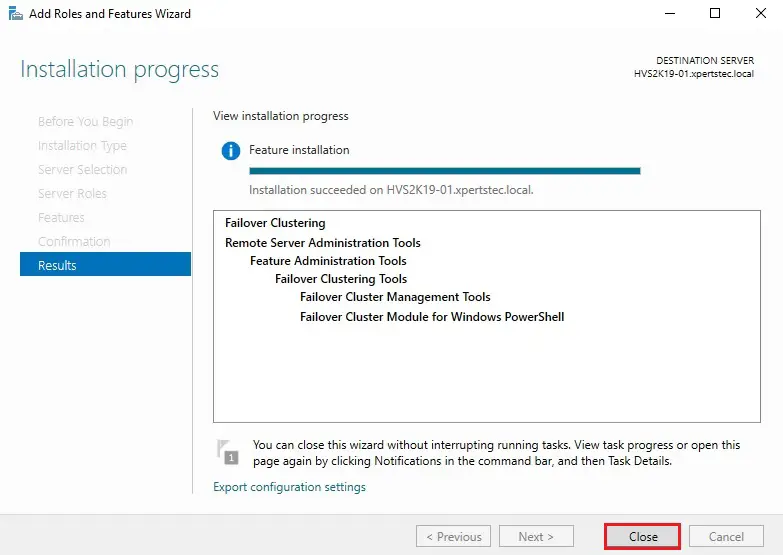
10- The installation successfully completed, click close.
Follow the above steps from 1 to 10 to enable failover clustering on second Hyper-v node (HVS2K19-02)
Create Hyper-V High Availability
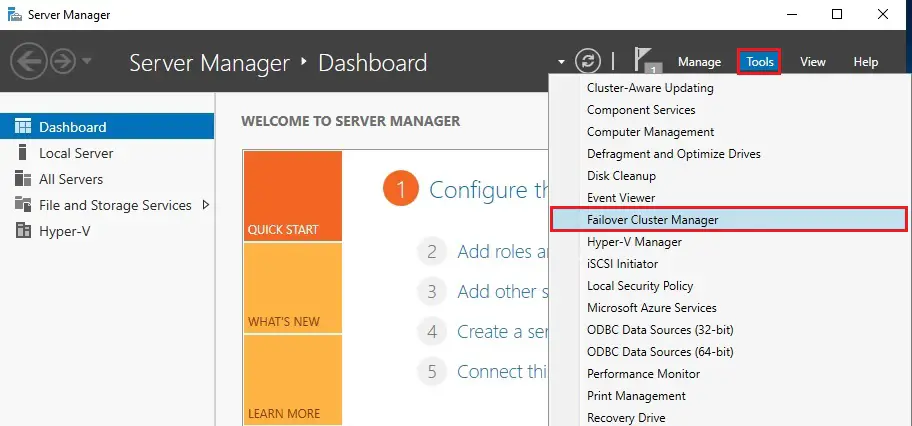
11- Select tools and then click failover cluster manager.
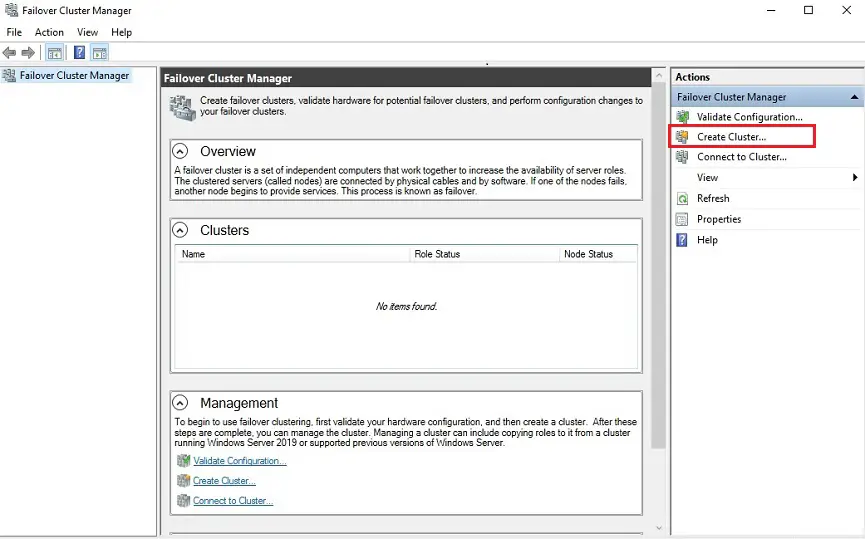
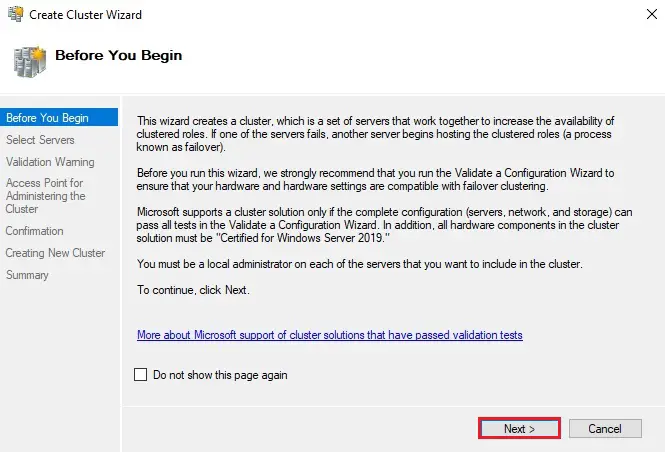
12- Hyper-V High Availability, to create the Failover Cluster, select Create Cluster under action menu.
13- Hyper-V High Availability, create Cluster Wizard click next.
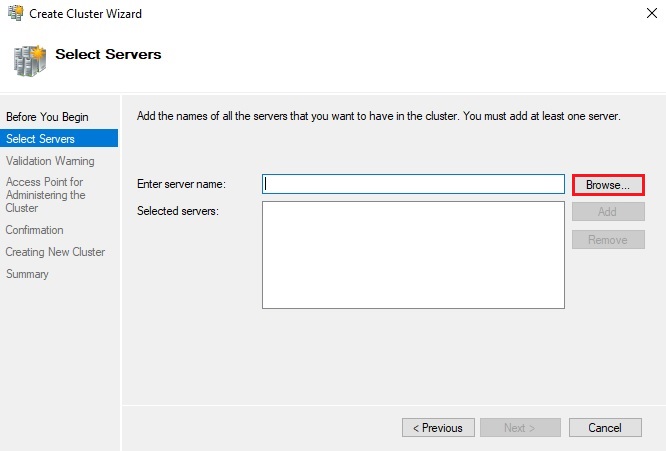
14- Select the Browse button.
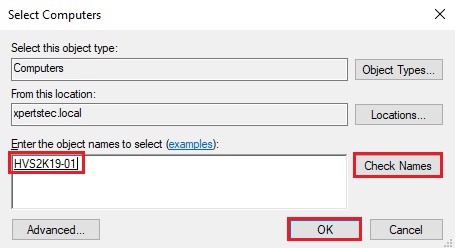
15- Enter Hyper-V node name, click check names and then click OK.
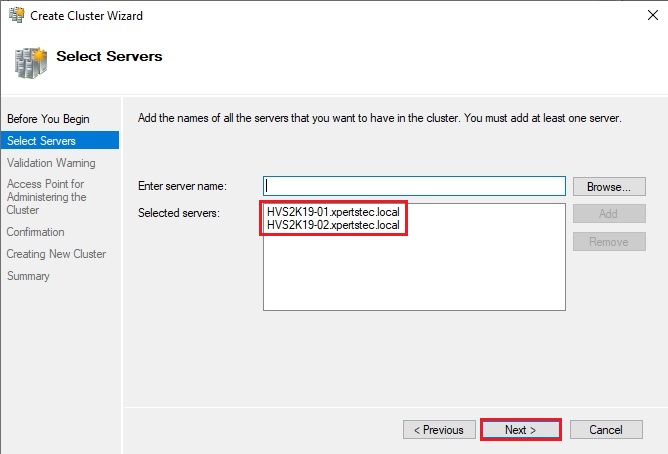
16- The Hyper-V hosts successfully added click next.
17- Hyper-V High Availability, click next.
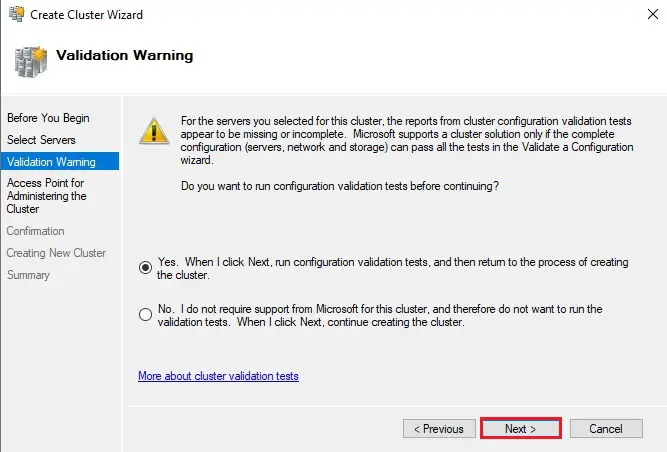
18- The validate a configuration wizard click next.
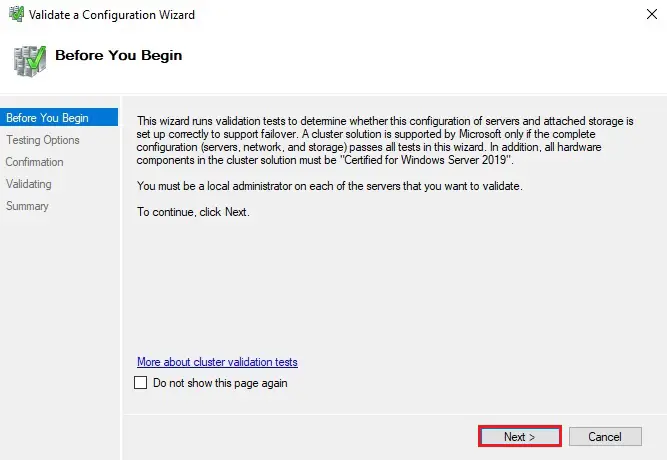
19- Hyper-V High Availability, click next.
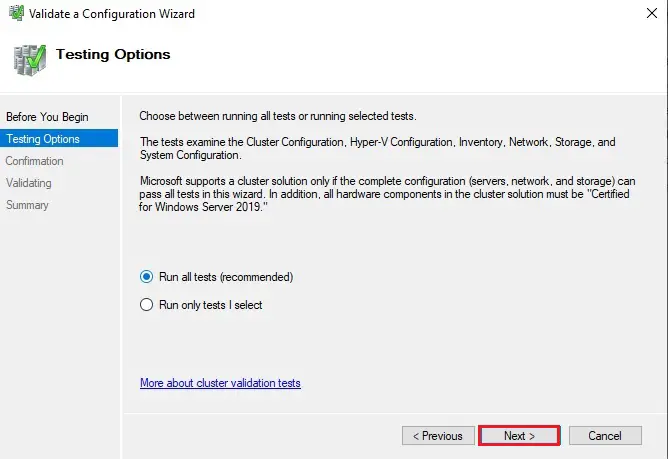
20- Click the Next button to begin the tests.
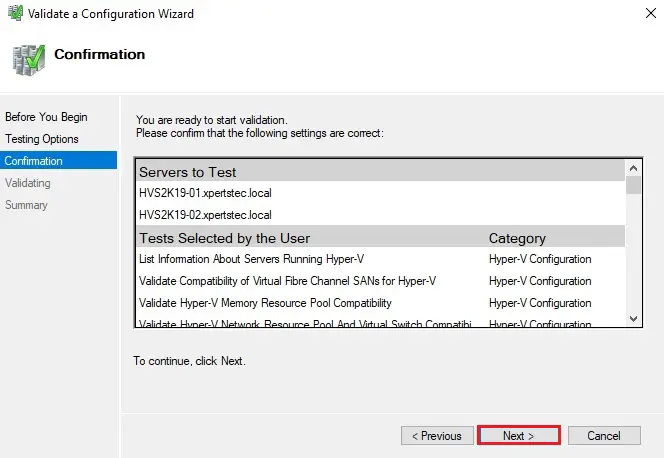
21- The validation tests are running.
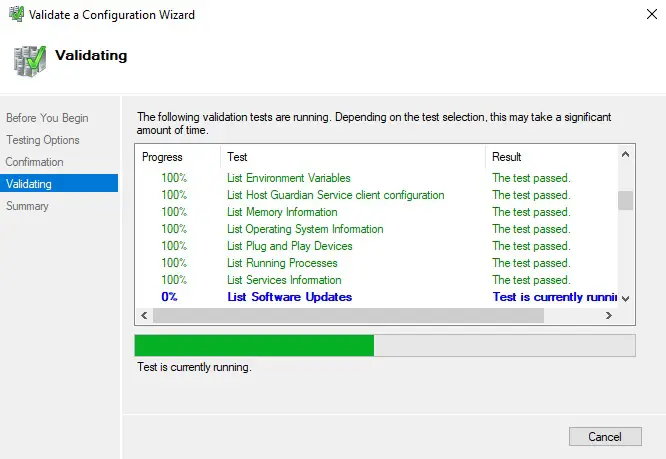
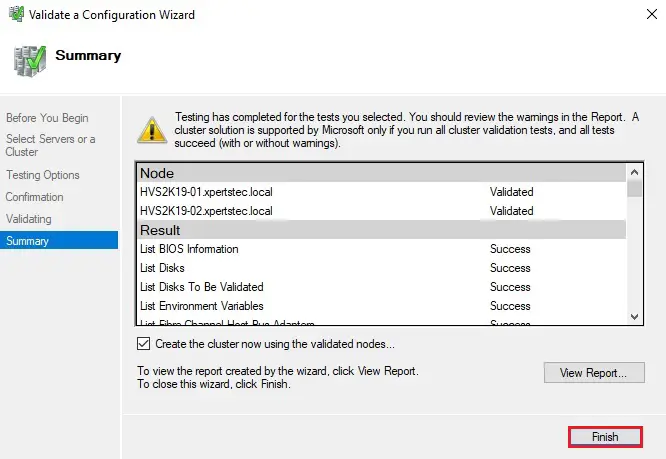
22- Once we have the results of the cluster validate testing which has to come back as either a warning or passed to continue forward. We can also click the checkbox Create the cluster now using the validated nodes. We can also click on View Report to see a detailed report of the test results in each area.
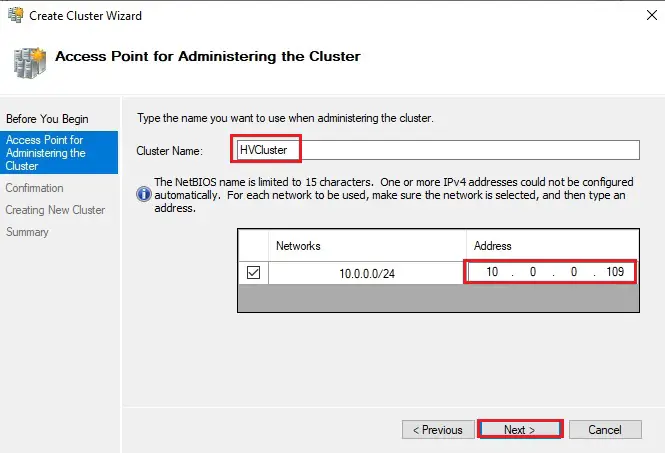
23- Type a Cluster Name, IP Address for the cluster and then click next.
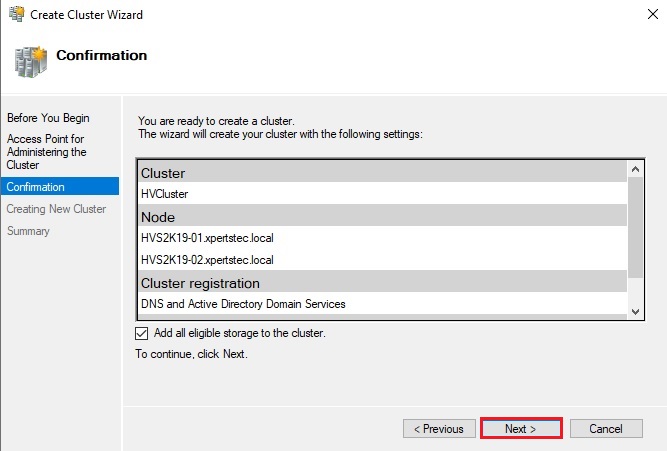
24- You can select checkbox to add all eligible storage to the cluster as part of the process and then click next.
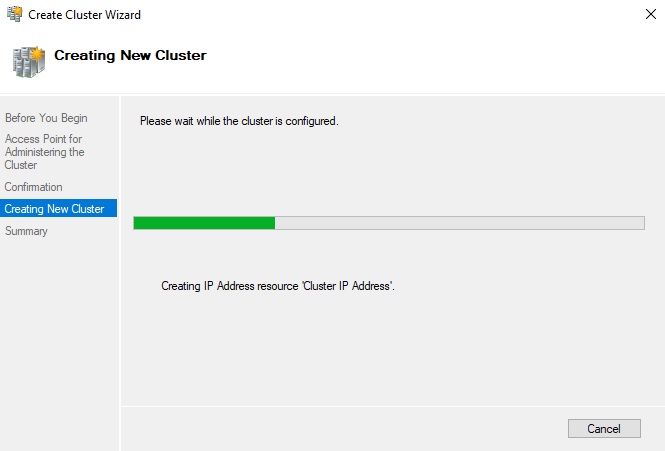
25- Cluster creation begins.
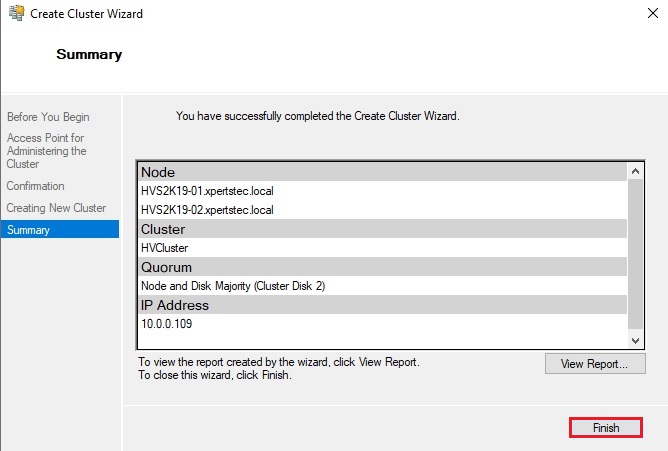
26- We have the option to View Report to check details of the cluster creation process. Click Finish.
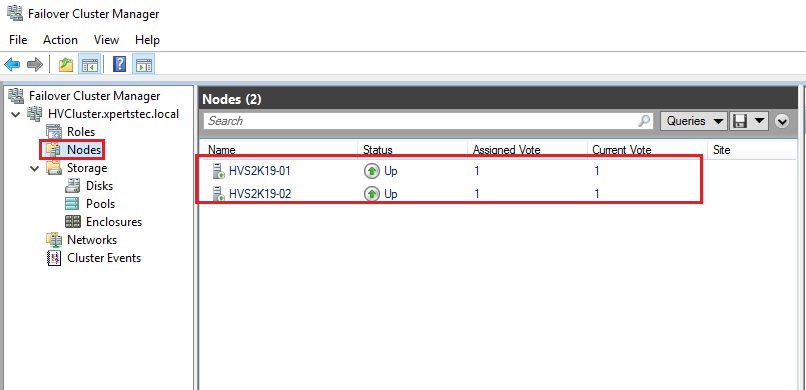
27- Failover Cluster Manager, you can see 2 nodes are up.
Create Hyper-V High Availability Clustered Shared Volumes
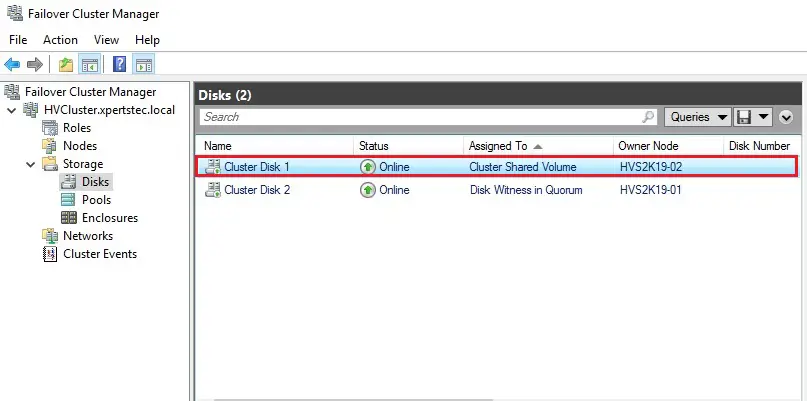
We can easily create our shared volume in the Failover Cluster Manager. If we click on the Storage node below our cluster, we can see our Cluster Disks. One is our witness disk name Quorum and the 2nd is marked as Available Storage.
Clustered Shared Volumes or CSV’s with Windows Server 2019 are special shared storage between nodes in a Windows Failover cluster specifically designed for Hyper-V.
28- Right click on available storage and then click add to cluster shared volumes.
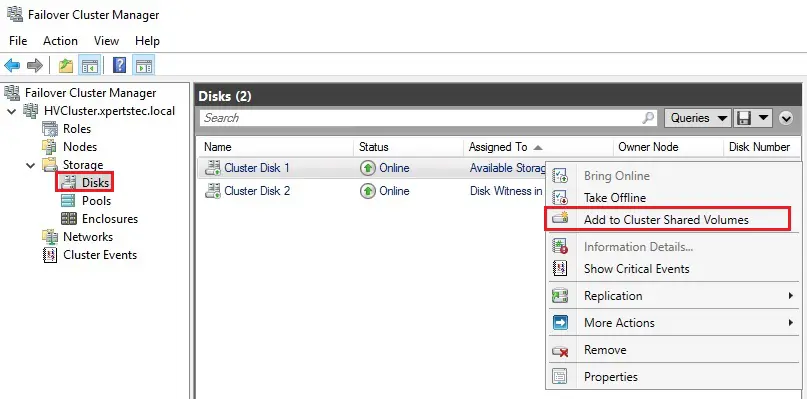
29- The Cluster Disk is changed to Cluster Shared Volume in the Assigned to Colum.
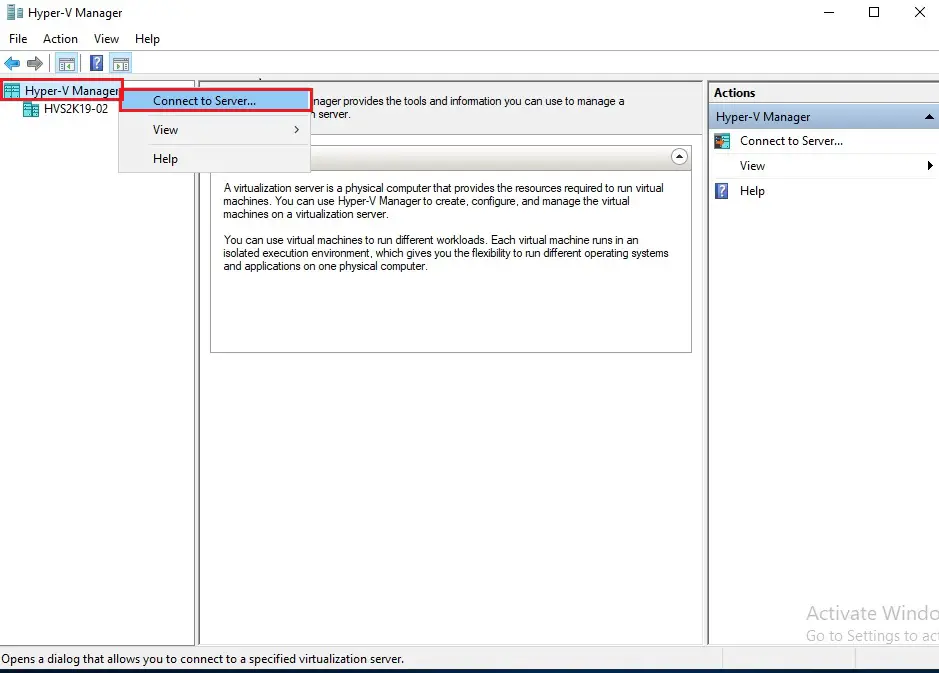
30- Open Hyper-V Manager on bother hyper-v nodes, right click on Hyper-V Manager and then select connect to server.
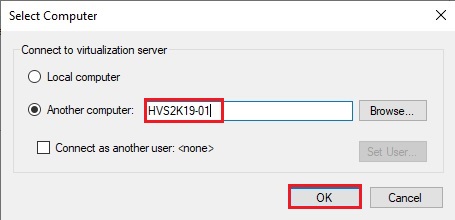
31- Type Hyper-v node name and then click OK.
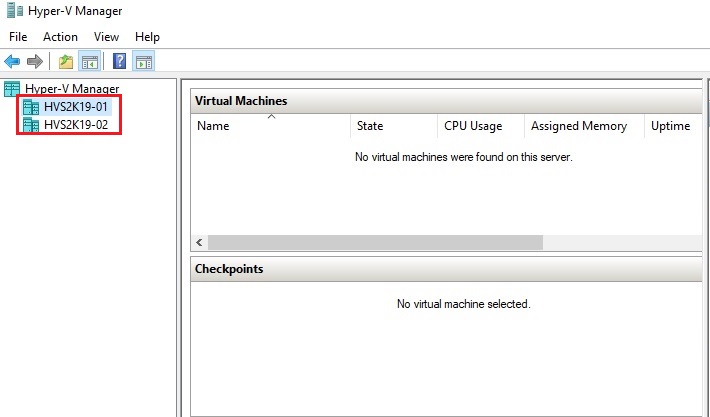
32- Now you can see both hyper-v nodes are available.
How to change Hyper-V High Availability Storage Settings
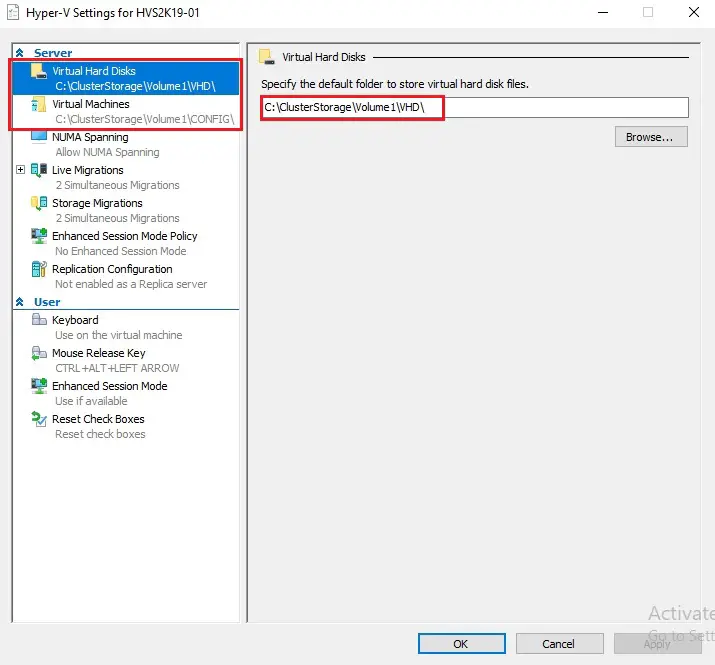
Now the clustered shared volume are configured, we can change our Hyper-V settings on each host to use our CSV as the default location for storing virtual machines.
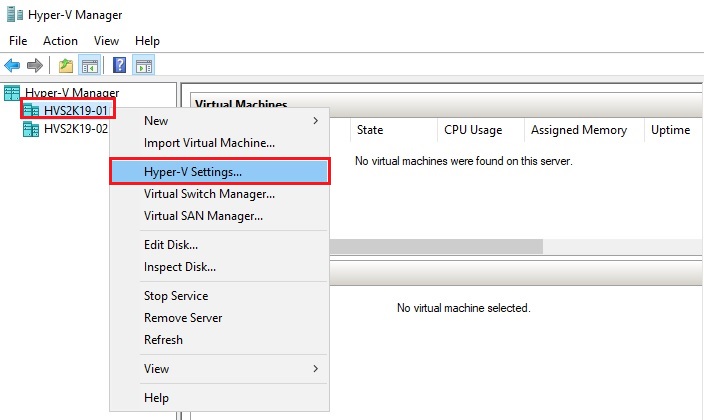
33- Right click on node and select Hyper-V Settings for each host.
34- Change the Virtual Hard Disks location and the Virtual Machines location to your cluster shared volume which is C:\ClusterStorage\volume1 on our Hyper-V hosts.
For more details click here
Like!! I blog quite often and I genuinely thank you for your information. The article has truly peaked my interest.
I don’t know whether it’s just me or if perhaps everybody else experiencing problems with your website. It looks like some of the written text within your content are running off the screen. Can somebody else please comment and let me know if this is happening to them as well? This could be an issue with my web browser because
I’ve had this happen before. Kudos
Dear Eugenia, which browser are you using?